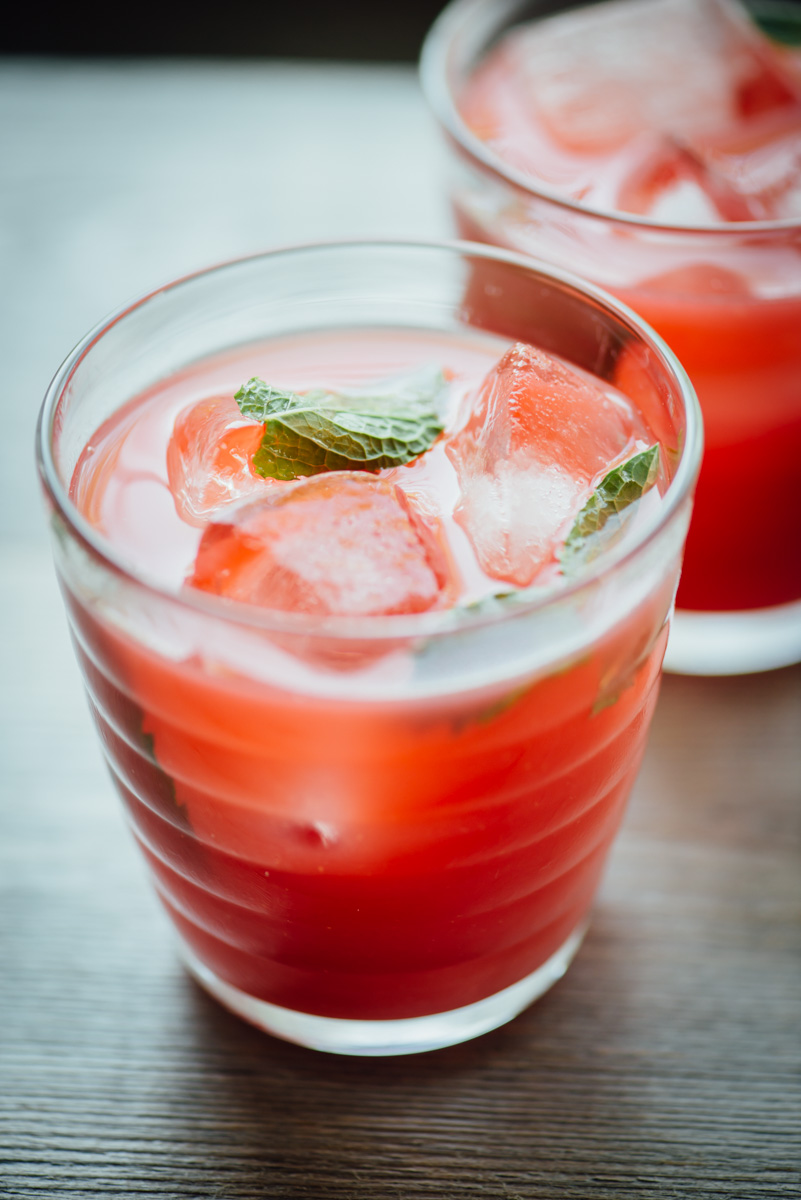
Watermelon Cocktail
/
I love summer and I love the heat, but it has been a bit crazy these past few days here in Portland with temps reaching 105°. This Watermelon Cocktail is perfect for these warm evenings, it’s so refreshing and one of the nice things about this cocktail is that you don’t need to add simple syrup because of the sweetness of the watermelon. One thing I want to mention is that the flavors (watermelon, lime and mint) seemed to get better as it rested, it might be a good idea to add the lime juice and mint to the watermelon juice before refrigerating it. I made it right in the glass but I could see this being made ahead of time so all you would have to do is add the vodka. I chose vodka because that’s what we had on hand, but I think this would work great with rum as well. Enjoy and stay cool folks!


Watermelon Cocktail
- 4 oz Watermelon Juice
- 1 shot of vodka
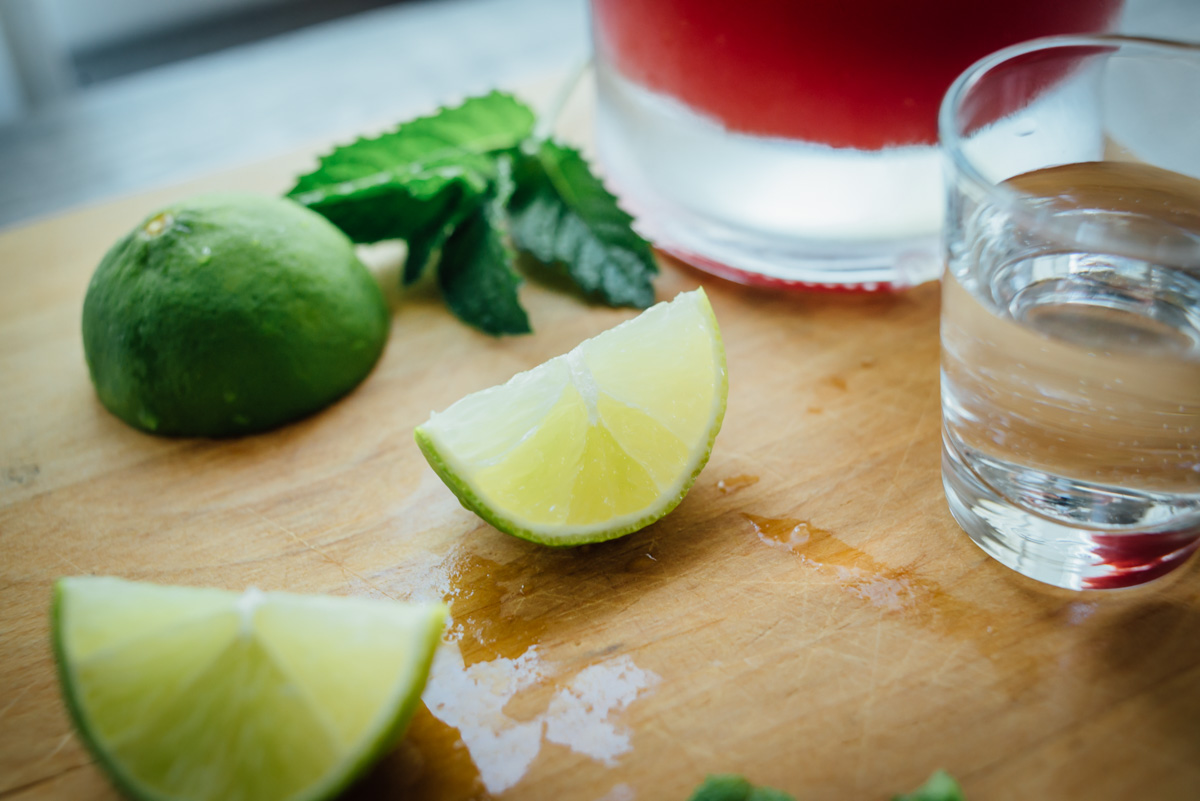
- Juice of 1 lime
- a few mint leaves
- Makes one cocktail
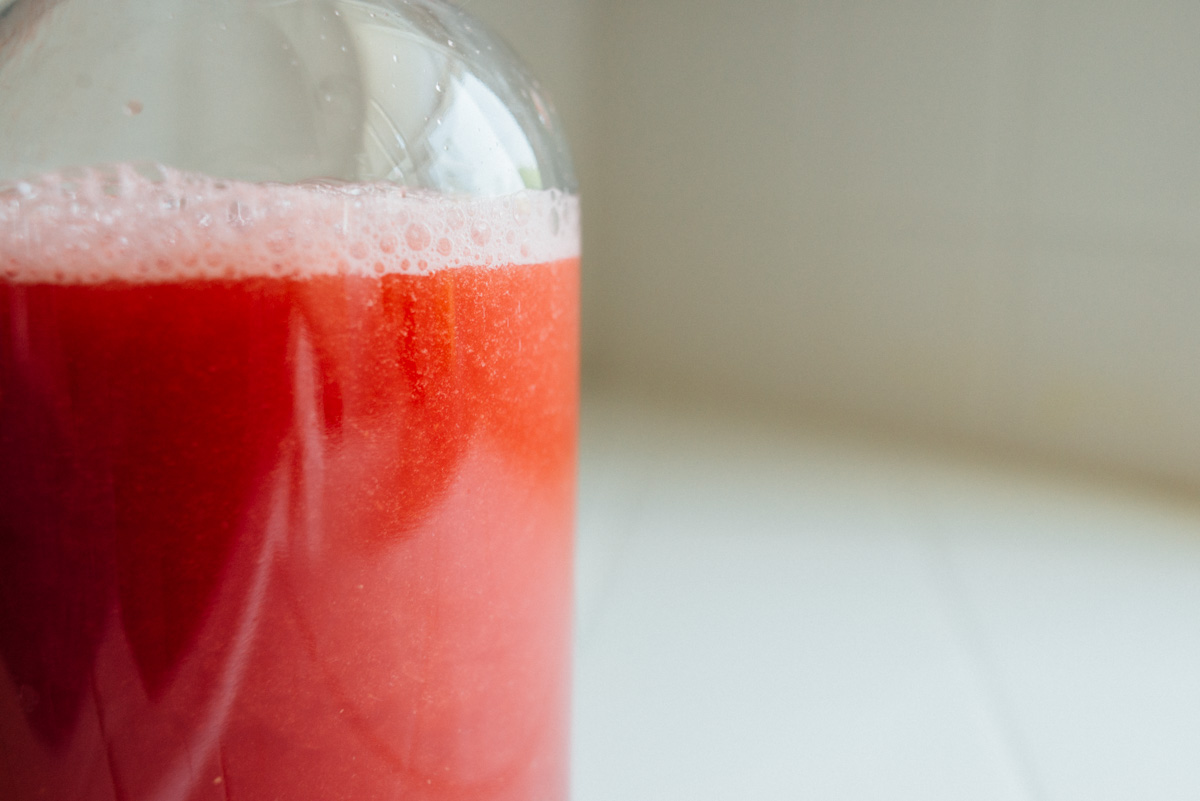
Cut up the watermelon into chunks and place in blender a few chunks at a time and blend high speed until liquified, then continue to add the rest until you’re done. Pour Watermelon juice into a container and refrigerate.
Tear the mint leaves a bit and Muddle them in a rocks glass with the lime juice. Add the vodka and watermelon juice and stir well, add ice and enjoy.