Home Roasted Coffee Beans
/
We’ve been roasting our own coffee beans for a while now and I’ve been anxious to share this method with you. I mentioned it briefly when I made cookies last summer from the Blue Bottle Craft of Coffee cookbook, I thought it might be one of those novelty do-it-yourself things that’s too tedious for everyday, but it’s been close to a year now and we’re still roasting those beans! You can get high quality coffee beans for a fraction of the price when you buy them green and roast them yourself. We order our beans from Sweet Maria’s based in Oakland, CA, their inventory changes quite a bit so it can be tricky re-ordering your favorite. They also offer a sampler pack which is nice to try out. The Brazil Fazenda do serrado PN Yellow Bourbon pictured below is really good, but they don’t seem to have it in stock anymore. Overall we’ve been very happy with all the different coffee beans we’ve tried, with only an occasional meh.
We started out using the air popcorn popper method, but you can only roast small amounts at a time (the popper needs to cool down between uses) and it was taking too much time if you wanted to roast a whole pound of coffee or even a half pound. We tried the oven method and have stuck to it ever since.
I’ve outlined the steps below, keep in mind this is the type of thing you need to keep an eye on while roasting and you will need good oven mitts! The pan is extremely hot coming out of the oven so you don’t want to use a towel or anything like that, you’ll want something well insulated. And be prepared to have a window open or overhead fan going for this project.
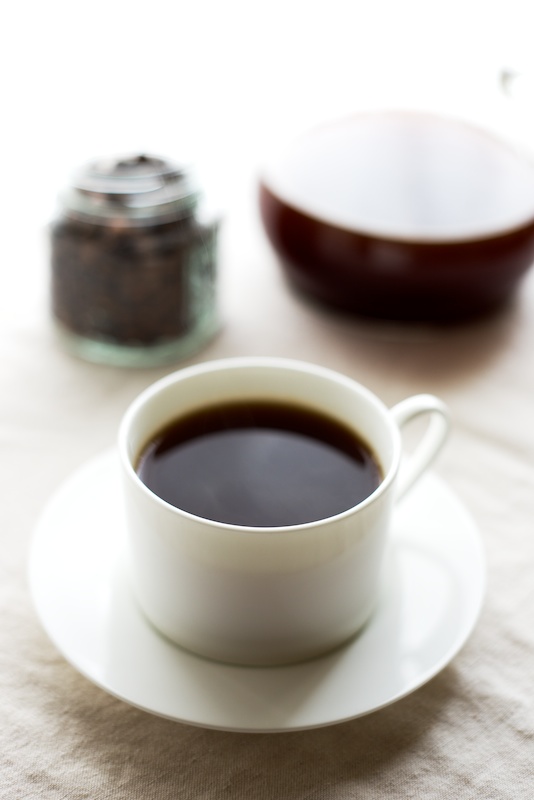
Around the same time we started roasting beans we switched from our drip coffee maker to using a Chemex and really love the results, so I’ve included a brief overview of the pour over method for brewing. If you love coffee like I do you will definitely appreciate roasting your own beans!
I've outlined a few steps with photos, full instructions below.
Spread green coffee beans in single layer, keep them close together on a perforated baking sheet


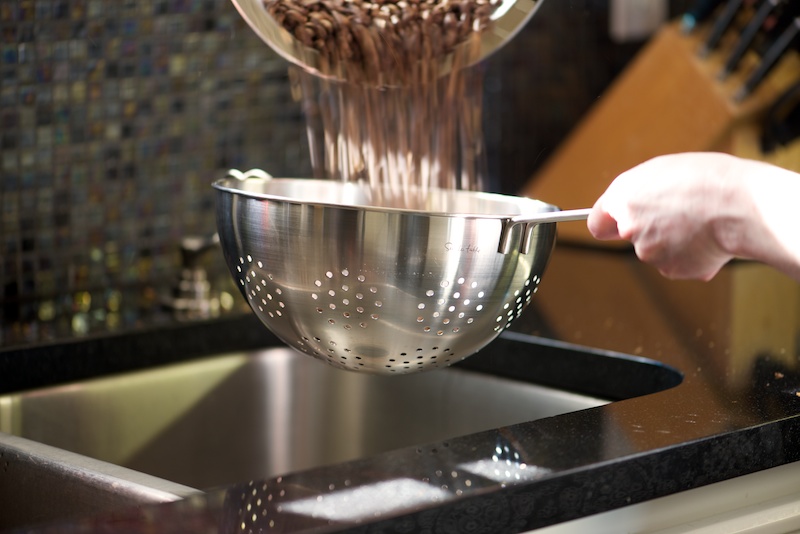
Shaking the beans to remove the chaff (you can see here why I usually don't photograph in our current kitchen, almost no daylight with black counters and backsplash!)

Before and after


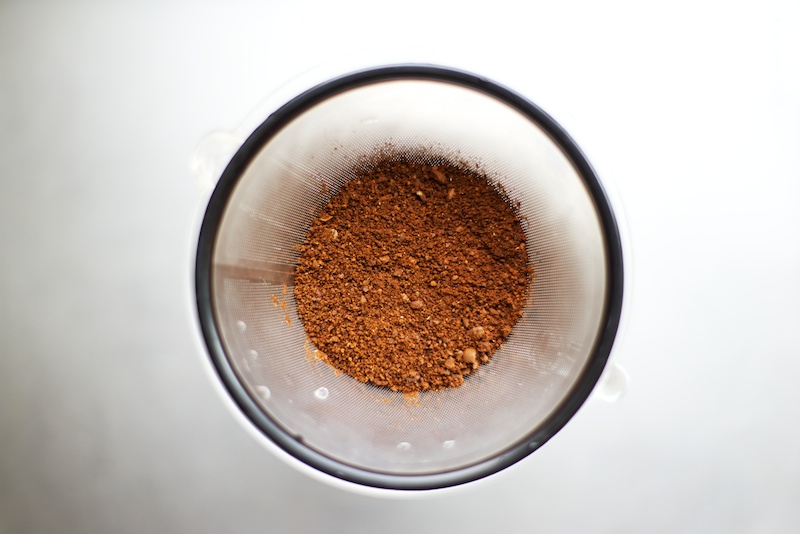
Grind the beans to a medium to fine texture If you're using the pour over method with a cone filter (this filter is pricier than it should be however it will probably outlive all of us and you can eliminate paper waste)
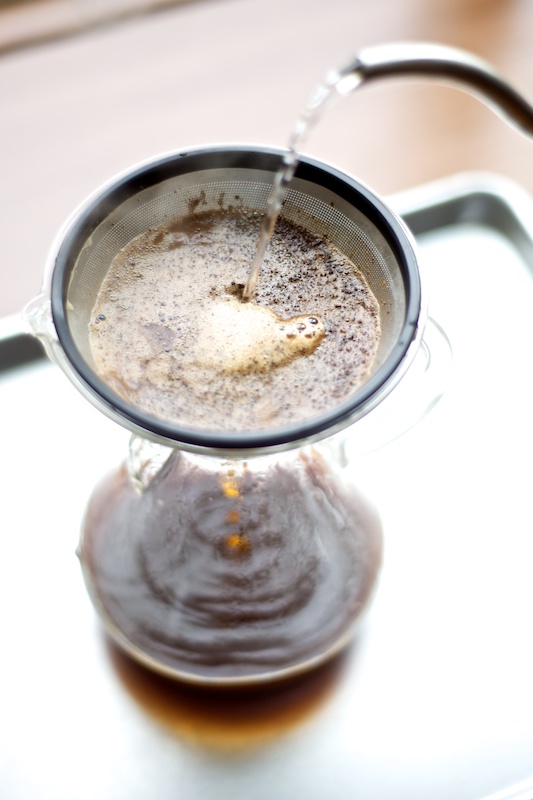
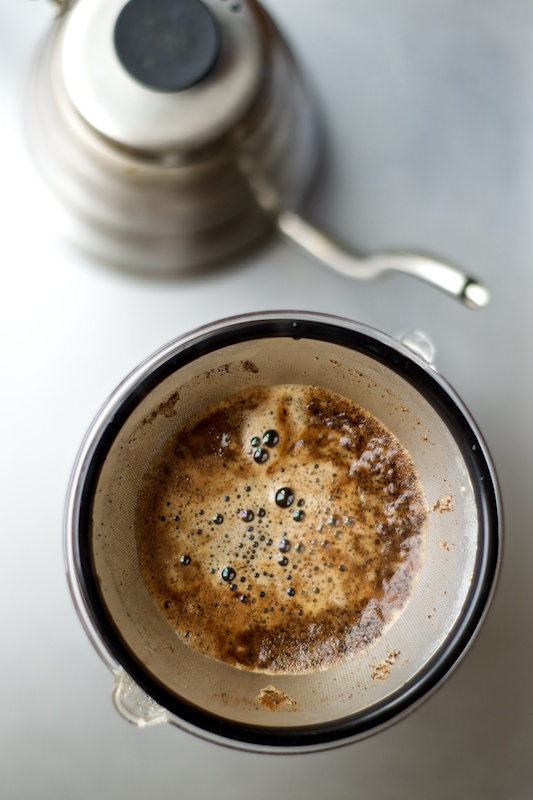
The pour over method using a Chemex, it's recommended to use a water temperature around 200°, also it's easier to pour with a coffee drip kettle (we tried a tea kettle and it's just too much splash), we use Hario Coffee Drip Kettle
Home Roasted Coffee Beans
- 1/2 lb green coffee beans
- 13”x18” perforated baking sheet
- 2 Metal colanders or sieves (we use 1 mesh and 1 perforated)
Preheat oven to 500° (allow oven to heat at 500° for an additional 10 minutes so it’s really hot).
Spread green coffee beans in a single layer on a perforated baking sheet, keeping them close together.
Note: Depending on your oven, total roasting time can vary from 7-11 minutes
Place beans in oven on middle rack and set your timer to 9 minutes
Around 6-7 minutes in you will hear the first crack, after a couple minutes more they will begin to crack louder (like popcorn), keep a close eye at this point, as the cracks decrease you should remove from oven, they will be slightly lighter in color than desired finish at around 9 minutes, they will continue to roast after they’re removed from oven. Be careful not to over roast as you could jeopardize the flavor.
They might be a bit smoky so I recommend using an overhead fan or opening a window before removing from oven.
Remove from oven and immediately pour the beans into a metal colander, over the kitchen sink (or outside, any place you can make a mess) shake to remove chaff, transfer beans back and forth between colanders, continue to shake until you’ve removed as much chaff as possible which will take a few minutes. Set aside and allow to cool. Place in a storage container loosely covered for the first 12 hours, it needs to vent off C02. Then seal tightly. You can buy valve bags if you prefer.
The beans will evolve in flavor over the next few days but you can use them as soon as 24 hours after roasting. They will be good for about 6 days.