Bacon Making 101
/
A few weeks ago Jeff and I took a Bacon Making 101 class at Old Salt Marketplace, it’s a restaurant in our neighborhood that also serves as a butcher shop and deli. We go there for brunch quite often so we were already familiar with their delicious “Ben’s Bacon”. When I saw a class listed for bacon making by Ben himself, we signed up right away! It was a really fun class and bacon is not that hard to make, it just takes time. There was a lot of discussion on food safety, for example you will see that most people smoke their bacon to an internal temperature of 150-155°F, but Ben smokes his bacon slow to a 145°F temp. The reason people go a bit higher is that your thermometer might be off a bit so 150°F acts as a safeguard, but an accurate 145°F temp is fine with no risks. We were each given a full size pork belly which weighs around 10 lbs or so. Ben helped out with trimming the fat off each one. That looks a bit challenging and you will need a really long sharp knife. Then we cut our slabs in half so that they were easier to work with. Ben prepped the spice mix and the cure mix in large containers. I don’t think I’ve ever seen that much brown sugar and salt (enough for 12 pork bellies!). Each of us working with our own large bins, covered the slabs in the spice mix, followed by the sugar and salt cure mix. Then we placed our half slabs in large ziplock bags with the cure mixture to be taken home and that was it. We sampled some of the bacon they make at the restaurant and chatted about best ways to cook bacon (I prefer the oven method).

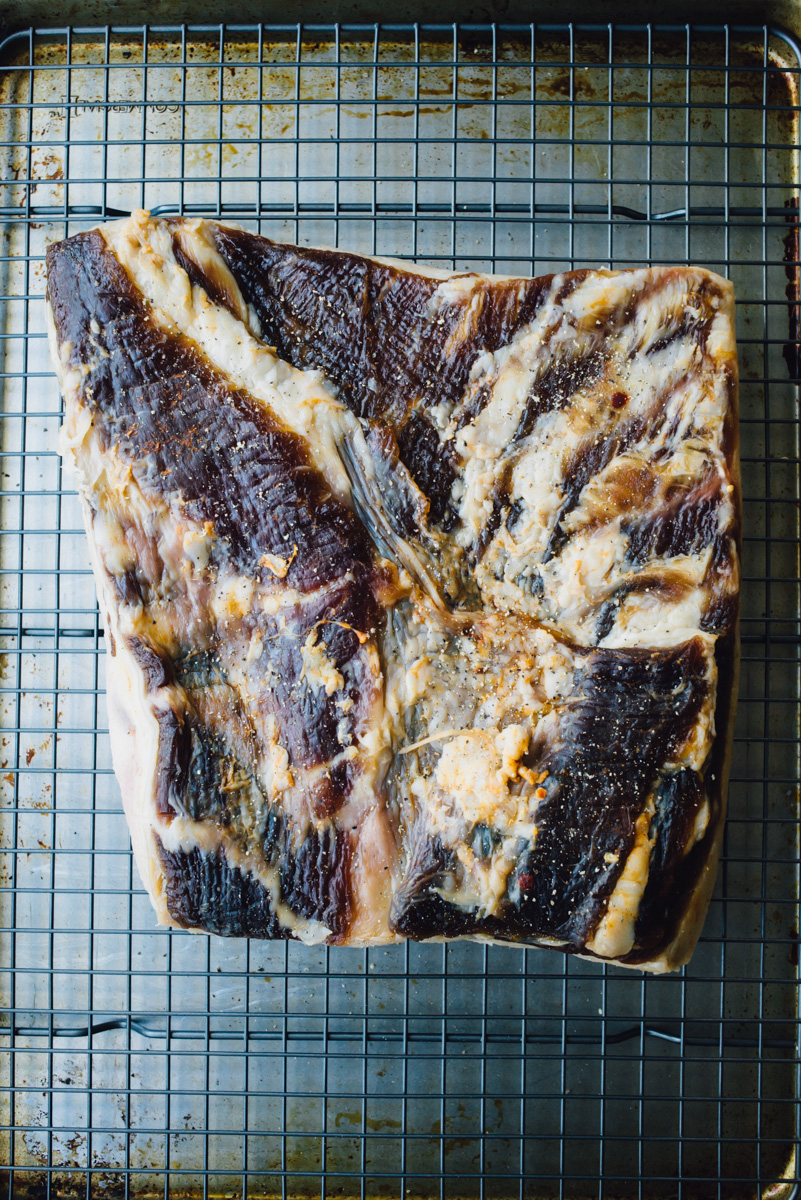
Pork bellies with the spice rub

We carried home our 20 pounds of pork belly and put it in the refrigerator where it had to cure for at least 7 days. It can go up to 3 weeks in the fridge before smoking it. The curing process will create a lot of liquid, so even though they are in ziplock bags you might want to put them in a plastic tub or use additional bags so that it doesn’t accidentally leak in the fridge. During this curing time you flip the bellies over to redistribute the liquid.
After a week or so you remove the pork bellies from the fridge and rinse them well, then pat them dry and put them individually on a drying rack. We used a cooling rack over a sheet pan which worked really well and actually fit in the refrigerator. Note: two pork bellies will take up a lot of refrigerator space! Then you let them sit uncovered in the fridge for 24 hours to dry out. Before you smoke them you can rub them with pepper, herbs, maple syrup or molasses. We tried four different flavors: Black pepper, maple syrup, black pepper and thyme, molasses. Our favorite was maple syrup, but that is also the one that smoked properly and didn’t cook. Which brings me to the smoking process.
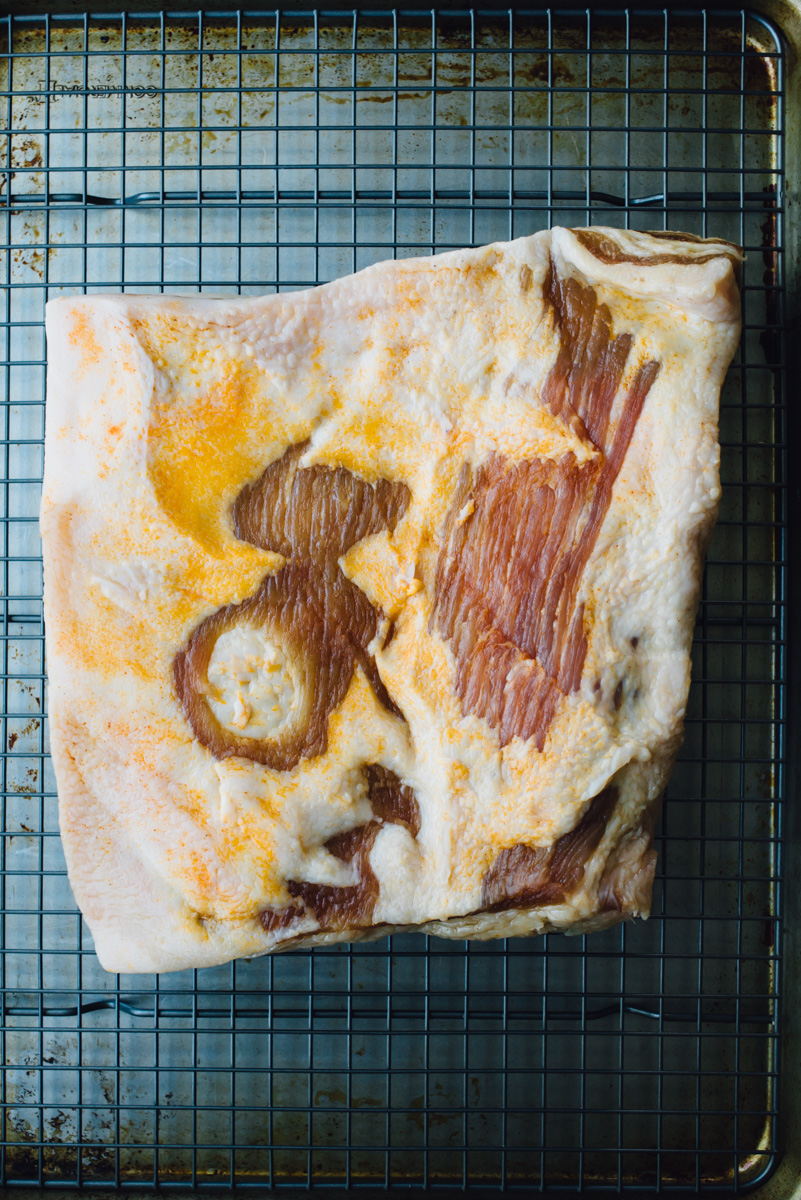

After they dried for 24 hours we rubbed molasses on one and black pepper + thyme on another
The biggest challenge was getting our smoker to hold a low temperature. The smoker is brand new to us so we learned a whole lot about smoking meat. We’ve been wanting to get a charcoal smoker grill and the bacon class sort of forced us to do it sooner rather than later. Ben said you can smoke over a fire pit or even in your fireplace, but it would be challenging to keep the temp low and not cook the bacon. We ended up getting the Vision Kamado grill. Our first go with one slab ended up cooked, then our second one, which was early evening at that point, came out perfect!
The next day we felt confident in what we were doing, so we put the remaining two slabs on when we had a steady 225°F temp, checked the internal temp in a little over an hour and, gasp!, they were cooked already, we didn’t know how this happened, the internal temp registered at around 170-180°F. What we do know is that our grill was in direct sunlight, and even though people will say weather doesn’t affect the ceramic grill, it most certainly does. So I would recommend smoking on a cooler day, or wait until evening. The following days brought us a heat wave, and wouldn’t you know, that grill that had cooled down was registering 150°+ with nothing burning. So it would be very difficult to keep a low temp under those conditions.


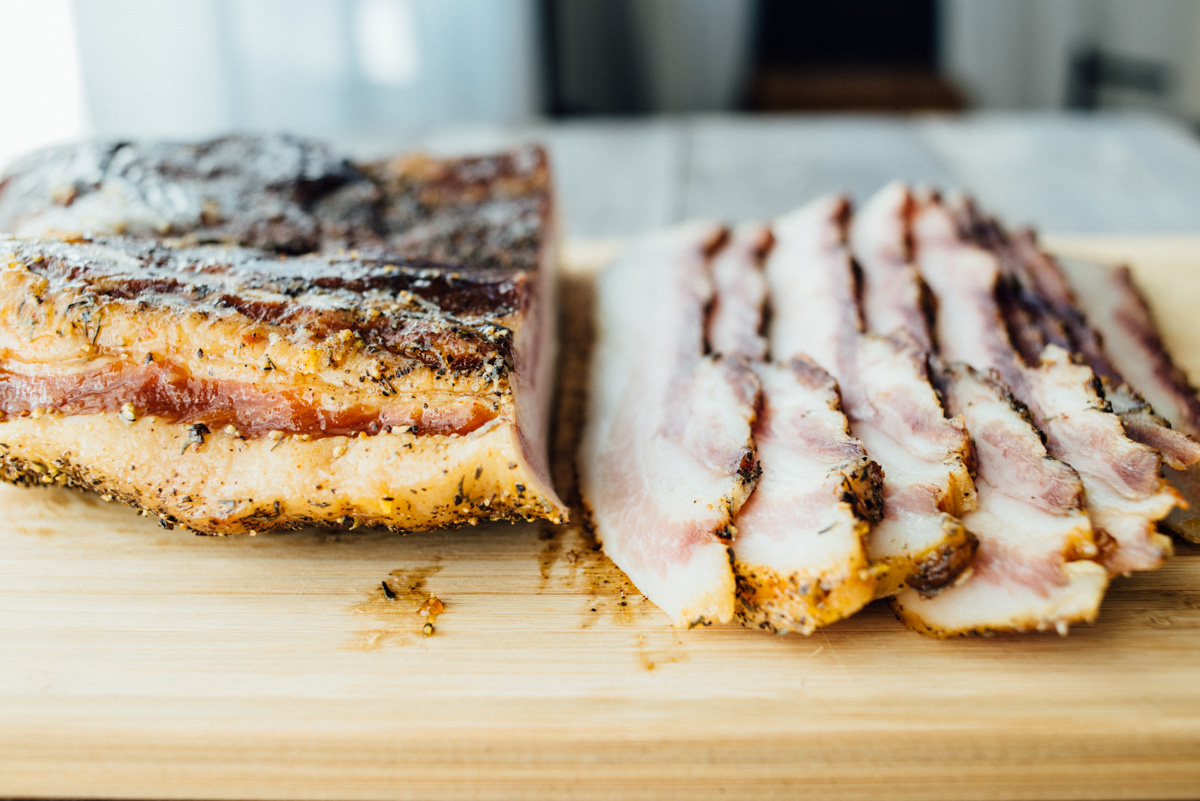
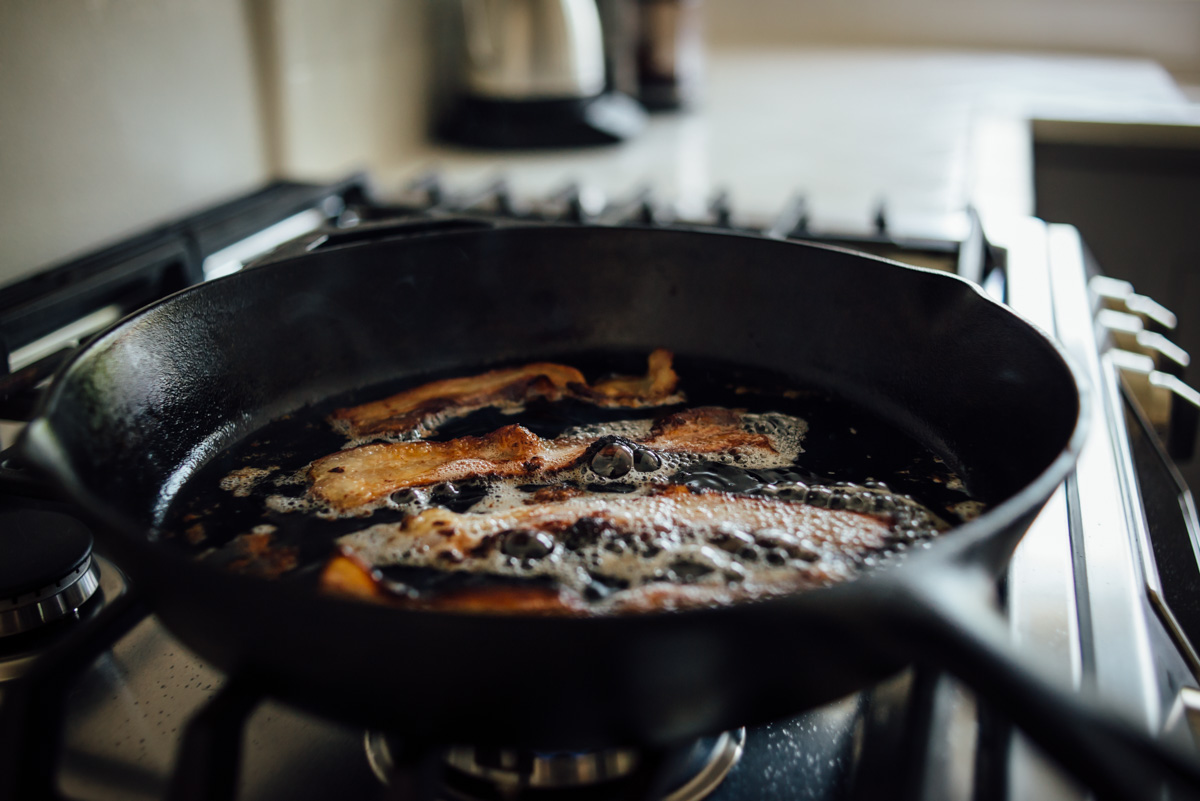
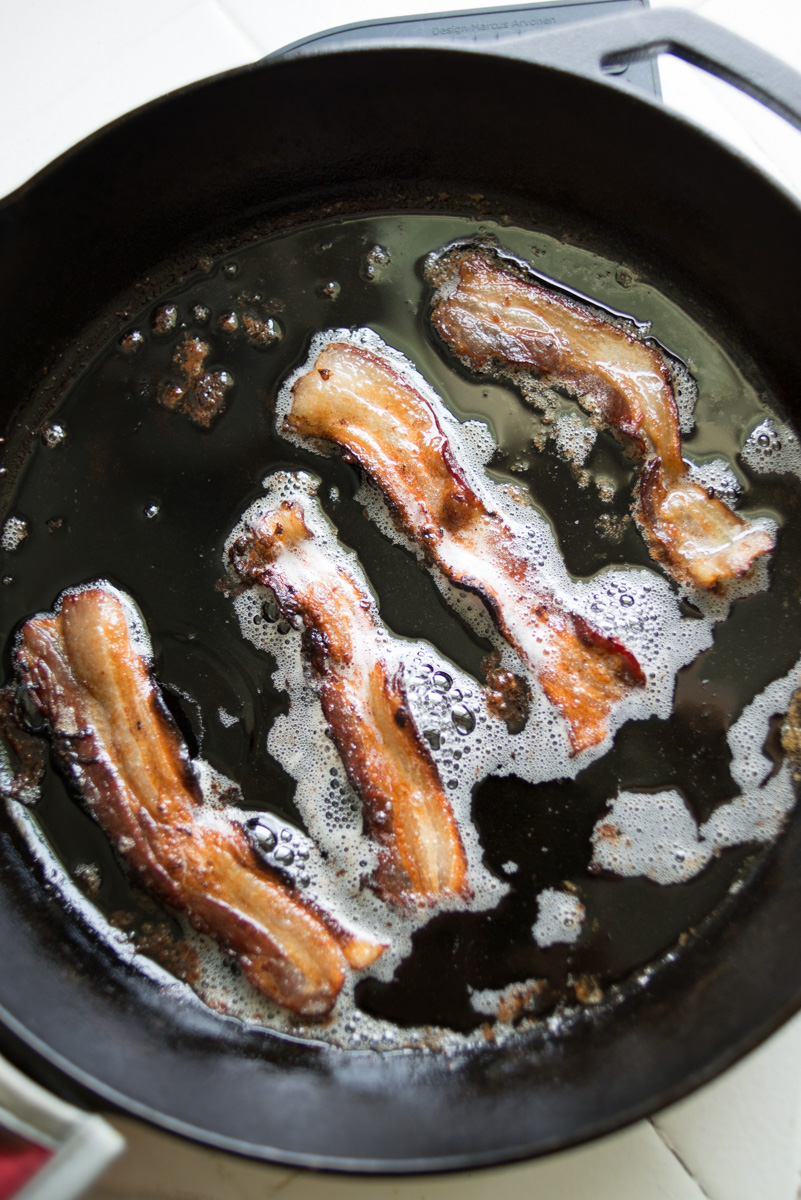
Even though we ended up cooking the bacon in the smoker we sliced it up and tested it out and it tastes delicious. Some parts are a bit tougher than it should be, I guess due to the smoking issues, but overall we’re really happy with it. And I will totally do this again once we finish up the bacon we have. Which by the way yielded about 12 lbs of bacon total, from the two slabs. So if you get one slab of pork belly it should yield around 6 lbs. of bacon. That’s a lot of bacon! But you just slice it, then wrap it up in portion sizes and freeze it. Below is the recipe for “Ben’s Bacon”, and there are plenty of websites that are devoted to smoking meats with a Kamado grill, but really everyone is going to have a different experience depending on the weather, how much charcoal you’re using, what kind of smoker you use, but it’s really fun and it all tastes good, even when it’s not perfect. Makes for some great BLTs pictured below with our homemade bacon!


Bacon Making 101
Ingredients
1 Pork Belly
Spice Rub:
- 1 part cayenne pepper
- 1 park chile flake
- 2 parts paprika
Bacon cure for one belly:
- 3 lbs brown sugar
- 2 cups kosher salt
Equipment
- Ziplock bag (large enough for half a pork belly)
- Kitchen scale
- Mixing bowls
- Racking pan (cookie cooling rack will work)
- Smoker or smokehouse
The process
Skin and trim the fat to desired fat content. Cut the belly in half so that it’s easier to work with and store. Place the two pieces in a large container. Mix the spice blend together and rub liberally to all sides of the belly. Mix the salt and brown sugar together until completely blended. Generously apply the cure rub to all sides. Place each piece in large ziplock storage and refrigerate, you may want to put these inside another plastic bag or container to prevent leakage, the curing will create a lot of liquid over time. After 3 days flip them, then turn every couple days or so to redistribute liquid. After 7 days remove from refrigerator and rinse well and pat dry. Place them on a drying rack (cookie cooling rack on top of sheet pan works well) and place in the refrigerator uncovered for 24 hours. When ready to smoke the bellies, cover them with your choice of ground black pepper, maple syrup, molasses or whatever spices you might like to try.
Start your smoker slowly, add applewood chips to coals.
Smoke the bacon at around 170°F to an internal temperature of 145°F, which would take about 5 hours. Or smoke them at 200-225°F for about 2 1/2-3 hours. Most people smoke until internal temperature reaches 155°F to be on the safe side (if thermometer was off) but it is safe to eat at 145°F.
Remove the bacon and allow to cool. Place in refrigerator for several hours before slicing as this makes it easier to cut. Slice the bacon in desired thickness. Then freeze the slices in portion sizes. Wrap portions in plastic wrap and then put them all in freezer bags.