Strawberry Rhubarb Galette

strawberry_rhubarb_galette-1.jpg

Strawberries! I love this time of year, not only is it warm and sunny, but my little strawberry patch in the back yard starts producing berries. I didn’t have enough for a whole galette so what could be better than to add rhubarb? I haven’t had rhubarb in so long I forgot how much I like it. When we were kids my sister and I used to eat it raw with sugar. But I think it’s better in this Strawberry Rhubarb Galette. Oh, and when I was making the pie dough I ran out of flour, I had some cake flour on hand and used about one cup hoping it would turn out ok, I’ve never heard of cake flour in a pie dough, in any case not only did it turn out ok I think I like it better! The crust is very flaky and a bit softer than I’ve made before, a little closer to a pastry dough. So there’s that little magic to add if you like. Until next time, enjoy!

strawberry_rhubarb_galette-2.jpg
strawberry_rhubarb_galette-3.jpg
strawberry_rhubarb_galette-4.jpg
strawberry_rhubarb_galette-5.jpg
strawberry_rhubarb_galette-6.jpg
strawberry_rhubarb_galette-7.jpg
strawberry_rhubarb_galette-8.jpg
strawberry_rhubarb_galette-9.jpg
strawberry_rhubarb_galette-10.jpg

Strawberry Rhubarb Galette

  • 2 cups of Strawberries (cut in half or whole if they’re small)

  • 2 cups peeled and chopped rhubarb, about 1/2” pieces

  • Lemon juice, about a half a lemon

  • 1/4 cup sugar

  • 3 tablespoons flour

  • 13” pie dough, recipe below

Preheat an oven to 425°F. Line a baking sheet with parchment paper. 

Place the dough on a lightly floured surface and roll out into a 13-inch round. Transfer to the baking sheet lined with parchment paper. 

In a bowl, mix together the fruit, lemon juice, sugar and flour. Spoon the filling onto the dough, leaving a 2-inch border uncovered around the edge. Fold the edge up and over the filling, forming loose pleats. Bake until the filling is bubbling and the pastry is golden brown, about 25-30 minutes. 

Remove from oven and let cool slightly. Cut into wedges and serve. Makes one 9-inch galette

Pie Dough

  • 2-1/2 cups all-purpose flour (you can swap out 1 cup of flour for cake flour for a softer crust)

  • 2 tablespoons sugar

  • 1/2 teaspoon salt

  • 2 sticks of butter (1 cup), cut into 1/2-inch pieces and chilled

  • 7-8 tablespoons ice water

In a large bowl, mix together the flour, sugar, and salt. Cut in the chilled butter using a stand mixer, a food processor, or a pastry blender until the butter is evenly distributed but still in large, visible pieces. Add the ice water to the flour and butter and mix by hand or with a wooden spoon so you don’t overwork the dough. The dough will be shaggy, place on floured workspace and work it together quickly until if forms a ball. Divide into two disks, wrap each with plastic wrap and refrigerate for at least 1 hour or overnight. Remove the dough from the refrigerator about 30 minutes before you want to use it. 


Kale Pistachio Pesto

kale_pistachio_pesto-1.jpg

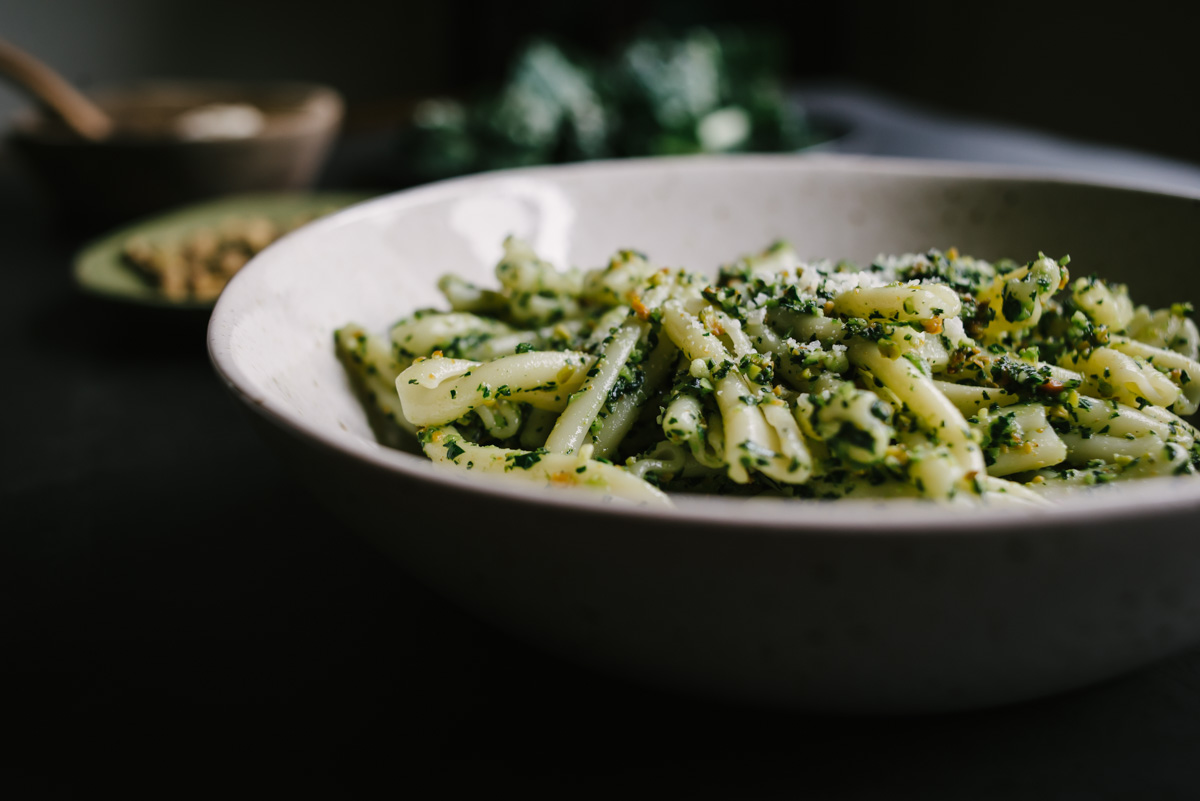
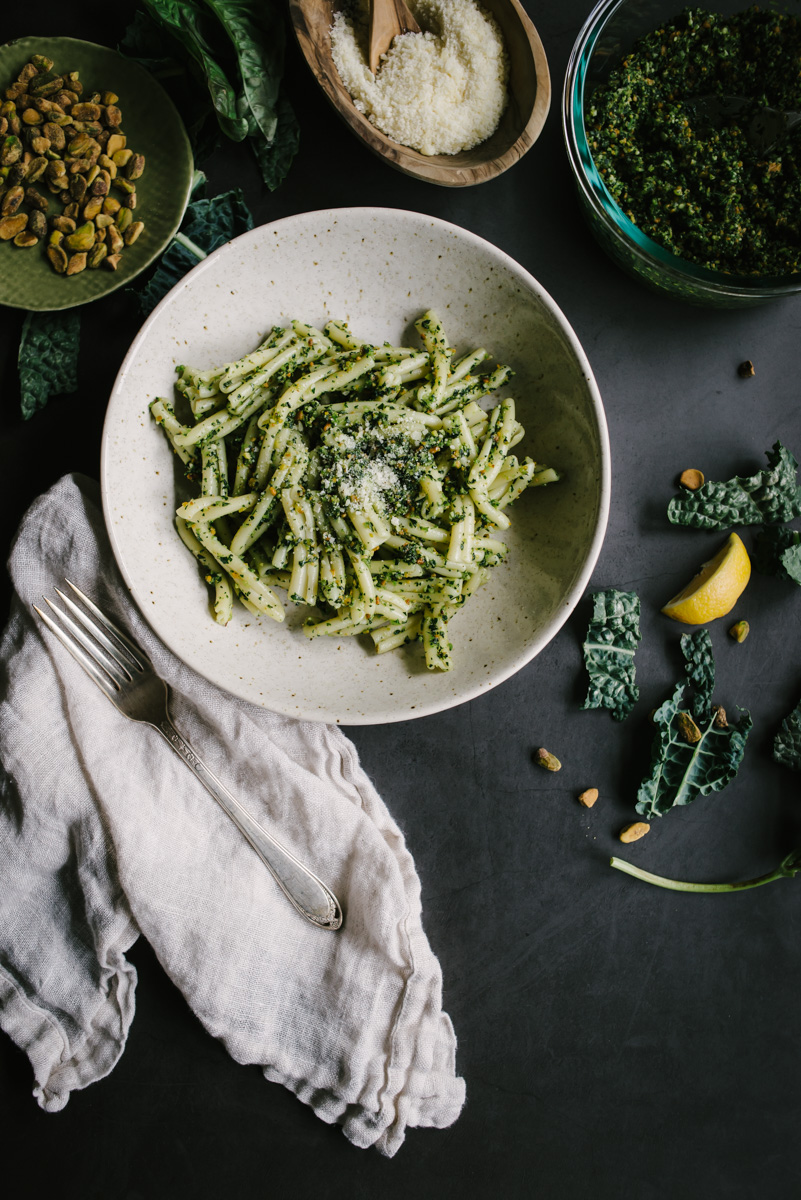
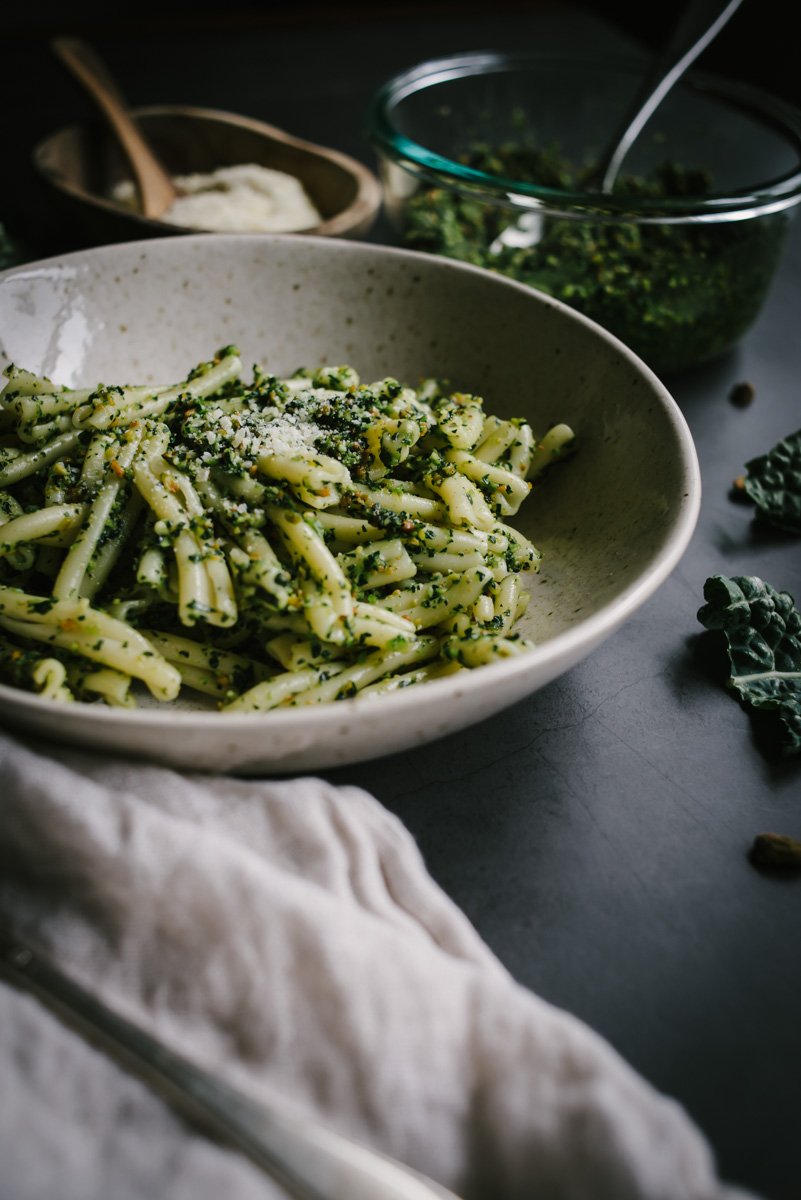
I made this pesto a few weeks ago with hazelnuts, and wow it was so good. But I’ve been seeing folks make it with pistachios and since I had some leftover from the pistachio cake I made last week I thought I’d give this a try. Honestly I love it with either nut. What’s nice about this kind of pesto is that you can change the nuts or the greens, add basil or not, add parsley or cilantro, there’s a lot of room to get creative and it just tastes so good. It’s really perfect for a vegetarian dish, or you could add bits of roast chicken if you wanted more protein. I joined Sprouted Kitchen Cooking Club a while back where Sara has made some variations on this pesto, and David Lebovitz posted a Kale Pistachio Pesto on Instagram that got me going on this. Most recipes say to pulse all the ingredients except the olive oil, then slowly add olive oil, but I just put everything in the food processor and it comes out fine, you might need to add a little olive oil after it’s finished if you want a different consistency. I just put it in a bowl, drizzle a bit of olive oil and give a stir. Lacinato Kale (or Tuscan or Dino, so many names for the same thing!) is such a great vegetable. It will store fairly long in the fridge, you can add it to soups, you can make salads, here’s a whole bunch of Kale recipes, and now pesto! I think it’s delicious, let me know what you think. Enjoy!

kale_pistachio_pesto-2.jpg
kale_pistachio_pesto-3.jpg
kale_pistachio_pesto-4.jpg
kale_pistachio_pesto-5.jpg
kale_pistachio_pesto-6.jpg
kale_pistachio_pesto-7.jpg
kale_pistachio_pesto-8.jpg

Kale Pistachio Pesto

  • Tuscan kale, about 5 ounces chopped

  • A bit of basil or fresh herbs, but not needed

  • 2 garlic cloves

  • 1/4 cup roasted unsalted pistachio nuts

  • 1/2 cup olive oil

  • 1/3 grated parmesan cheese

  • Juice of half a lemon

Place all ingredients in a food processor and pulse several times until it’s a granular textured consistency. Place in container and add a little more olive oil if needed. Toss with pasta and add a dollop on top with some grated parmesan.

CBD Infused Coconut Oil

CBD_infused_coconut_oil-11.jpg

CBD Infused Coconut Oil is surprisingly easy to make thanks to Jeff Danzer’s recipe. I’ve seen CBD Hemp infused oil for sale online and it’s very expensive. Not only is making your own more economical, you have more control over the type of oil you want to use and the strength. Why CBD Infused Coconut Oil? I’ve been meaning to cook with Cannabis for some time now. I’ve been reluctant because it’s hard to know the exact potency unless it’s been tested in a lab, or you try your recipe yourself and take the whole day off as a precautionary. That can be a bit much. But CBD is derived from Hemp and it’s a whole different experience.

I’m working with a farm in Southern Oregon, Cascadia Blooms, to develop some recipes with the Hemp they grow. If you’re not familiar with CBD, Cascadia Blooms has a great FAQ section here, basically CBD Hemp will relax your body without the psychoactive high you would experience with THC in Cannabis. Adding it to your food or drink is a great way to consume it. 

You can use the CBD Infused Coconut Oil the same way you would use any Coconut Oil. I wanted to try it without making a whole batch of cookies, so I first tried about a teaspoon in coffee (people are doing that? yes) but I didn’t like it, I drink my coffee black but if you use cream and sugar you might like it, in any case the 1 teaspoon did nothing for me, so then I smeared a heaping tablespoon on toast, and that was the right amount. (Keep in mind it takes at least an hour to feel the effects, so best to take your time and see how you feel after 1-2 hours.)

The effects? Within about an hour I felt relaxed, it definitely reduces anxiety. As a result I felt more focused on whatever I might be doing, it’s kind of incredible how many distractions there are, never mind social media and email, sometimes I have a hard time focusing because of my mile-long list of things to do. I can’t seem to walk through any room in the house or the yard without seeing something to do, fix, clean, update, really around every corner (and our house isn’t even messy!). I think that creates a kind of low level anxiety for me. But with CBD it felt different, I know those things to do are there, but I’m not anxious about it. That’s the most profound effect that I experienced. It lasts for about 4 hours and tapers off.

I’ve included the cleaning process below but it is optional as Cascadia Blooms takes care to keep their Hemp flower clean, organic and ready for food consumption. The cleaning process also produces a lighter tasting oil which helps to control flavor. The coconut oil I infused had very little smell or flavor of the Hemp, however you might want to skip that process if you want that flavor depth, it will be determined by the flower you use, but it generally has an herb-like flavor, a little peppery that would be suitable for savory dishes. The entire process is done in a French Press, which I think is rather brilliant, it worked out great for steeping and straining. This is first of a series of CBD Recipes as you will need the infused ingredients to work with (butter, coconut oil, olive oil, etc). I look forward to sharing more with you!

You can order online everywhere in the U.S. (except Idaho and South Dakota, sorry!) and the Hemp is shipped in double-lined sealed bags so that there is no odor at all in your mailbox. You can read more about their packaging and shipping info here.

This is a sponsored post on behalf of Cascadia Blooms, all thoughts and opinions are my own, the recipe below provided by Jeff Danzer.

So let’s get started!

CBD_infused_coconut_oil-1.jpg
CBD_infused_coconut_oil-2.jpg

Break the large hemp flower into popcorn size pieces

CBD_infused_coconut_oil-3.jpg
CBD_infused_coconut_oil-4.jpg

Soak the hemp flower in French Press with distilled water, submerged, for 2-3 days until water is clean, changing water twice a day

CBD_infused_coconut_oil-5.jpg
CBD_infused_coconut_oil-6.jpg

Run through salad spinner to remove excess water. Dry and decarb on baking sheet, bake 60-90 minutes until dry (foil should be loosely covering the pan, not too tight or it will steam!)

CBD_infused_coconut_oil-7.jpg

Add the oil and dried Hemp flower to French Press

CBD_infused_coconut_oil-8.jpg

Steep in boiling water for 2 hours

CBD_infused_coconut_oil-9.jpg
CBD_infused_coconut_oil-10.jpg

Strain oil through French Press into sterile jar or container

CBD_infused_coconut_oil-12.jpg
CBD_infused_coconut_oil-13.jpg

As I mentioned above, I recommend a tablespoon per serving for optimal effect, but use your own discretion as to what works for you best

Hemp CBD Infused Cooking Oil

  • 4g Hemp Flower

  • 8 ounces Olive or Coconut Oil

  • Distilled water

  • French Press

  • Pot of boiling water

Hemp CBD Infused Cooking Oil - Cleaning and Drying

Soak

Pick the buds off the stem. In a French Press Completely immerse the buds and stems in distilled water and soak for 2 to 3 days, changing the water twice a day until the water in the French press is clear.

Rinse

Remove the herb from the French Press and place in a salad spinner. Spin for about 30 seconds to remove excess water.

Dry and Decarb

Preheat oven to 240º F.

Spread the hemp evenly over a large baking sheet and place a large piece of light aluminum foil loosely over the top of it. Crimp the edges to keep in any odor (but don’t seal it too tight or it will steam.) Bake for 60 to 90 minutes until completely dry. Your Hemp is now clean and ready for infusion into your butter, oil, alcohol or vegetable glycerin.

Hemp CBD Infused Cooking Oil - Simple Steeping Method

Place Hemp flower buds in French Press along with the oil. Fill a pot halfway or so with water and bring to a boil. Your water line should not be much higher than the oil level in the French Press. 

Stand the French Press in the pot of boiling water and let steep for 2 hours. Adding more water as needed if it boils down.

Strain the oil through the French Press into a sterile jar or container. It is now ready to use. 

Pear Galette with Blue Cheese, Hazelnut and Thyme

Pear_bluecheese_hazelnut_galette-2.jpg

This Pear Galette with Blue Cheese, Hazelnut and Thyme came out incredible, I created the recipe on the fly and it worked perfectly. So I kept notes on what I did so that I could share it with you here. I think you will enjoy it. As you know (or may not know) I’ve been doing some videos lately, I wanted to do a stop motion video and thought it might be fun to make a galette since there’s a lot of assembly involved. Well mostly assembly as there is very little to do other than chop and slice a few things, and if you already have pie dough on hand it’s even easier. Which I recommend, pie dough freezes great, this is what I had leftover from the holidays. 

The stop motion video was fun to make, although it does take quite a while to create. The video below contains 56 photos, by the time I got to arranging the pears, Jeff helped out by hitting the shutter so that I didn’t have to clean my hands each time, which is what I did while rolling out the dough and I was getting flour all over my laptop (I worked with my camera tethered to my computer), so that was really helpful (thank you Jeff!), I would recommend getting some assistance if you plan on doing a stop motion video like this, where there’s mess involved. I’m curious to know if you enjoy the videos and if there are any recipes that you would like to see in video format in addition to photos? You can leave comments here or Instagram or wherever you like. Recipe below! Enjoy!

Pear_bluecheese_hazelnut_galette-1.jpg
Pear_bluecheese_hazelnut_galette-4.jpg
Pear_bluecheese_hazelnut_galette-3.jpg

Pear Galette with Blue Cheese, Hazelnut and Thyme

  • 1 pear, halved and sliced 1/4” thick

  • 1/4 cup blue cheese, crumbled

  • 1 teaspoon fresh thyme leaves

  • 1/4 cup roasted hazelnuts, roughly chopped

  • 1 teaspoon brown sugar

  • 1 pie dough (recipe below)

  • 1 egg beaten (for egg wash)

Heat oven 400°

Roll out your pie dough to roughly a 10-inch round. Sprinkle the brown sugar on the dough leaving a 1-2 inch border. Add cheese, nuts and thyme (leaving a few ingredients aside for the top), then add sliced pears in a circular pattern, fold the edges in a circular pattern, top the center with the remaining cheese, nuts and thyme for color and texture.  Brush the egg wash on the dough. Place on parchment lined baking sheet and Bake at 400° for 25-30 minutes until golden. Remove from oven and serve warm or room temp. 

Pie dough (this makes 2 pie crusts, you will have extra for next time, yay!)

  • 2 1/2 cups all-purpose flour

  • 2 tablespoons sugar

  • 1 teaspoon salt

  • 2 sticks (16 tablespoons) cold unsalted butter, cut into 1/2-inch cubes

  • 6 to 8 tablespoons ice water

To make the dough in a food processor, pulse together the flour, sugar and salt until combined, about 5 pulses. Add the butter and process until the mixture resembles coarse meal, about 5-10 pulses. Remove from processor and place dough in large bowl, add 6 tablespoons of the ice water, combine with wood spoon. The dough should hold together when squeezed with your fingers but should not be sticky. If it is crumbly, add more water 1 teaspoon at a time. Turn the dough out onto a work surface, divide in half and shape each into a disk. Wrap separately with plastic wrap and refrigerate for at least 2 hours or up to overnight. You can freeze the extra pie dough for MONTHS, it holds up very well.


The 7-Minute Egg

7_minute_egg-3.jpg

When it comes to boiling eggs, minutes really matter. I only recently discovered this. My whole life I’ve been starting them in cold water, bring to a boil, cook for an unknown amount of time, which resulted in a hard-boiled egg that was sometimes ok. But then I was watching Salt Fat Acid Heat recently and Samin mentioned the 7-minute egg, and it looked really good, not as runny as soft boiled but not hard boiled either. You start the eggs in boiling water. This makes an enormous difference. Not only the quality of the yolk, but the texture of the white, it’s fully cooked and kinda velvety, not rubbery which I thought all boiled eggs were just like that. And after 7 minutes you put them in an ice bath for a few minutes. Since I’ve been using this method the shell comes off the egg perfectly, no more moon craters of the past. The cooking times range from 6-12 minutes, with 12 minutes being hard boiled, everyone finds their favorite somewhere in-between, but I’m sold on 7-minutes. And, I made another video! If you like you can follow my Youtube channel here and Vimeo here

7_minute_egg-1.jpg
7_minute_egg-2.jpg

Currant Almond Rosemary Crackers

Currant Almond Rosemary Crackers

I’ve been wanting to make these gourmet type crackers for a long time now, and I’m glad I did! They came out really good. I used currants and almonds since that’s what I had on hand, but you can add any kind of fruit or nut to this recipe.

Read More

Endive Salad with Blue Cheese + Dijon Vinaigrette

Endive Salad with Blue Cheese + Dijon Vinaigrette

This recipe is so easy it seems hardly worth a blog post, but deserves it still. It goes way back for me. When I was in college in New York City (a million years ago!) I waited tables at a french restaurant called Les Tournebroches.

Read More

Beef Stew with Roasted Garlic

Beef Stew with Roasted Garlic

Years ago I made a Beef and Carrot Stew that has been my sorta go-to recipe to build off of and it’s evolved a bit over the years (wow almost 6 years now!). This new recipe, with the addition of Roasted Garlic and Roasted Garlic Olive Oil, is over the top good.

Read More

Chocolate Cake with Caramel, Ganache + Toasted Almonds

Chocolate Cake with Caramel, Ganache + Toasted Almonds

Happy 2019 everyone! I made this cake for New Year’s Eve last week. We went with a light dinner of Moroccan Tuna and Couscous with vegetables in hopes of having room for this cake. And we did!

Read More