Oatmeal Raisin Molasses Cookies

oatmeal_Raisin_molasses_cookies-1.jpg

First. Election. If you’re voting by mail and haven’t yet, please drop your ballot in a ballot box or at your local election ballot drop-off location, more info here! So you are sure your vote will be counted! Late ballots by mail might not be counted if they’re received late and your vote really does matter!

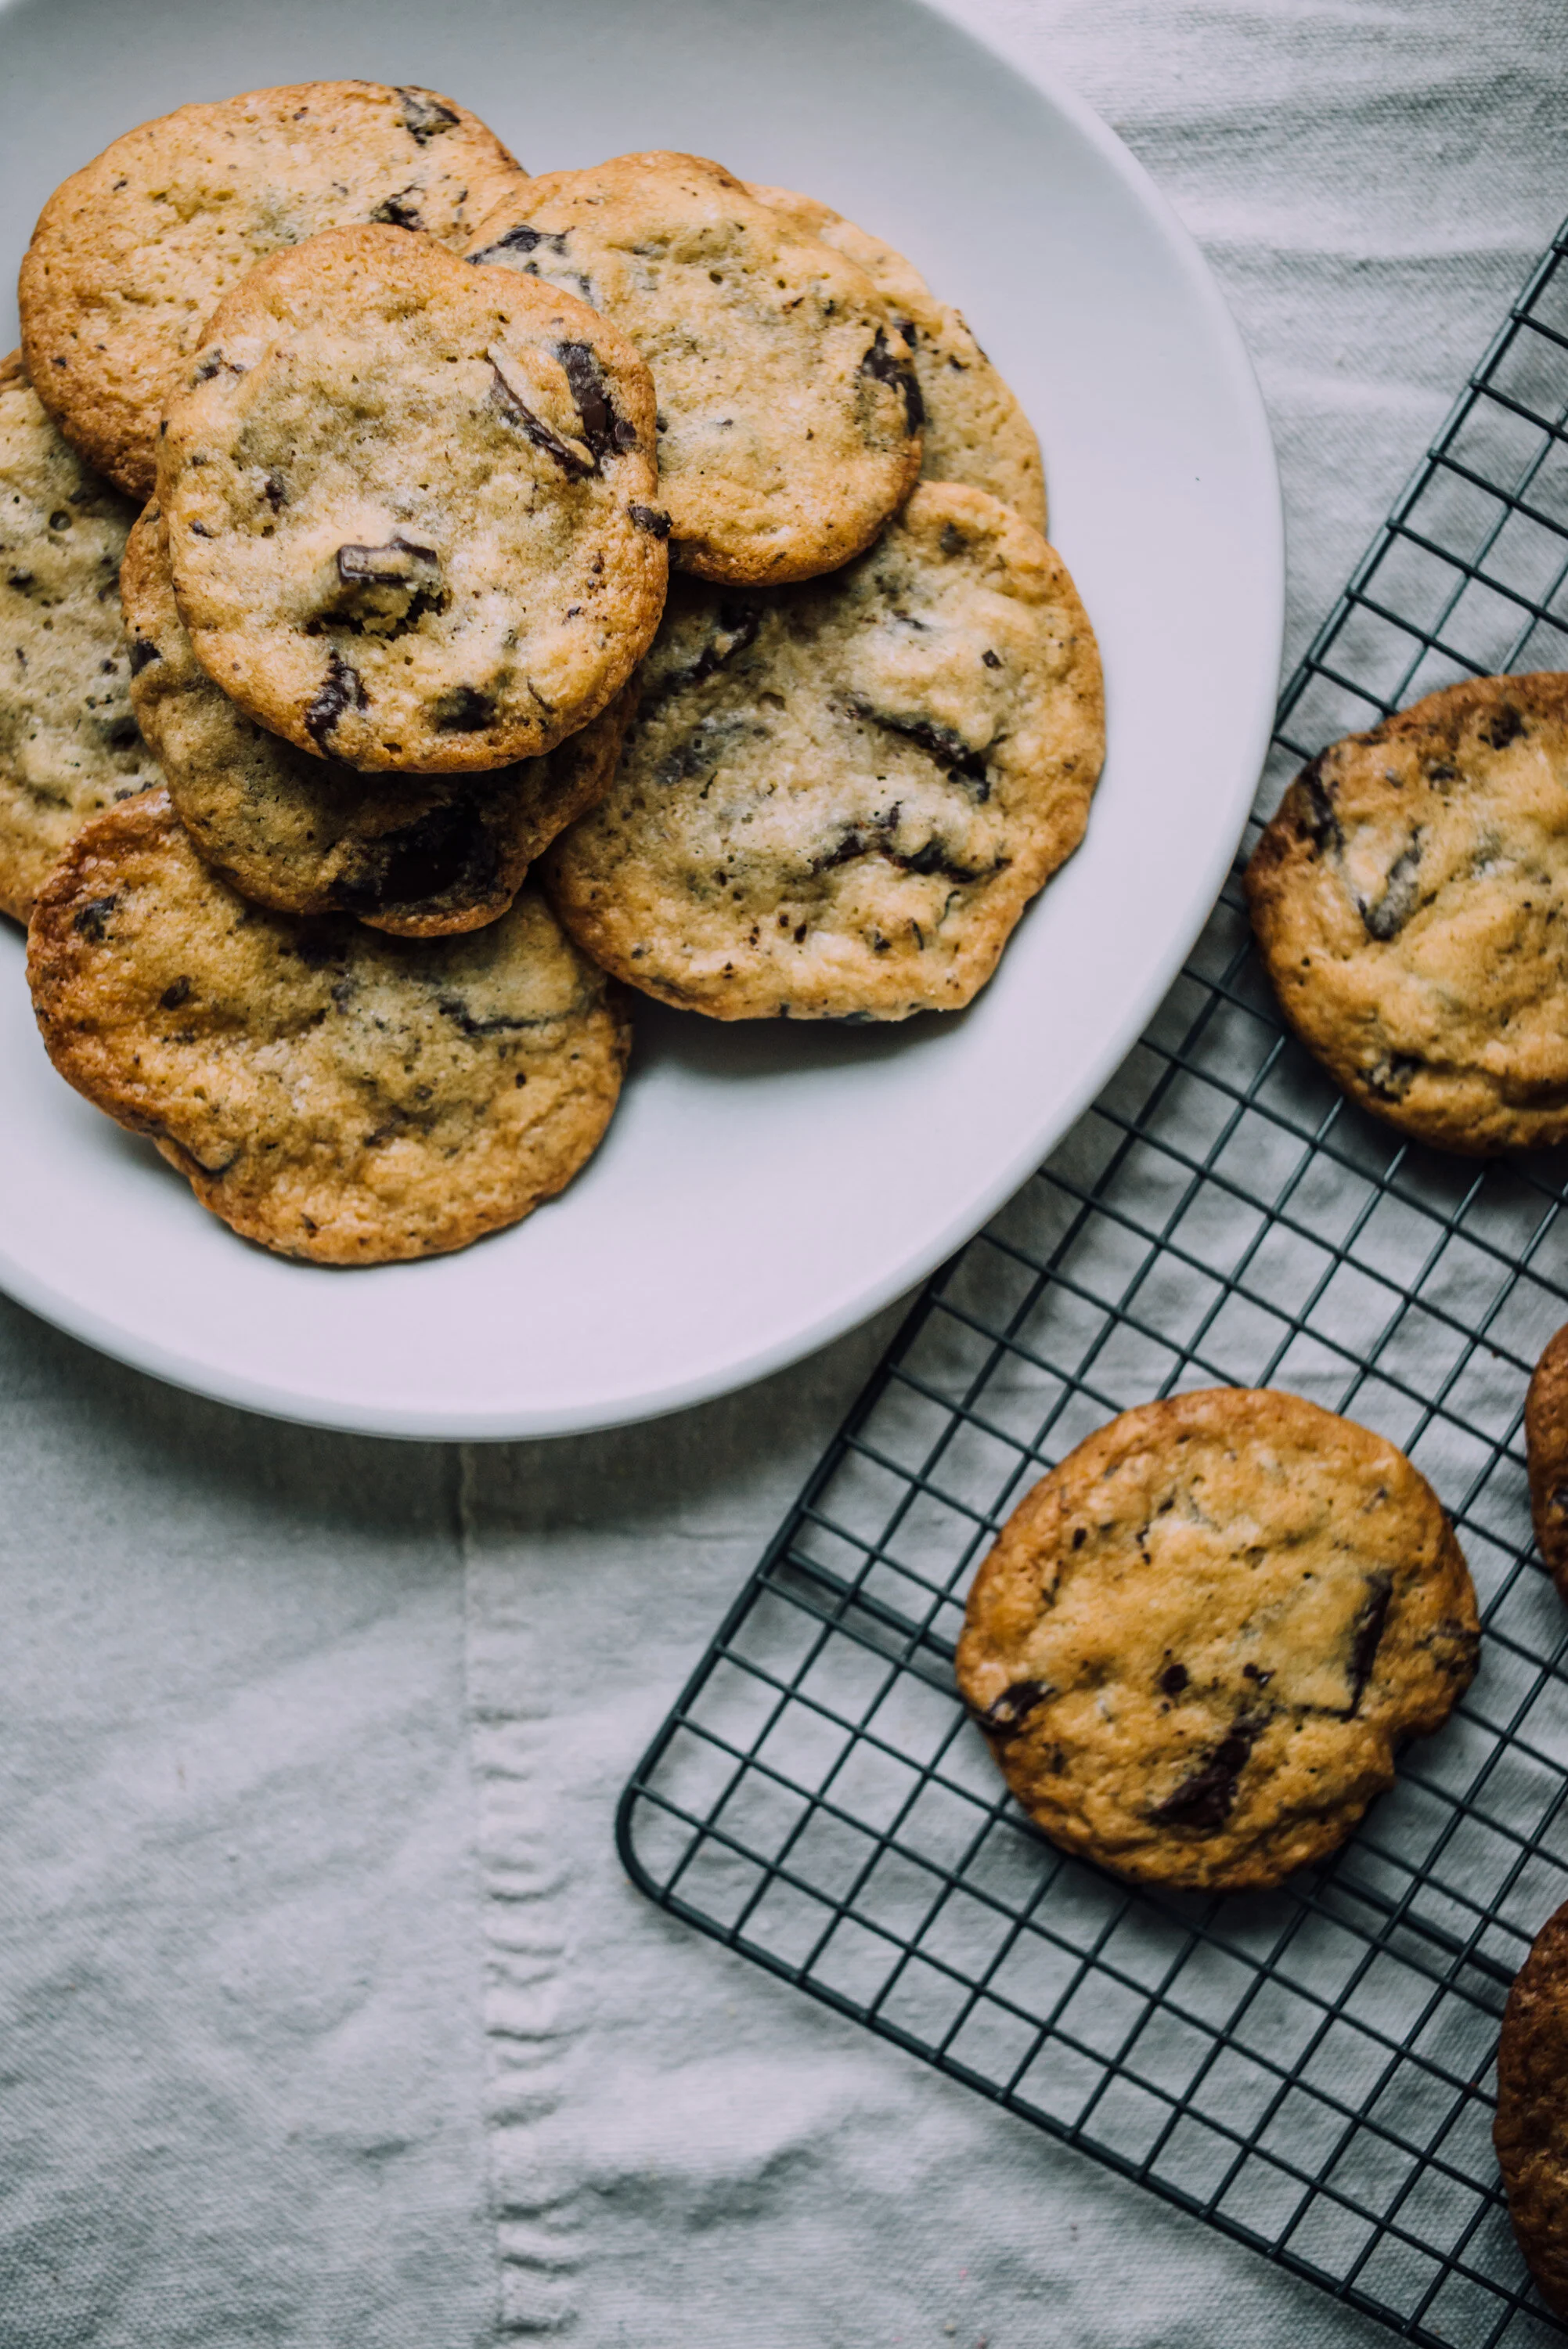
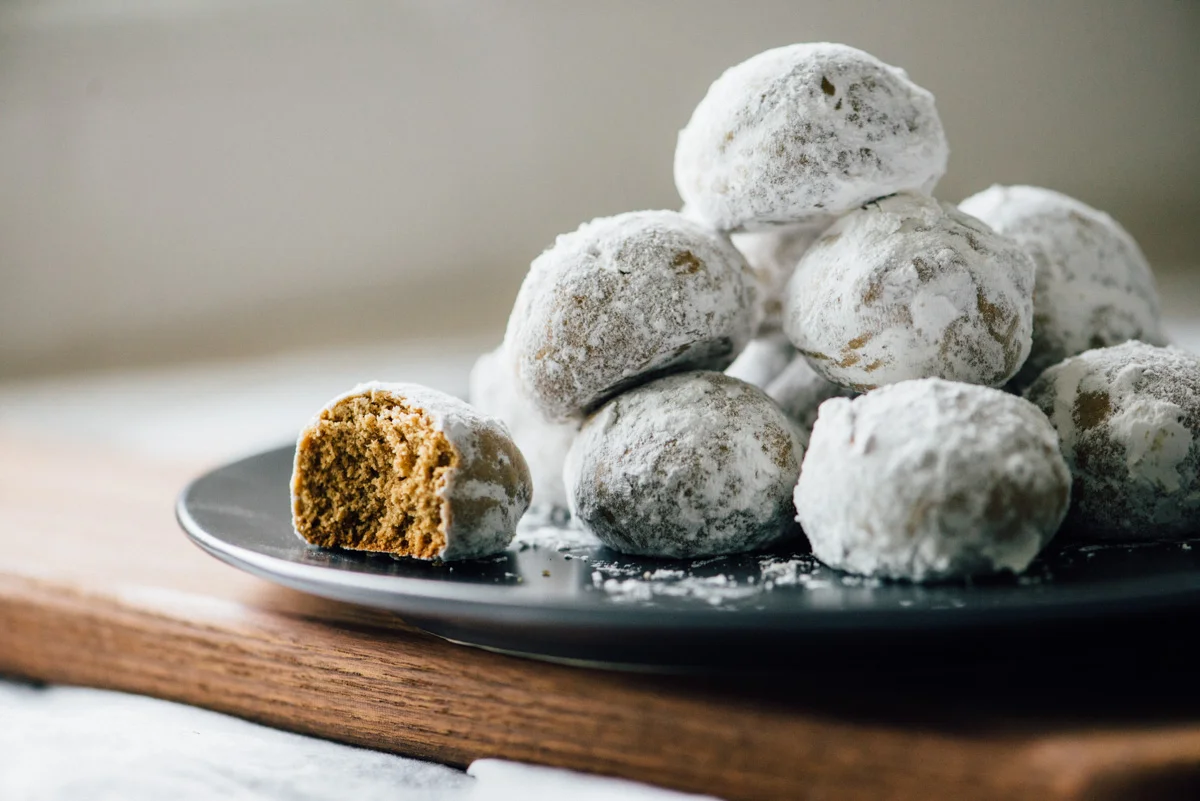
So cookies. I’ve been meaning to try out this recipe for a while. We had some incredibly good cookies from Costco recently, their oatmeal raisin cookies were amazing. I could taste the molasses. So I ventured onto this recipe. It’s really good! But it’s definitely heavier on molasses than the ones I had from Costco. Still, this recipe makes a great cookie, it’s chewy and falls somewhere between oatmeal raisin and gingerbread. I love molasses and wonder why I don’t bake with it more? I made a few adjustments with butter and sugar but I think you will like it.

And so, you know, we have this election coming up (which is a big freakin’ deal!) but I feel remarkably calm about it. I really think that Biden is going to win. I do. Obviously I could be totally wrong, but… everything is telling me that he is going to win. Trump will blame everyone and everything possible, because of course nothing is ever his fault according to him. But man, I want that moment next week where the American people can say to Trump: “You’re Fired!”

I want that so bad.

I didn’t expect Joe Biden to be the one that could make this happen. But the people have spoken and here we are, which I’m totally ok with. And also, Kamala Harris! Here we have a woman (also POC) running as vice-president and it’s like not even a big deal! How awesome is that?! :) I’m old enough to have voted for Geraldine Ferraro in 1984 and it’s kind of incredible that there has not been one woman on the Presidential ticket since then, with the exception of Hillary in 2016, but really, why not?

Let’s hope I’m right.

Good Vibes going into this. And good cookies to get us through. We can do this. #votebiden

oatmeal_Raisin_molasses_cookies-2.jpg
oatmeal_Raisin_molasses_cookies-3.jpg
oatmeal_Raisin_molasses_cookies-4.jpg
oatmeal_Raisin_molasses_cookies-5.jpg
oatmeal_Raisin_molasses_cookies-6.jpg

Oatmeal Raisin Molasses Cookies

  • 1 1/2 cups raisins

  • 1/2 cup unsalted butter

  • 3/4 cup sugar

  • 3/4 cup brown sugar

  • 2 large eggs, room temp

  • 1/2 cup molasses

  • 2 cups rolled oats

  • 1-3/4 cups all-purpose flour

  • 1 teaspoon baking soda

  • 1 teaspoon salt

  • 1 (heaping) teaspoon cinnamon

Plump the raisins, place raisins in a bowl, cover with boiling water and let stand for 5 minutes. Then drain and set aside.

In a large bowl (or stand mixer) beat together the butter and sugars until light and fluffy. Add eggs one at a time, beating well after each. Beat in molasses. In a separate bowl whisk together the oats, flour, baking soda, salt and cinnamon. Gradually add the oat mixture to the butter mixture with a wooden spoon and mix well. Stir in raisins.

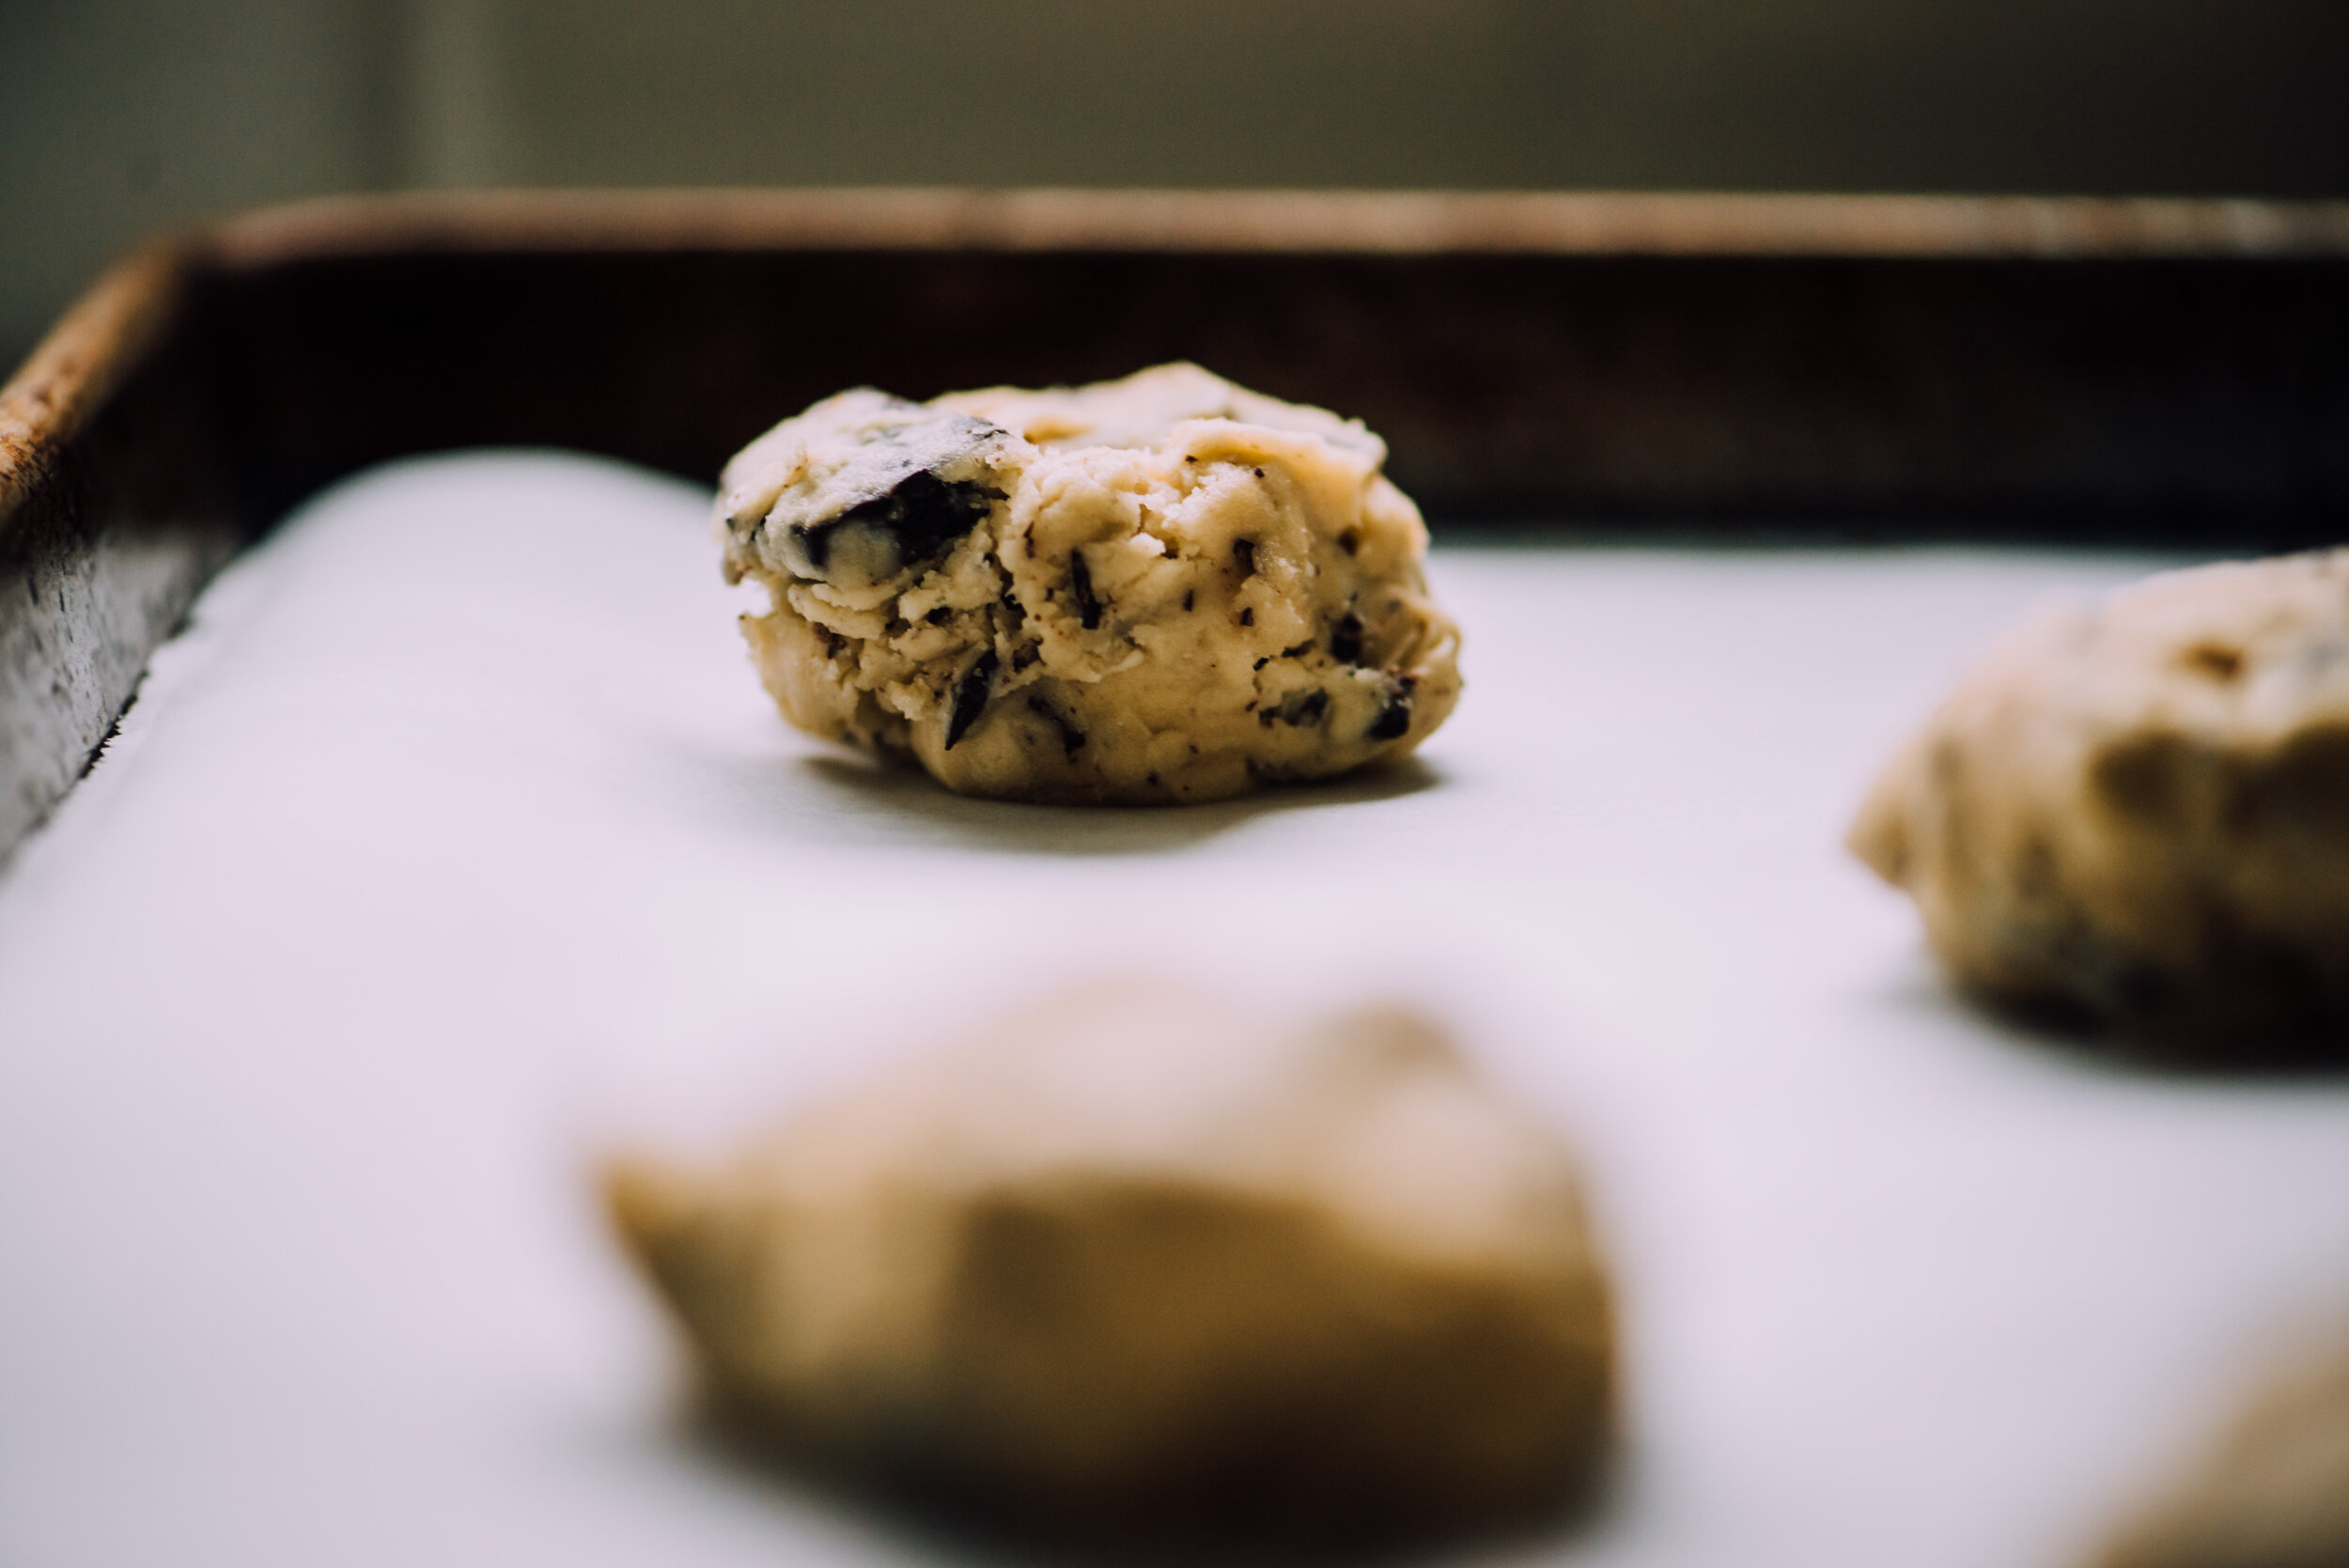
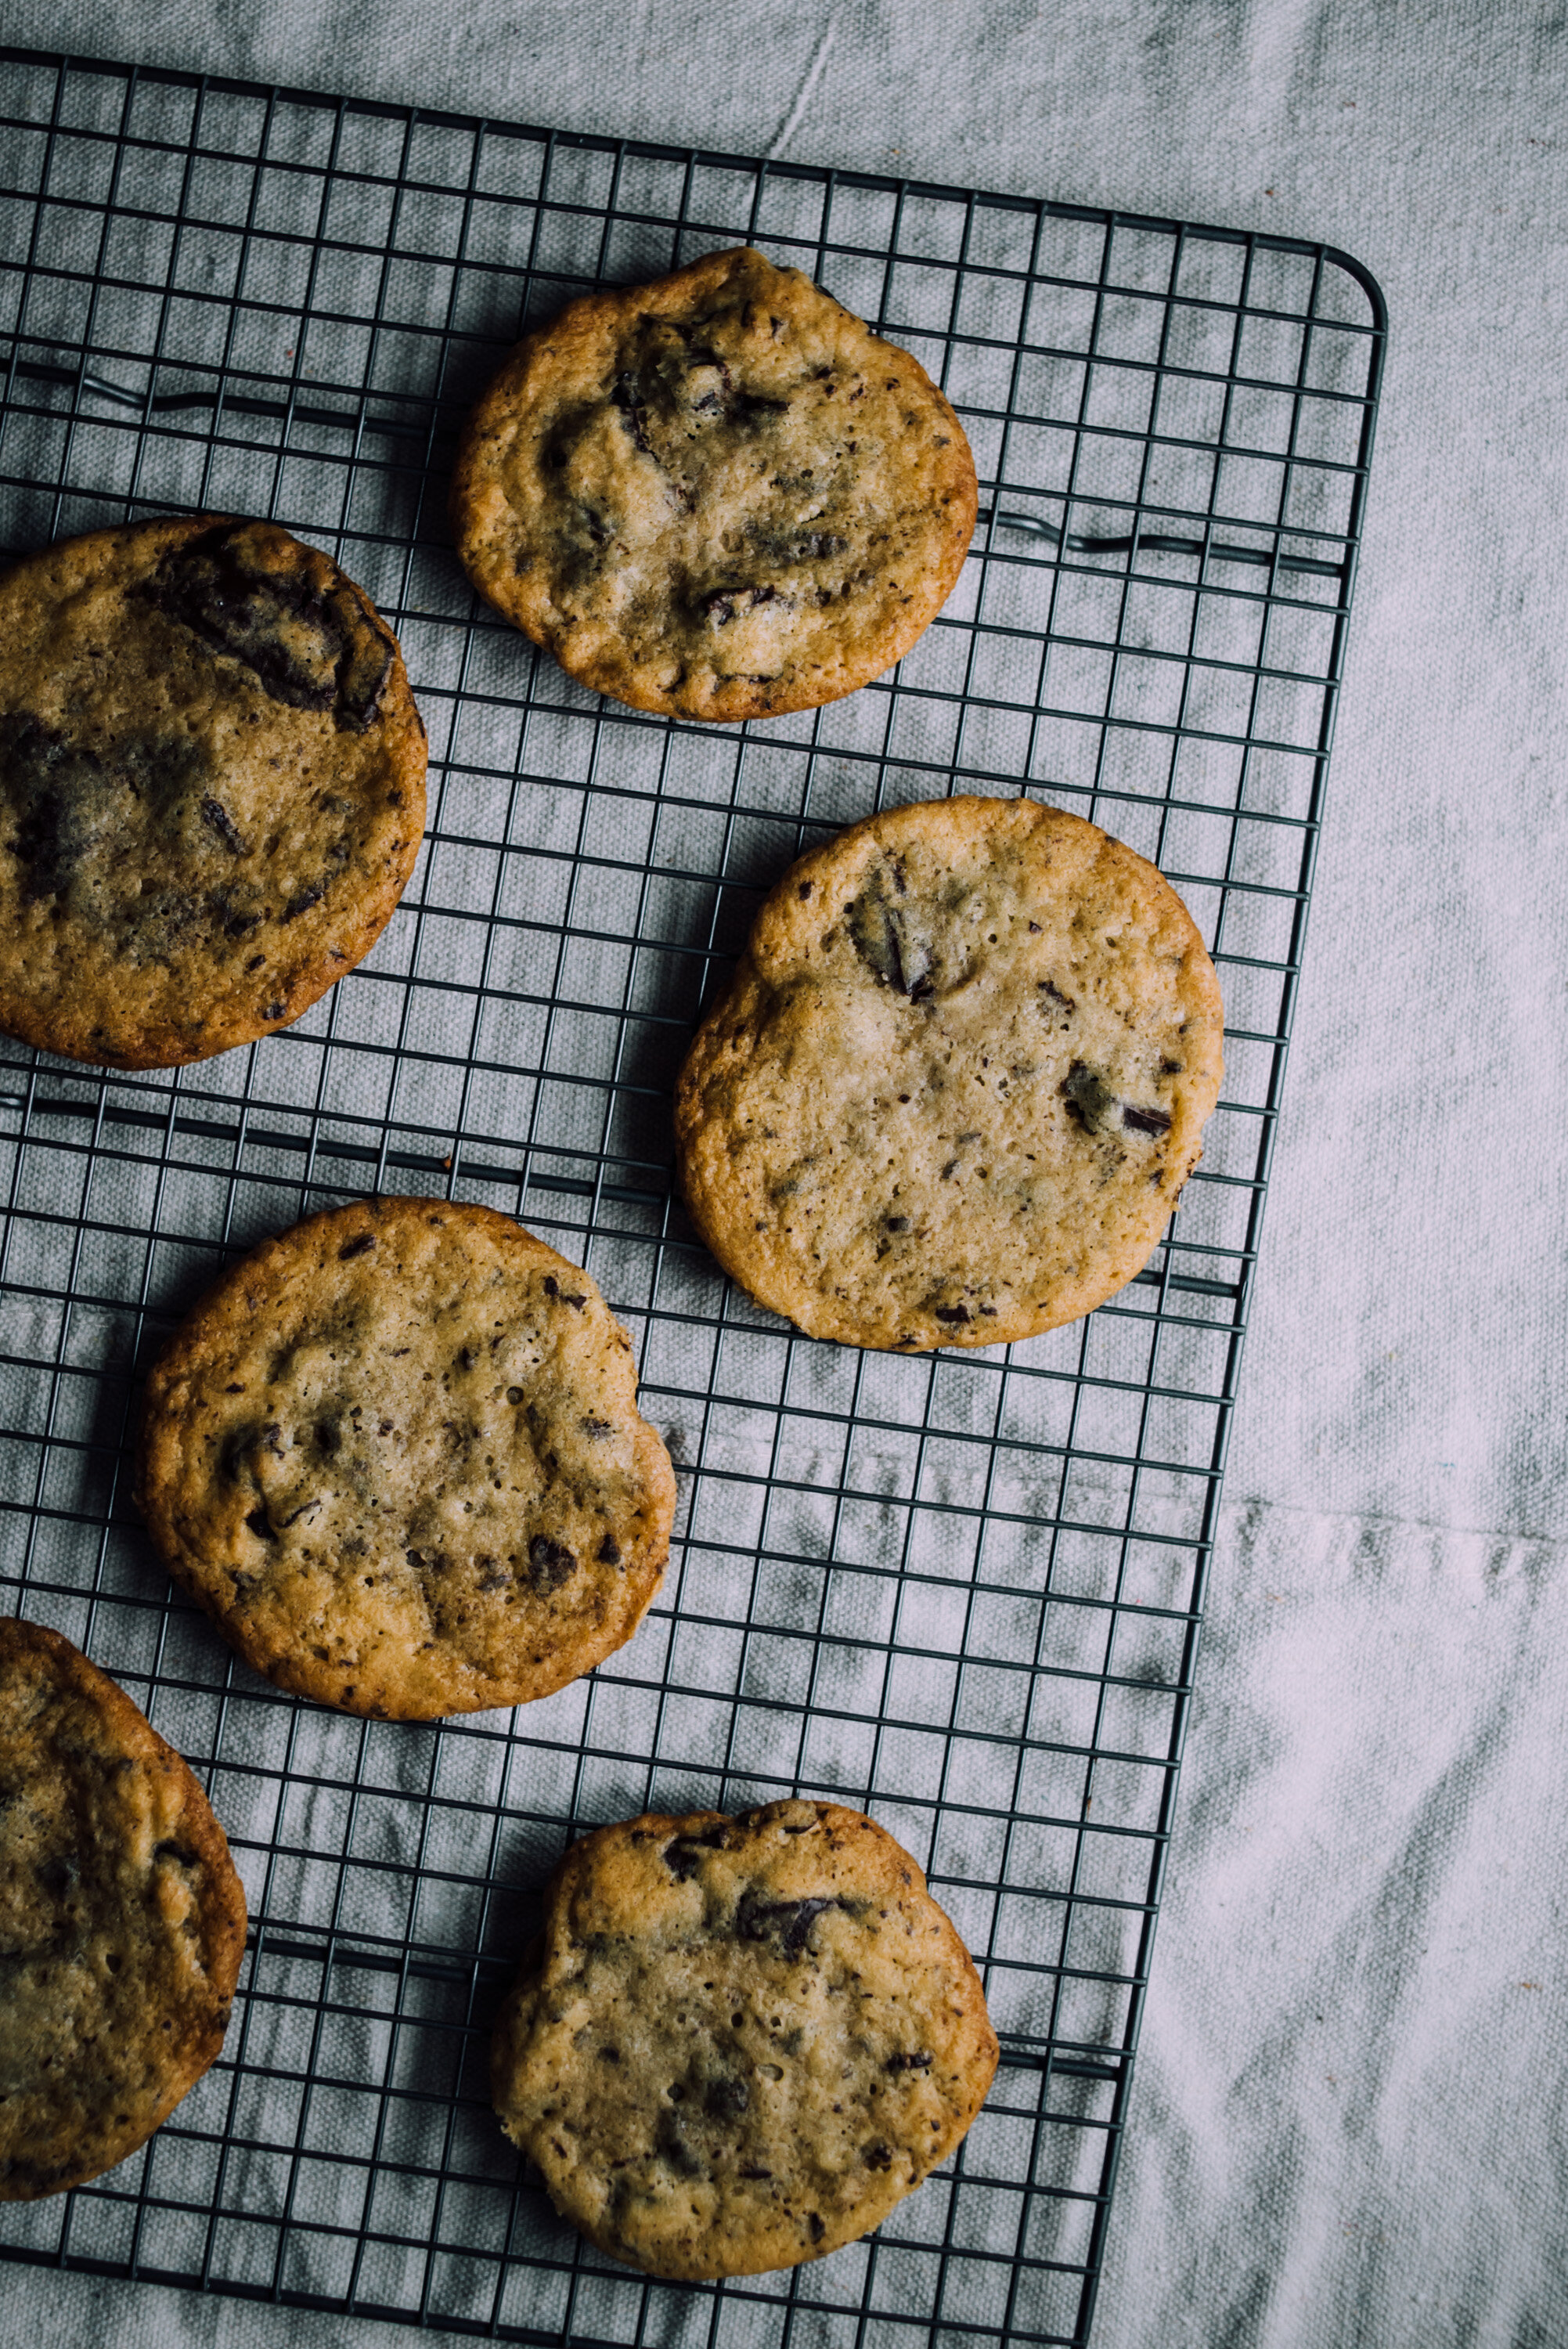
Place a tablespoon of cookie dough 2 inches apart onto parchment lined baking sheet. Bake at 350° for 12-14 minutes (mine were done in 14 minutes). Remove from oven and let cool a few minutes, then transfer to cooling rack. This recipe makes a lot of cookies! 5 dozen at this size cookie. I make a couple batches then refrigerate the rest of the dough. You can also freeze the dough so you can make the cookies at your own pace. 

Recipe adapted from Taste of Home

Black Forest Cake

black_forest_cake-1.jpg

Black Forest Cake. or rather a Black Forest Gateau. Gateau just means cake with cream and fruit filling. I didn’t know that so thought to pass that along. I asked Jeff what kind of cake he would like for his birthday and he showed me this Black Forest Gateau on BBC good food. It looked amazing! I searched around for other recipes online and came up with the one I’m posting here. I’m really happy with the results so decided to take some photos and do a blog post. The cake part of the recipe is from Call Me Cupcake and the rest, the filling and topping, is from my previous cake recipes, with the exception of the brandied cherries which I sort of made up, there are so many different ways to make them, but they came out really good! It’s not cherry season so I used frozen cherries. I couldn’t find any Bada Bing cherries in a jar (I didn’t need 6 jars!), which would have looked nice on top of the cake, but I just worked with what I could find. It’s weird these days why it’s hard to find certain things, not just toilet paper but jalapeños at Whole Foods? None? Really? oh well. We just have to make do with what we have and appreciate what we do have. 

I’d like to think of this as a beautiful mess. It came out much messier than I expected, I wanted a few drips of ganache down the sides and it proceeded to pour over like a waterfall out of control. But hey that’s ok. Jeff sort of marveled at all the layers and things going on. Puddles of chocolate? Who can complain about that. This cake will make you smile, I promise. Most of this is make-ahead-recipes so it’s quick to assemble on the day your serving it. You really could make everything the day before, then just warm the ganache, assemble and chill before serving.

Oh, I just remembered, another thing I couldn’t get with my grocery delivery was Mascarpone for the frosting. So I ordered an extra pint of whipping cream and made it myself, you can find the recipe here, it’s very easy to make. It needs to strain for at least 12 hours so it’s best to do it at night and it will be ready the next day. I’m finding all these weird things I’ve made over the years coming in very handy lately!

black_forest_cake-2.jpg
black_forest_cake-3.jpg
black_forest_cake-4.jpg
black_forest_cake-5.jpg
black_forest_cake-6.jpg

The Cake

  • 4 ounces butter, 1 stick

  • 2 1/2 cups all purpose flour

  • 3/4 cup cocoa powder

  • 2 teaspoons baking powder

  • 2 teaspoons baking soda

  • pinch of salt

  • 2 cup granulated sugar

  • 2 large egg

  • 1 1/3 cup sour cream

  • 3/4 cup hot water

Heat oven to 350°F (175°C). Butter and flour three parchment-lined 9-inch cake pans. Cut the butter into chunks and melt in the microwave or stove top and set aside to cool.

Sift the flour, cocoa powder, baking powder and baking soda in a large bowl, stir to combine. Add the salt, sugar, eggs and sour cream, whisk together, then slowly whisk in the melted butter and hot water (so you don’t cook the eggs!) Stir until completely smooth. Divide the batter between the three prepared cake pans.

Bake for 25-30 minutes until the center is set and a test knife comes out clean. Let the cakes cool for 10 minutes in their pans before inverting them onto a cooling rack. Let cakes cool completely, wrap in plastic wrap and refrigerate for at least an hour before assembling. Cakes can be made ahead and refrigerated.

The Cherries

You could buy brandied cherries and use straight from the jar but I couldn’t find any. I had frozen cherries so this is how to prepare either frozen or fresh cherries.

  • 1 pound frozen cherries (defrosted in refrigerator)

  • 1 cup brandy

  • 1/2 cup water

  • 1/4 cup sugar

Add the cherries, brandy, water, and sugar to a small saucepan and heat over medium until the sugar has dissolved. Simmer for 15 minutes and remove from stove, allow to cool and refrigerate in sealed container. 

The Mascarpone Whipped Cream Frosting

  • 1 cup mascarpone

  • 1 cup heavy whipping cream

  • 1 tablespoon granulated sugar

  • 1/2 teaspoon vanilla extract

Beat together the mascarpone, whipping cream, sugar, and vanilla extract in the bowl of a stand mixer fitted with a whisk attachment at medium high speed until fluffy, about 1 to 2 minutes. Refrigerate until ready to use.

The Ganache

  • 2 ounces dark chocolate, chopped finely (or semi-sweet chocolate chips)

  • 1/4 cup heavy cream

  • Plus more dark chocolate for shaving on top of cake later

Place the chopped chocolate in a bowl. Heat the cream over a medium heat until just simmering, then pour over the chocolate, allow the chocolate to melt for a bit then whisk briskly until well combined. Set aside. (this should be your last step in cooking before assembling the cake)

Assemble!

Place your first layer of cake on a cake stand or plate. Spread a good amount, about 1/2” thick with the mascarpone frosting. Top that with almost half the brandied cherries. Place your second layer of cake and repeat with mascarpone frosting and cherries, but leaving a few cherries aside for the final top, unless you have extra fresh or jarred cherries to use. Place your final cake layer on top of that, then pour on the ganache, let it dribble down the sides of the cake. Add some chocolate shavings on top (a vegetable peeler works great for shavings) and add the remaining cherries. Chill well, at least an hour, before slicing. It’s kind of a mess, but a good mess!

Photo by Jeff McDonald

Photo by Jeff McDonald

Crispy Thin Chocolate Chip Cookies

crispy_thin_chocolate_chip_cookies-1.jpg

Crispy Thin Chocolate Chip Cookies. I’ll tell you right now, this recipe is a keeper! I’ve been eager to make these cookies ever since I saw David Lebovitz’s blog post recently. I’ve made chocolate chip cookies before, you might remember my 2-ways post back a few years ago with that giant cast-iron pan cookie! And while those are good, these are much much better. These are absolutely delicious. They’re similar to Tate’s Chocolate Chip Cookies. What makes them thinner and crisper? I compared the two recipes and while they’re quite similar in ingredients, this one here has less flour, less egg and the addition of water. Water? Maybe that’s the secret ingredient! 

In any case I made a couple changes, using dark brown sugar rather than light brown sugar, I think it works fine. And I chopped up 7 ounces of 72% Cacao dark chocolate bars rather than using chocolate chips, it’s up to you but I like the big chocolate pieces in the cookie. David has the dough balls scooped out around a 1/4 cup each, I think that might be too much, I used a heaping tablespoon of cookie dough, rounded it out into a ball and they were pretty large, you can see from my photo below that even spacing them out a lot they still ran into each other. You basically want a 1”-1 1/4” ball. I got out my big-ass baking sheet on the next round so they had plenty of room to spread. The following batches I went for more of a 1” size ball. And all of them were done more close to 15 minutes. Not only will the time depend on the size of the cookie, but if the cookie dough is left out of the fridge longer they might be done a minute or two sooner. So keep an eye on them towards the end.

It’s January which marks the 7th anniversary of this blog! I can’t believe I’m still doing this, lol. I’ve learned a lot and have become much more comfortable cooking and baking and of course photographing the whole business. Much thanks to those that stop by to see what I’m up to, I appreciate your comments and such. I know blogging is not so much a thing these days but personally appreciate everyone out there that’s sticking to it and sharing recipes, how-tos and all that. The internet has become so toxic over the years, sometimes it’s nice to just chill out and read about cookies. I have quite a few recipes I want to share with you over the next few weeks, some of my favorites that have been on repeat. I think you’ll enjoy them. Speaking of enjoy, please please make these cookies, you won’t be disappointed.  David’s recipe is adapted from Joanne Chang’s Pastry Love: A Baker’s Journal of Favorite Recipes.

crispy_thin_chocolate_chip_cookies-2.jpg
crispy_thin_chocolate_chip_cookies-3.jpg
crispy_thin_chocolate_chip_cookies-4.jpg
crispy_thin_chocolate_chip_cookies-5.jpg
crispy_thin_chocolate_chip_cookies-6.jpg
crispy_thin_chocolate_chip_cookies-7.jpg
crispy_thin_chocolate_chip_cookies-8.jpg
crispy_thin_chocolate_chip_cookies-9.jpg
crispy_thin_chocolate_chip_cookies-10.jpg

Crispy Thin Chocolate Chip Cookies

  • 8 ounces (225g) (2 sticks) unsalted butter, at room temperature

  • 1 cup (200g) superfine sugar (or put regular sugar in blender for a few seconds)

  • 1/2 cup (100g) firmly-packed dark brown sugar

  • 1 large egg, at room temperature

  • 3 tablespoons (45g) water

  • 2 teaspoons vanilla extract

  • 1 3/4 cups (245g) flour

  • 1 1/4 teaspoon flaky sea salt or kosher salt (if using Morton's kosher salt, use 3/4 teaspoon or 1 teaspoon for more profound saltiness)

  • 1 teaspoon baking soda

  • 1 1/2 cups (280g, 7-10 ounces) bittersweet or semisweet chocolate (chopped or chips)

In a stand mixer fitted with the paddle attachment beat the butter and sugars on medium speed until light and creamy, about 5 minutes. Or use a hand mixer, doing this by hand will wear you out and take much much longer.

Stop the mixer and scrape down the sides with a rubber spatula, add in the egg, water, and vanilla and mix until well combined.

In a medium bowl mix together the flour, salt, and baking soda. Add the chopped chocolate and toss in the flour mixture. With the mixer on low speed, stir in the flour and chocolate chunk mixture until thoroughly combined. Cover the bowl (or transfer to a container and cover) refrigerate the dough at least 3 to 4 hours, or overnight.

To bake the cookies, preheat the oven to 350ºF (180ºC). Line two large baking sheet with parchment paper. Arrange the dough, formed in 1-inch to 1 1/4-inch balls on the baking sheet, spaced at least 3-inches (8cm) apart. (They will spread, so expect to get 5 or 6 on a standard baking sheet.) Press the cookies down slightly with your hand and bake until the cookies have spread and just until there are no light patches across the center, rotating the baking sheet(s) midway during baking so they bake evenly. They'll take about 13-15 minutes, check the cookies a few minutes before the timer goes off and see if they need longer. The time will depend on the size of the cooker, larger will take a bit longer but only a minute or two more.

Remove the cookies from the oven and let cool for 5 minutes. Transfer the cookies to a wire rack and cool completely.

Storage: The dough can be refrigerated up to four days, or frozen for up to three months. The cookies will keep in an airtight container for up to three days but are best the day they are baked.

Adapted from David Lebovitz who adapted it from Joanne Chang

Honey Peanut Butter Rice Crispy Treats

honey_peanut_butter_rice_crispy_treats-1.jpg

Last week I stopped by a small vegan cafe in my neighborhood Tiny Moreso, in the case they had Peanut Butter Rice Crispy Treats which I bought along with some type of Apricot Balls full of flax and other healthy stuff, both were delicious. I looked online for a recipe, which there are many and all pretty simple. This recipe had more peanut butter so I went with it, and wow it’s so good! And it’s vegan if that matters to you. It comes together very quick, 10 or 15 minutes and then you just have to refrigerate the treats for about an hour and they’re done. It doesn’t get any easier. Tiny Moreso treats were tall and big, probably 3” tall, and most of the recipes online put the mixture in a more shallow dish, but I wanted that height so I put the mixture in a loaf pan and it worked out really well, this recipe works out to 8 servings, I only have six in the photos because Jeff and I couldn’t wait to try them! I haven’t had a Rice Crispy treat in so long but I do remember the version with Marshmallow was super sweet, I think using honey is so much better because it’s sweet but not toothache sweet. If you want you can pour the warmed chocolate over the entire mixture but I like the chocolate drizzle (Jackson Pollock) style. 

honey_peanut_butter_rice_crispy_treats-2.jpg
honey_peanut_butter_rice_crispy_treats-3.jpg
honey_peanut_butter_rice_crispy_treats-4.jpg
honey_peanut_butter_rice_crispy_treats-5.jpg
honey_peanut_butter_rice_crispy_treats-6.jpg

Honey Peanut Butter Rice Crispy Treats

  • 3/4 cup creamy peanut butter

  • 1/3 cup honey

  • 1/4 tsp kosher salt

  • 1/2 tsp pure vanilla extract

  • 3 cups rice crispy cereal

  • 2 oz Chopped chocolate (I like 72% cacao)

In a small pot add the peanut butter and honey, warm over a medium heat, stirring until well combined. Stir in the salt and vanilla. In a large bowl add the rice crispy cereal, pour the peanut butter mixture over the cereal and mix until all the cereal is covered. Place the mixture into a parchment lined loaf pan. Press down to fill any gaps and smooth over for an even top. Heat the chocolate in the microwave or over a double boiler on the stove top. When melted drizzle the chocolate over the rice crispy mixture. Cover with foil and refrigerate for at least 1 hour. Slice into 8 servings and enjoy! Store refrigerated in covered container.

Adapted from Joy Food Sunshine


Pumpkin Bread

Pumpkin Bread

It’s that time of year again. All things Pumpkin! And dark. Well actually this October has been unusually sunny for Portland, but this past week the rain finally kicked in, raining every. single. day. oh no! But this time of year is also an opportunity for walks on misty mornings.

Read More

Honey Chocolate Fudge

Honey Chocolate Fudge

Healthy fudge!? For real? A few weeks ago Sprouted Kitchen started a Cooking Club. I like Sarah’s recipes and thought it would be fun to join, so I did. Each week she provides a shopping list and recipes for three meals and a snack.

Read More