Black-Eyed Peas + Collard Greens

black_eyed_peas_collard_greens-1.jpg

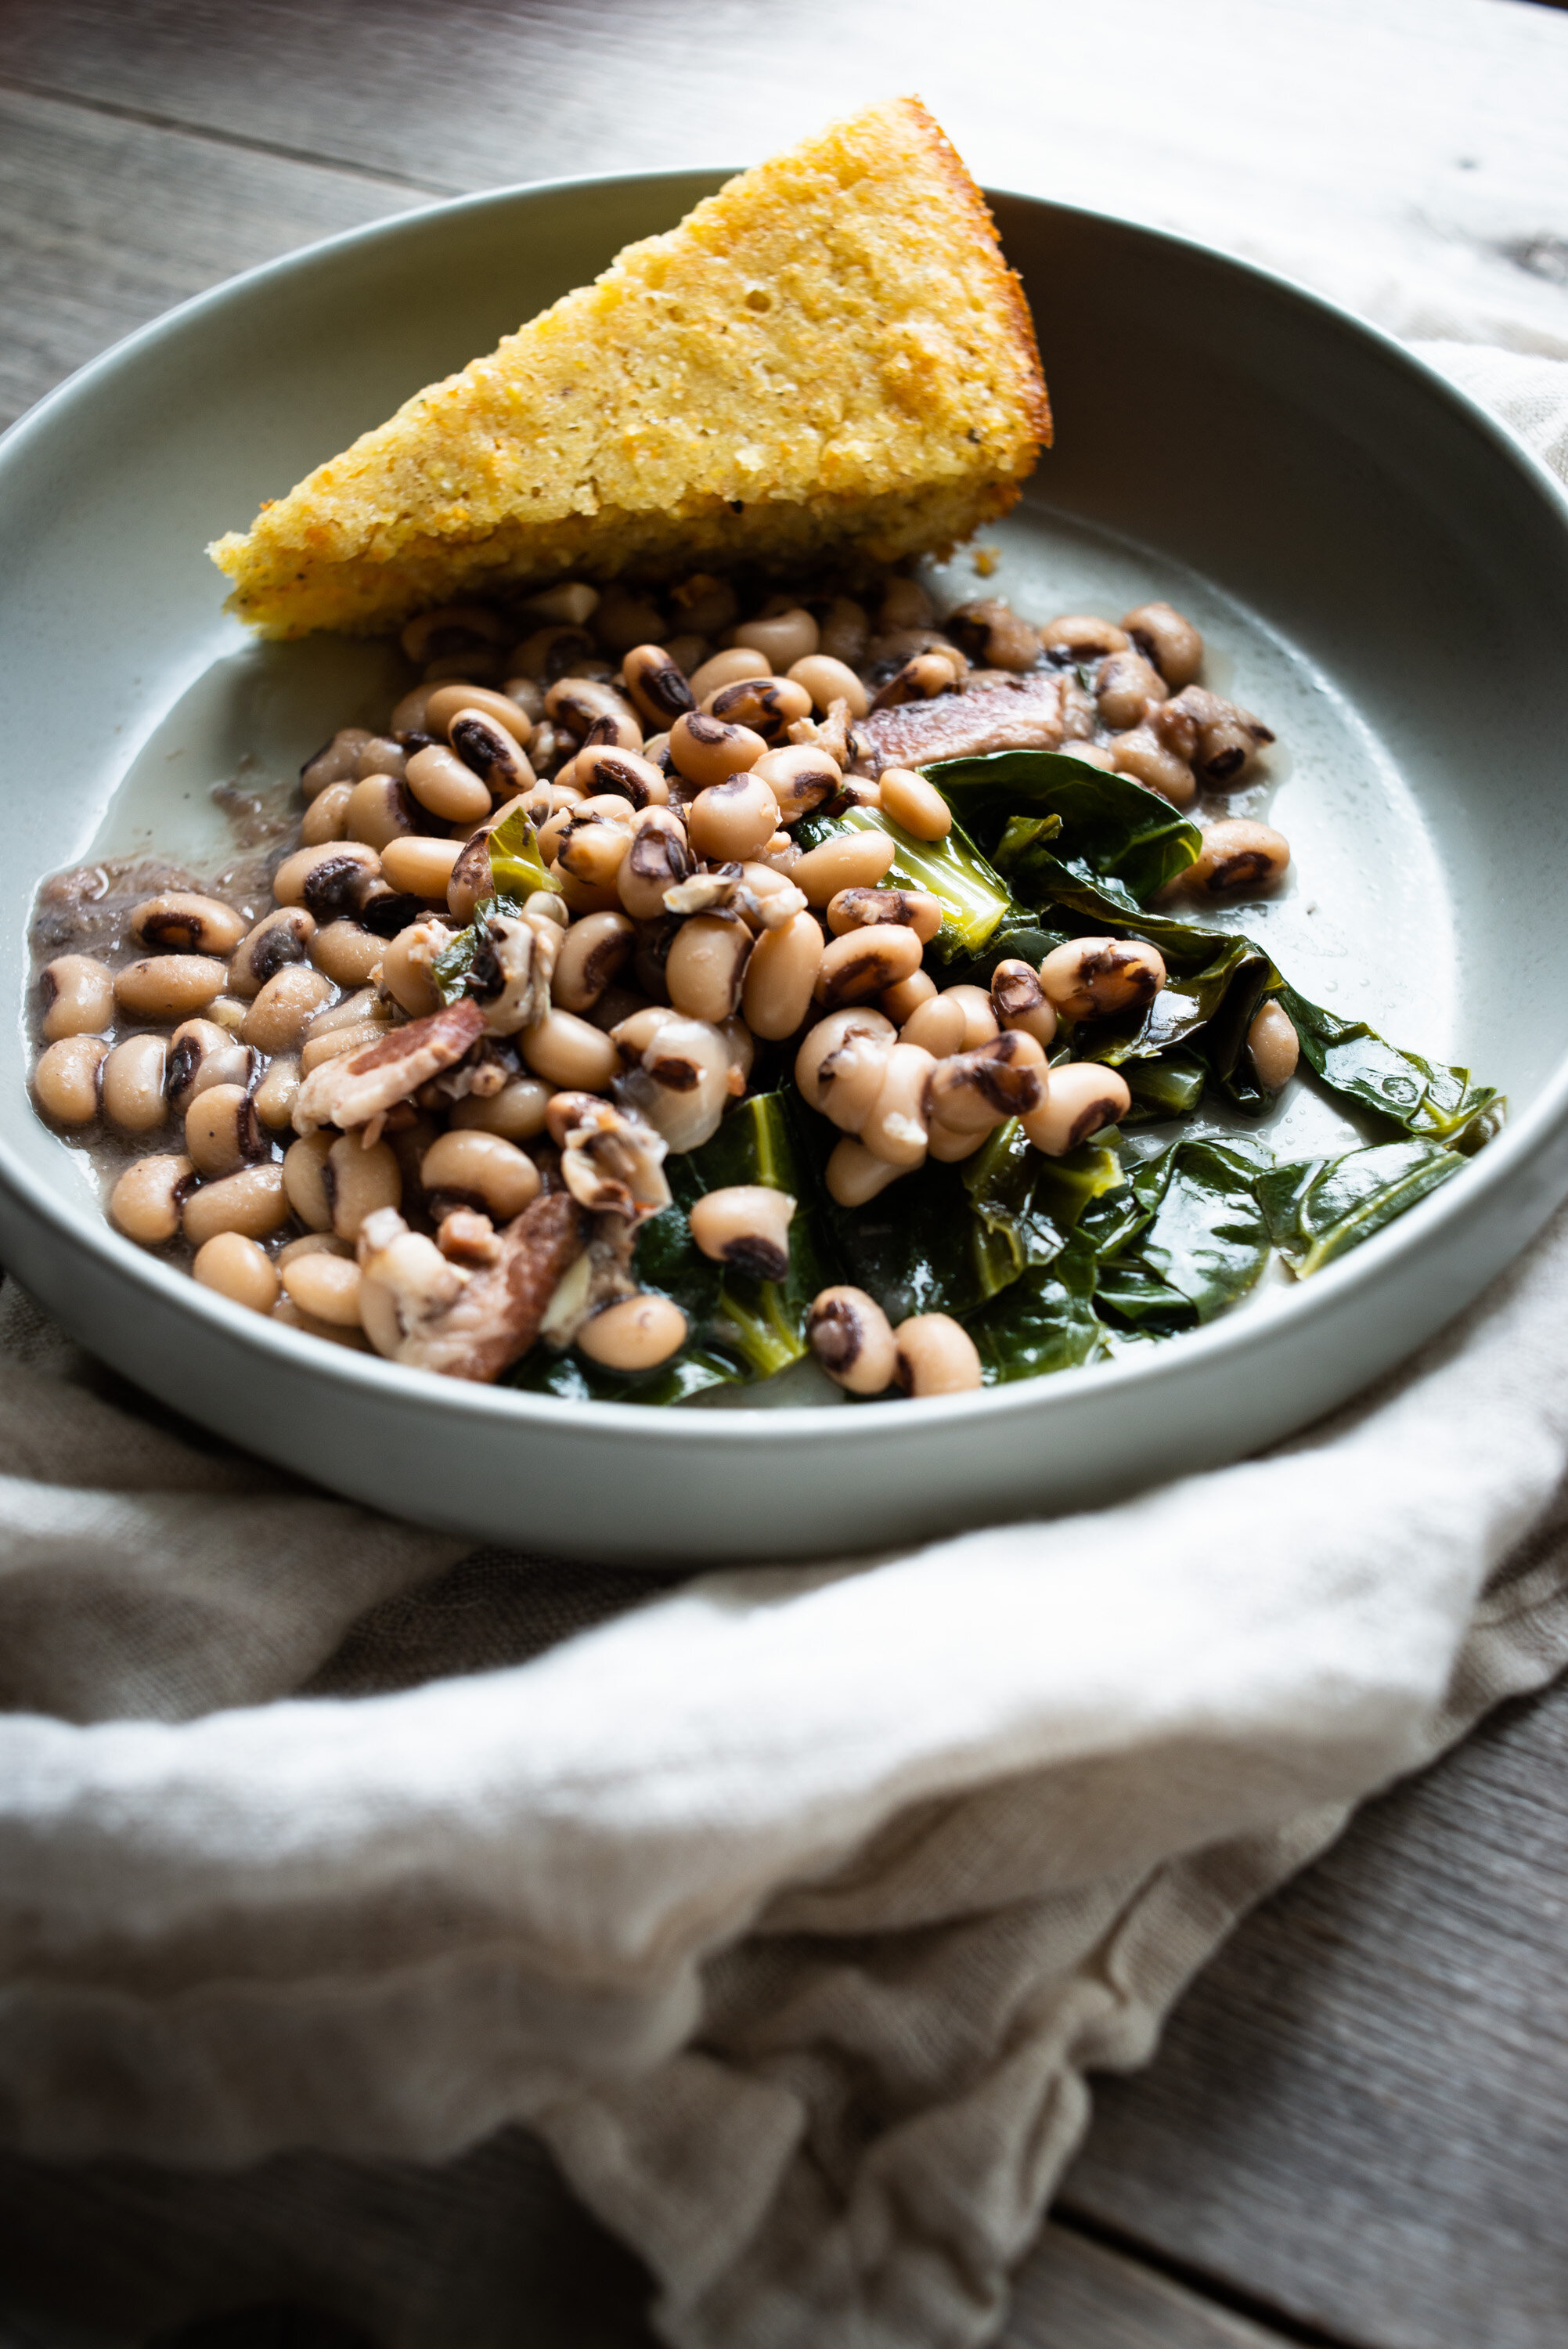
Here’s the Black-Eyed Peas and Collards Greens that I made last week, I think I mentioned it in my Cornbread post, which seems so long ago. Man, these are weird times. I did some shopping yesterday morning because it’s getting so difficult to get delivery, or to get what you want, Amazon PrimeNow is really feeling it these days with low inventory, so I got my disposable gloves, sanitizer, dust mask and went to it. Well the mask didn’t work out at all, it kept fogging up my glasses and I couldn’t see. So that had to go. But I will say the majority of shoppers were really good about keeping distance. And the cashier was sanitizing everything after each customer. I brought my own bags so I had bag myself which was fine, and it felt good to be out for a bit (there is this sense of walking through a minefield, constantly cautious!) But we have groceries for a good one to two weeks and it gives me peace of mind that I don’t have to go out there for a while.

So onto Black-Eyed Peas and Collards Greens. I got the recipe from NYT Cooking. The original recipe had two pounds of black-eyed peas and two pounds of ham, so I halved the recipe, some things I left as is, like the spices, because you might need to add more water as it’s cooking and I found myself adding more spice towards the end. The recipe below makes a ton of food, at least for two people that is, but if you want to make an even bigger batch you can double the peas and ham, double the garlic, keep everything else the same and use 10 cups of water for cooking rather than 7 cups. I initially started with 5 cups of water since I halved the recipe, but it wasn’t enough to cover everything. I think the recipe is fairly forgivable in precise measurements so you can add and subtract however you like and it will be fine. We really enjoyed this dish, I hope you do too. 

black_eyed_peas_collard_greens-2.jpg
black_eyed_peas_collard_greens-3.jpg
black_eyed_peas_collard_greens-4.jpg
black_eyed_peas_collard_greens-5.jpg

Black-Eyed Peas + Collard Greens

  • 1 pounds black-eyed peas, soaked overnight if possible

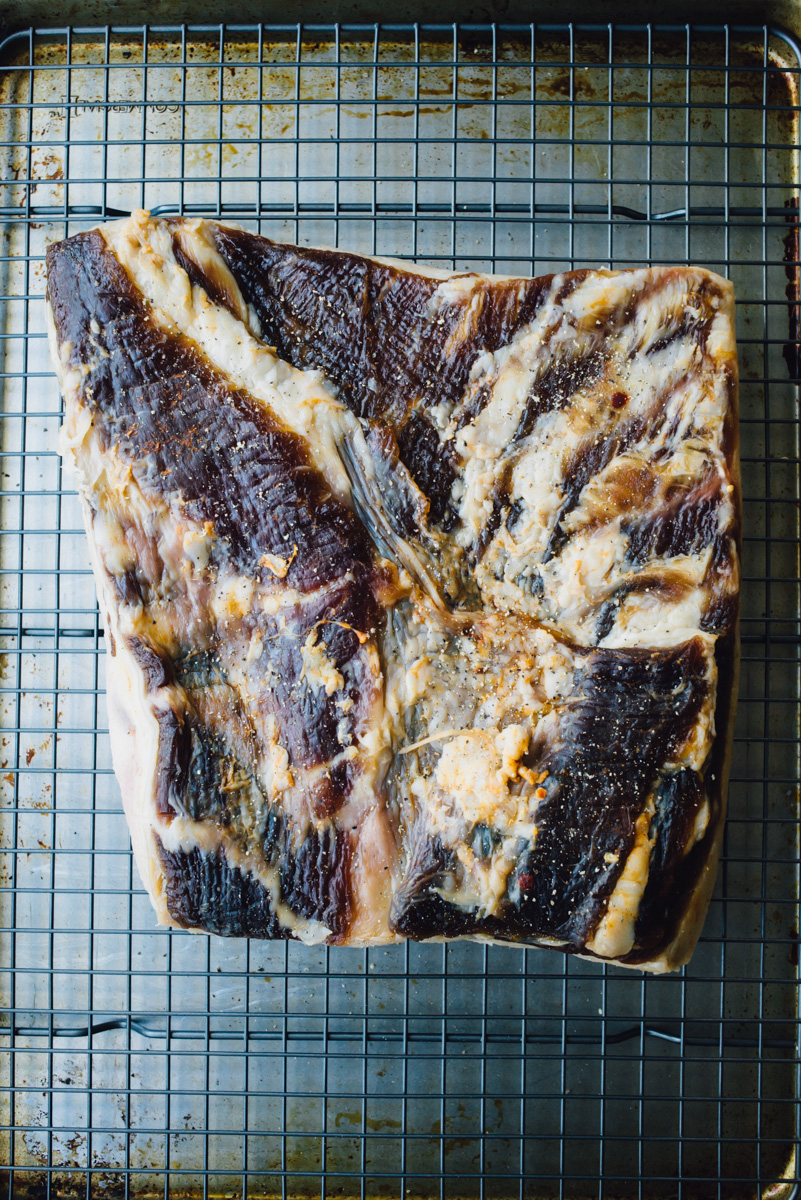
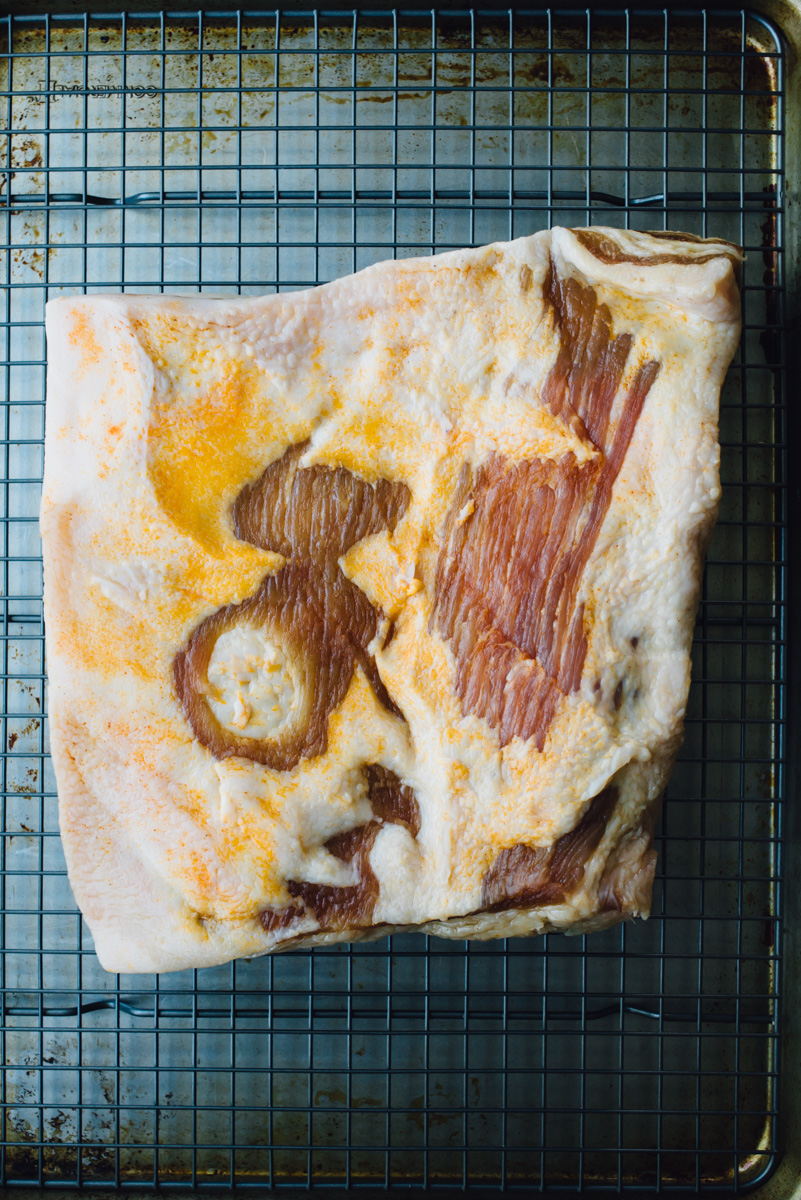
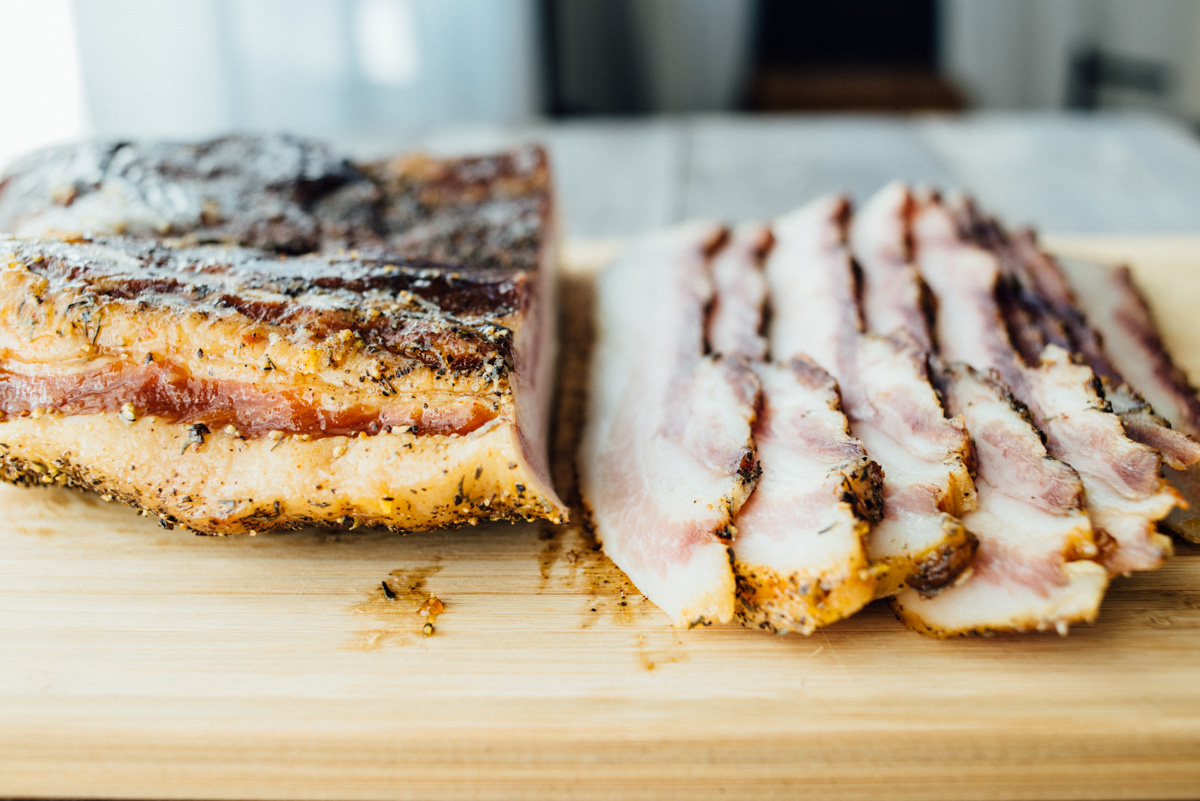
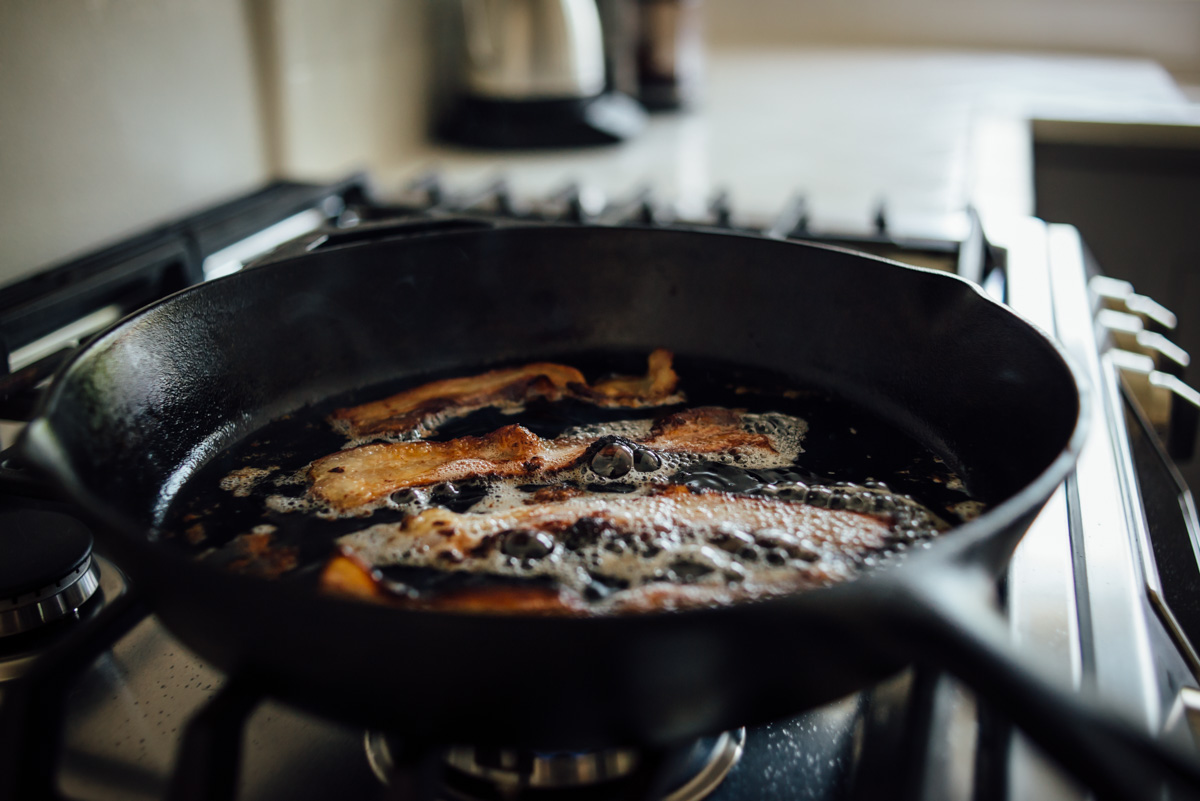
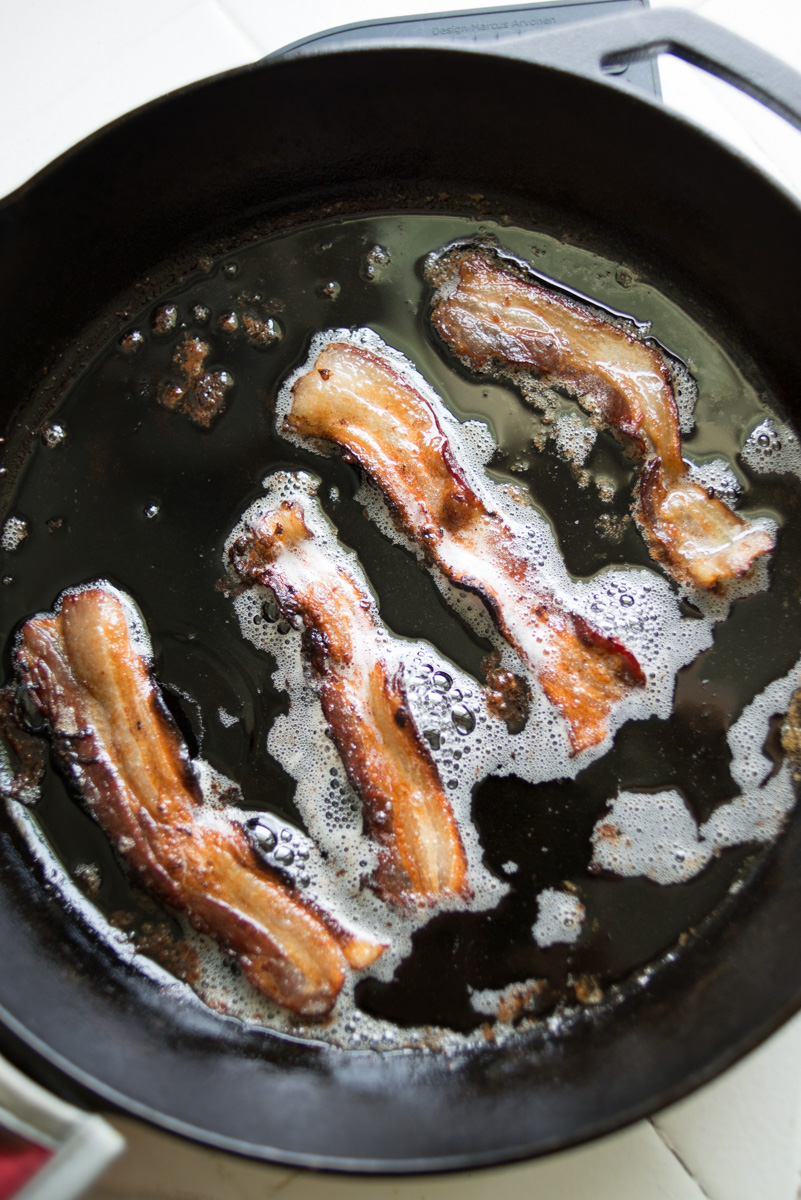
  • 1 pound smoked thick-cut bacon (or smoked ham hock)

  • 1 teaspoon kosher salt

  • 1 large onion, peeled and stuck with 2 cloves

  • 1 bay leaf

  • 1/2 teaspoon black pepper

  • 1/2 teaspoon allspice

  • 2 tablespoons olive oil

  • 2 garlic cloves, minced

  • ½ teaspoon crushed red pepper

  • 2 pounds collard greens, cut in 1-inch ribbons (about 8 cups)

  • 1 bunch scallions, cleaned and chopped, for garnish (optional)

Drain peas and put them in a large Dutch oven or heavy-bottomed soup pot. Add ham hock or bone (if using slab bacon, cut it into 2-inch chunks), cover with 7 cups water and turn heat to high. Add salt, onion stuck with cloves, bay leaf, black pepper and allspice.

Bring to a boil, then reduce heat to a gentle simmer. Skim off and discard any foam that rises to the surface. Simmer for 1 1/2 to 2 hours, until peas are tender (I cooked mine over 2 hours and the bacon started to fall apart, so I think 2 hours max if you’re using bacon). Throughout cooking, add water as necessary, always keeping liquid level 1 inch above surface, stirring with wooden spoon occasionally. Turn off heat. Check broth for salt and adjust seasoning. Mixture should be fairly brothy. With a pair of tongs, remove ham hock, ham bone or bacon. Chop meat and skin in rough pieces and set aside.

Put a large wide skillet over medium-high heat. Add olive oil and heat, then add garlic and red pepper and let sizzle without browning. Add collard greens and stir to coat. Season with salt and add 1 cup water, stirring to help wilt greens. Add chopped bacon and reduce heat to medium, then cover with lid slightly ajar and cook until greens are soft, about 20 minutes. Check seasoning.

To serve, put greens and meat in low soup bowls, then ladle over hot black-eyed peas. Sprinkle with scallions.

Recipe adapted from NYT Cooking

Pork Fried Rice with Bok Choy

pork_fried_rice_bok_choy-1.jpg

This Pork Fried Rice is so good! I think it’s better than take-out to be honest. Last month I purchased Chinese barbecued pork at Costco, I wasn’t sure what I was going to do with it, maybe a stir fry or soup, but I’ve made fried rice with bacon before and it came out so good that I had no choice but to make this. The Costco pork contains two pieces at about a pound each, so the amount works great for the recipe below and you can freeze the other pound of pork. 

The original recipe had half the sauce that I have below, that’s how I made it the first time and it really needed more sauce for all that rice, so I doubled the sauce measurements and I think it came out perfect. 

Another change from the original recipe, I didn’t use solid vegetable oil, I don’t have any and I don’t want any, lol. So I used olive oil instead, you might want to try avocado oil or a peanut oil which is more suitable for high heat, I didn’t want this to be too greasy and it wasn’t! I prefer this much more than take-out fried rice that can be way too greasy. If you can’t get your hands on Chinese barbecued pork you could make this with bacon, or leftover chicken, if you’re vegetarian you can add tofu or maybe eggplant.

I included a recipe for the Bok Choy, although mine came out really chewy and was hard to eat. Depending on the type of Bok Choy you have you might want to chop it up rather than quartering it. I’ve learned that Shanghai Bok Choy is more tender, it’s greener all the way through. And the larger the Bok Choy the more fibrous and chewy it will be, so I would recommend chopping it in small pieces.  

So make some rice! Pop it in the fridge and make this the next day, you’ll love it!

pork_fried_rice_bok_choy_2-1.jpg
pork_fried_rice_bok_choy-3.jpg

Pork Fried Rice with Bok Choy

  • 6 tablespoons soy sauce 

  • 10 teaspoons rice vinegar 

  • 2 tablespoon Asian sesame oil 

  • 1/2 teaspoon sugar

  • 1/4 cup peanut oil (you can start out with less and then add as needed)

  • 3/4-1 lb Chinese barbecued Pork, cut into roughly 1/2-inch pieces

  • 1 onion, diced

  • 2 carrots, diced

  • 1 red bell pepper, diced

  • Crimini or white mushrooms, diced

  • 1 cup frozen peas, defrosted

  • 2 scallions sliced thin

  • 2 cups dry rice cooked in advance (equals about 6 cups cooked rice)

  • 4 eggs lightly beaten

In a small bowl mix together the soy sauce, rice vinegar, sesame oil and sugar, set aside.

In a large skillet or wok, heat the oil, add the diced pork and cook over high heat for a minute or so. Add the onion, carrot, bell pepper, and mushroom, cook stirring frequently until just tender. Add the eggs and scramble until just set. 

Stir in the cooked rice, peas and scallion, add the soy sauce mixture and cook until everything is hot, stirring frequently. Serve in bowls with Garlicky Bok Choy.

Garlicky Bok Choy

  • 1 tablespoon vegetable oil

  • 2 garlic cloves, chopped

  • 1 shallot, chopped

  • 1 pound baby bok choy, rinsed, cut into quarters, with core intact

  • 1 tablespoon soy sauce

Heat oil in a large skillet or wok over medium-high heat. Add garlic and shallot and cook, stirring, until fragrant, about 30 seconds. Add bok choy, soy sauce, and 2 Tbsp. water and cover immediately. Cook 1 minute. Uncover and toss, then cover and cook until bok choy is tender at the core, about 3 more minutes.

Pork Fried Rice Adapted from Food and Wine

Garlicky Bok Choy Adapted from Bon Appetit

pork_fried_rice_bok_choy-4.jpg

Turkey Roulade with Dried Cherries and Sausage Stuffing

turkey_roulade-1.jpg

I’m so happy to finally be getting this Turkey Roulade with Dried Cherries and Sausage Stuffing up on the blog! I’ve been making it a few years now for Thanksgiving but you know how crazy it can get and I never have time for photos. Well here is a next day photo. I was lucky enough to find a turkey breast that was nearly four-pounds, the last couple years all I could get was a two or two and half pound breast, but with the larger size there was enough left over for a decent photograph. This is a great alternative to roasting a whole turkey if you have a small gathering or are a couple like Jeff and myself. If you end up with the smaller turkey breast whether by choice or availability, you can either buy two smaller ones or halve the stuffing recipe accordingly because it makes quite a bit, even with this larger breast I had some leftover. And if you have leftover stuffing that you decide to keep in the oven, don’t forget about it! Heartbreakingly we had turned off the oven, forgot about it and then discovered it the next day, so I had to toss it. Which is really a shame because it tastes so incredibly good not to mention all the work in preparing it. Anyways, I’m glad to be sharing the recipe with you, this could work for any holiday or celebration really. 

The recipe says to roast the roulade 15 minutes to the pound, and this is true, for me the two-pound breast was done in 30 minutes, and the four-pound in one hour. Really the most prep time is making the stuffing, then trying to roll it up in twine which is much easier with the larger breast. The only thing I’m adding to the recipe would be to brine the turkey the night before, I added lots of salt, peppercorns and some fresh herbs to it. I remember one year it came out too dry so I definitely recommend the brine. Oh and one more thing, don’t worry about butterflying and deboning the turkey breast yourself, any butcher in any grocery store or meat market anywhere in the world can do this for you, leave it to the professionals. I used to be shy about asking for such things but it is 100% acceptable to ask. If you want to do it yourself: how to butterfly a turkey breast. Thanks for stopping by. Enjoy!

One more thing, the original recipe said to use the pan drippings from the roasted roulade for the gravy, and to make the gravy while it’s still in the oven, which is impossible! (I edited the recipe so it makes sense). So if you want you can make the gravy while the Turkey Roulade is resting and use those additional pan drippings from the oven pan, but I didn’t and made the gravy in the pan that the Roulade was seared in. Hope that’s not confusing, but it all works out wonderfully in the end. :)

turkey_roulade-2.jpg
turkey_roulade-3.jpg

Turkey Roulade with Dried Cherries and Sausage Stuffing (+ Gravy!)

  • 3 1/2-4 pound boneless turkey breast, skin on and butterflied (I recommend an overnight brine)

  • 1/4 cup butter

  • 3/4 cup finely chopped onions (about 1 small onion)

  • 1/2 cup finely chopped celery (about 2 ribs)

  • 1/2 cup finely chopped fennel (about 1 small fennel bulb)

  • 1/2 cup finely chopped leeks (about 1 leek)

  • 1 clove garlic, minced

  • Salt and pepper, to taste

  • 1/4 cup dried cherries, roughly chopped

  • 1/2 cup cognac (or any kind of brandy)

  • 4 tablespoons extra-virgin olive oil, divided

  • 8 ounces mushrooms, such as chanterelle, cremeni or shitake, roughly chopped

  • 1/2 pound sweet Italian sausage, crumbled

  • 2 tablespoons chopped fresh parsley

  • 1 tablespoon chopped fresh rosemary

  • 1 tablespoon chopped fresh sage

  • 2 teaspoons chopped fresh thyme

  • 3 tablespoons pine nuts, toasted

In a large skillet over medium heat, melt the butter until foamy. Add the onions, celery, fennel, leeks and garlic. Season with salt and pepper and sauté, stirring occasionally, until the vegetables are very soft, about 10 to 12 minutes. Add the dried cherries and cook until the cherries are plump, about 3 minutes. Add the cognac and reduce until almost evaporated, about 5 minutes. Remove from the heat and transfer the mixture to a large bowl.

Wipe out skillet and heat 2 tablespoons of the olive oil over medium-high heat. Add the mushrooms. Season with salt and cook, stirring often, until any water they have released has evaporated, about 6 to 8 minutes. Add the sausage and cook until the sausage has browned but is still slightly raw in the center, about 5 minutes. Remove from the heat and add the mushroom-sausage mixture to the cooked vegetables. Mix in the herbs and pine nuts until thoroughly combined. Season with salt and pepper.

Preheat the oven to 425°.

Remove the turkey from the refrigerator and place on a clean work surface, skin-side down. Pat the turkey dry on both sides using paper towels. If the turkey breast looks too uneven in thickness, use a meat pounder to flatten the thicker portion. Season both sides liberally with salt and pepper. Place the filling mixture in the center and evenly spread over the surface, leaving a 1-inch border at the edges. Beginning at the shortest end, carefully roll the breast up, enclosing the stuffing. Using kitchen twine, tie the roulade at 1-inch intervals. Season the outside liberally with salt and pepper.

Wipe out the skillet and heat the remaining 2 tablespoons of olive oil over medium-high heat. Add the turkey roulade and brown on all sides, about 12 to 14 minutes. Transfer the turkey to an parchment-lined baking sheet and roast until an instant-read thermometer inserted in the thickest part of the meat reads 150°, about 12 to 15 minutes per pound. Reserve the pan for gravy. Remove the roulade from the oven and form a loose tent using foil and allow to rest on a clean work surface. 

Gravy

  • 3 sprigs fresh flat-leaf parsley

  • 2 sprigs fresh thyme

  • 2 sprigs fresh sage

  • 1 fresh bay leaf

  • 1 large shallot, finely diced

  • 1 garlic clove, smashed

  • 1/4 cup white wine

  • 2 1/2 tablespoons all-purpose flour

  • 4 cups chicken stock, preferably homemade

  • Salt and freshly ground pepper, to taste

  • 2 tablespoons unsalted butter

While the turkey is roasting, make the gravy: Tie the parsley, thyme, sage and bay leaf together using kitchen twine to form a bouquet garni, (you can place all the herbs in cheesecloth and tie it up if it’s easier). Place the reserved pan over medium heat. Add the shallot and garlic and cook, stirring often, until softened, about 6 to 8 minutes. Add the wine, scraping any brown bits on the bottom and reduce by half. Adjust the heat to low. Add the flour and stir until the roux has become golden brown, about 4 to 5 minutes. Add the bouquet garni and cook for 1 minute. Add the chicken stock to the saucepan and bring to a simmer, stirring constantly, until the gravy has reduced to 2 cups and coats the back of a wooden spoon, about 15 minutes. Remove from the heat and strain through a fine-mesh sieve. Stir in the butter and season with salt and pepper.

Adapted from Tasting Table


Beef Stew with Roasted Garlic

Beef Stew with Roasted Garlic

Years ago I made a Beef and Carrot Stew that has been my sorta go-to recipe to build off of and it’s evolved a bit over the years (wow almost 6 years now!). This new recipe, with the addition of Roasted Garlic and Roasted Garlic Olive Oil, is over the top good.

Read More

Bacon Making 101

A few weeks ago Jeff and I took a Bacon Making 101 class at Old Salt Marketplace, it’s a restaurant in our neighborhood that also serves as a butcher shop and deli. We go there for brunch quite often so we were already familiar with their delicious “Ben’s Bacon”. When I saw a class listed for bacon making by Ben himself, we signed up right away! It was a really fun class and bacon is not that hard to make, it just takes time. There was a lot of discussion on food safety, for example you will see that most people smoke their bacon to an internal temperature of 150-155°F, but Ben smokes his bacon slow to a 145°F temp. The reason people go a bit higher is that your thermometer might be off a bit so 150°F acts as a safeguard, but an accurate 145°F temp is fine with no risks. We were each given a full size pork belly which weighs around 10 lbs or so. Ben helped out with trimming the fat off each one. That looks a bit challenging and you will need a really long sharp knife. Then we cut our slabs in half so that they were easier to work with. Ben prepped the spice mix and the cure mix in large containers. I don’t think I’ve ever seen that much brown sugar and salt (enough for 12 pork bellies!). Each of us working with our own large bins, covered the slabs in the spice mix, followed by the sugar and salt cure mix. Then we placed our half slabs in large ziplock bags with the cure mixture to be taken home and that was it. We sampled some of the bacon they make at the restaurant and chatted about best ways to cook bacon (I prefer the oven method).

Pork bellies with the spice rub

Pork bellies with the spice rub

We carried home our 20 pounds of pork belly and put it in the refrigerator where it had to cure for at least 7 days. It can go up to 3 weeks in the fridge before smoking it. The curing process will create a lot of liquid, so even though they are in ziplock bags you might want to put them in a plastic tub or use additional bags so that it doesn’t accidentally leak in the fridge. During this curing time you flip the bellies over to redistribute the liquid.

After a week or so you remove the pork bellies from the fridge and rinse them well, then pat them dry and put them individually on a drying rack. We used a cooling rack over a sheet pan which worked really well and actually fit in the refrigerator. Note: two pork bellies will take up a lot of refrigerator space! Then you let them sit uncovered in the fridge for 24 hours to dry out. Before you smoke them you can rub them with pepper, herbs, maple syrup or molasses. We tried four different flavors: Black pepper, maple syrup, black pepper and thyme, molasses. Our favorite was maple syrup, but that is also the one that smoked properly and didn’t cook. Which brings me to the smoking process.

After they dried for 24 hours we rubbed molasses on one and black pepper + thyme on another

After they dried for 24 hours we rubbed molasses on one and black pepper + thyme on another

The biggest challenge was getting our smoker to hold a low temperature. The smoker is brand new to us so we learned a whole lot about smoking meat. We’ve been wanting to get a charcoal smoker grill and the bacon class sort of forced us to do it sooner rather than later. Ben said you can smoke over a fire pit or even in your fireplace, but it would be challenging to keep the temp low and not cook the bacon. We ended up getting the Vision Kamado grill. Our first go with one slab ended up cooked, then our second one, which was early evening at that point, came out perfect!

The next day we felt confident in what we were doing, so we put the remaining two slabs on when we had a steady 225°F temp, checked the internal temp in a little over an hour and, gasp!, they were cooked already, we didn’t know how this happened, the internal temp registered at around 170-180°F. What we do know is that our grill was in direct sunlight, and even though people will say weather doesn’t affect the ceramic grill, it most certainly does. So I would recommend smoking on a cooler day, or wait until evening. The following days brought us a heat wave, and wouldn’t you know, that grill that had cooled down was registering 150°+ with nothing burning. So it would be very difficult to keep a low temp under those conditions. 

Even though we ended up cooking the bacon in the smoker we sliced it up and tested it out and it tastes delicious. Some parts are a bit tougher than it should be, I guess due to the smoking issues, but overall we’re really happy with it. And I will totally do this again once we finish up the bacon we have. Which by the way yielded about 12 lbs of bacon total, from the two slabs. So if you get one slab of pork belly it should yield around 6 lbs. of bacon. That’s a lot of bacon! But you just slice it, then wrap it up in portion sizes and freeze it. Below is the recipe for “Ben’s Bacon”, and there are plenty of websites that are devoted to smoking meats with a Kamado grill, but really everyone is going to have a different experience depending on the weather, how much charcoal you’re using, what kind of smoker you use, but it’s really fun and it all tastes good, even when it’s not perfect. Makes for some great BLTs pictured below with our homemade bacon!

Bacon Making 101

Ingredients

1 Pork Belly

Spice Rub:

  • 1 part cayenne pepper
  • 1 park chile flake
  • 2 parts paprika

Bacon cure for one belly:

  • 3 lbs brown sugar
  • 2 cups kosher salt

Equipment

  • Ziplock bag (large enough for half a pork belly)
  • Kitchen scale
  • Mixing bowls
  • Racking pan (cookie cooling rack will work)
  • Smoker or smokehouse

The process

Skin and trim the fat to desired fat content. Cut the belly in half so that it’s easier to work with and store. Place the two pieces in a large container. Mix the spice blend together and rub liberally to all sides of the belly. Mix the salt and brown sugar together until completely blended. Generously apply the cure rub to all sides. Place each piece in large ziplock storage and refrigerate, you may want to put these inside another plastic bag or container to prevent leakage, the curing will create a lot of liquid over time. After 3 days flip them, then turn every couple days or so to redistribute liquid. After 7 days remove from refrigerator and rinse well and pat dry. Place them on a drying rack (cookie cooling rack on top of sheet pan works well) and place in the refrigerator uncovered for 24 hours. When ready to smoke the bellies, cover them with your choice of ground black pepper, maple syrup, molasses or whatever spices you might like to try. 

Start your smoker slowly, add applewood chips to coals. 

Smoke the bacon at around 170°F to an internal temperature of 145°F, which would take about 5 hours. Or smoke them at 200-225°F for about 2 1/2-3 hours. Most people smoke until internal temperature reaches 155°F to be on the safe side (if thermometer was off) but it is safe to eat at 145°F.

Remove the bacon and allow to cool. Place in refrigerator for several hours before slicing as this makes it easier to cut. Slice the bacon in desired thickness. Then freeze the slices in portion sizes. Wrap portions in plastic wrap and then put them all in freezer bags.

Pan Fried Chicken Sandwich With Avocado Mash + Bacon

Pan Fried Chicken Sandwich With Avocado Mash + Bacon

And yet another recipe from Five Points Brunch book that I've been going crazy over. There is one more recipe from the book coming soon and I think I may move on to some other meals, but then again, brunch lover that I am, I might just continue with all 100 brunch recipes. 

Read More

Like No Other Polenta

Like No Other Polenta

Last week Jeff and I were over in Oakland and had lunch at Oliveto, a northern Italian restaurant. They had polenta on the menu, with a few choices for topping, farm fresh egg, cheese and herbs or beef spezzatino.  We ordered the polenta with egg and polenta with beef. It was so amazing, like no other polenta. It's course-milled, grainy and tasty with a lot of flavor and texture. Served on traditional wood boards. It's called Red Flint Floriani Polenta, grown in Lodi, California. It has much more nutrition than yellow corn and is gluten-free.

Read More