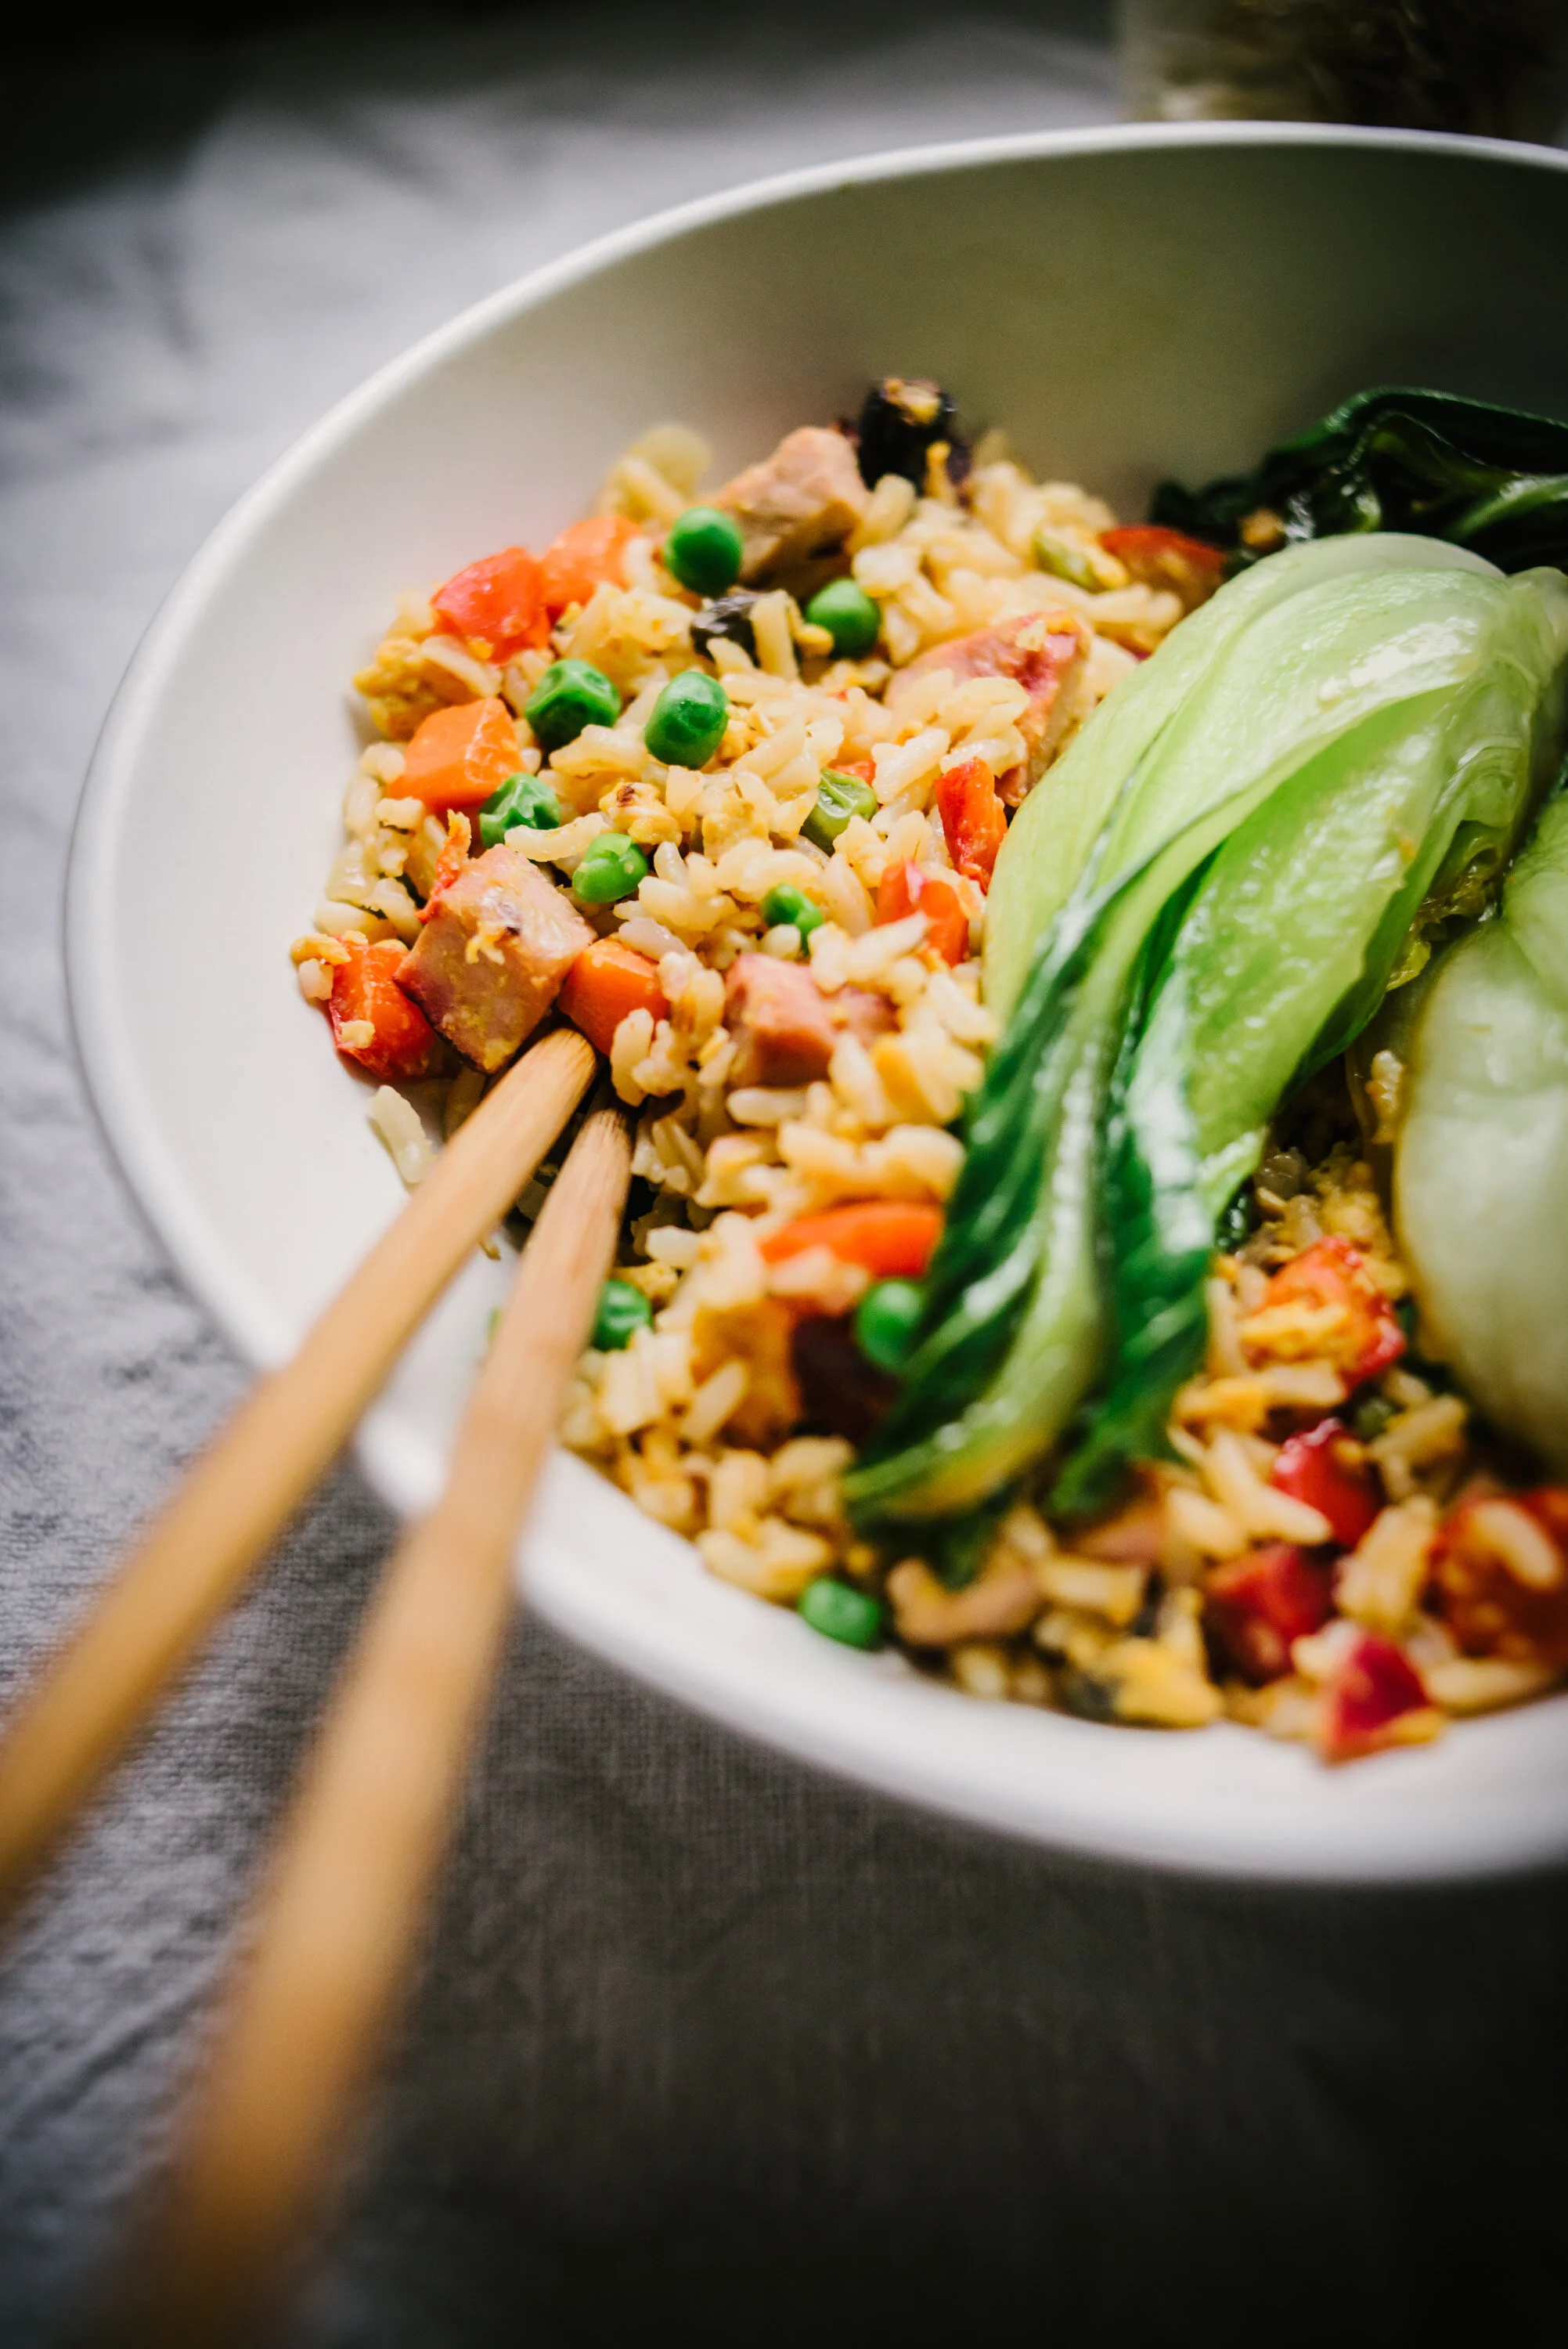
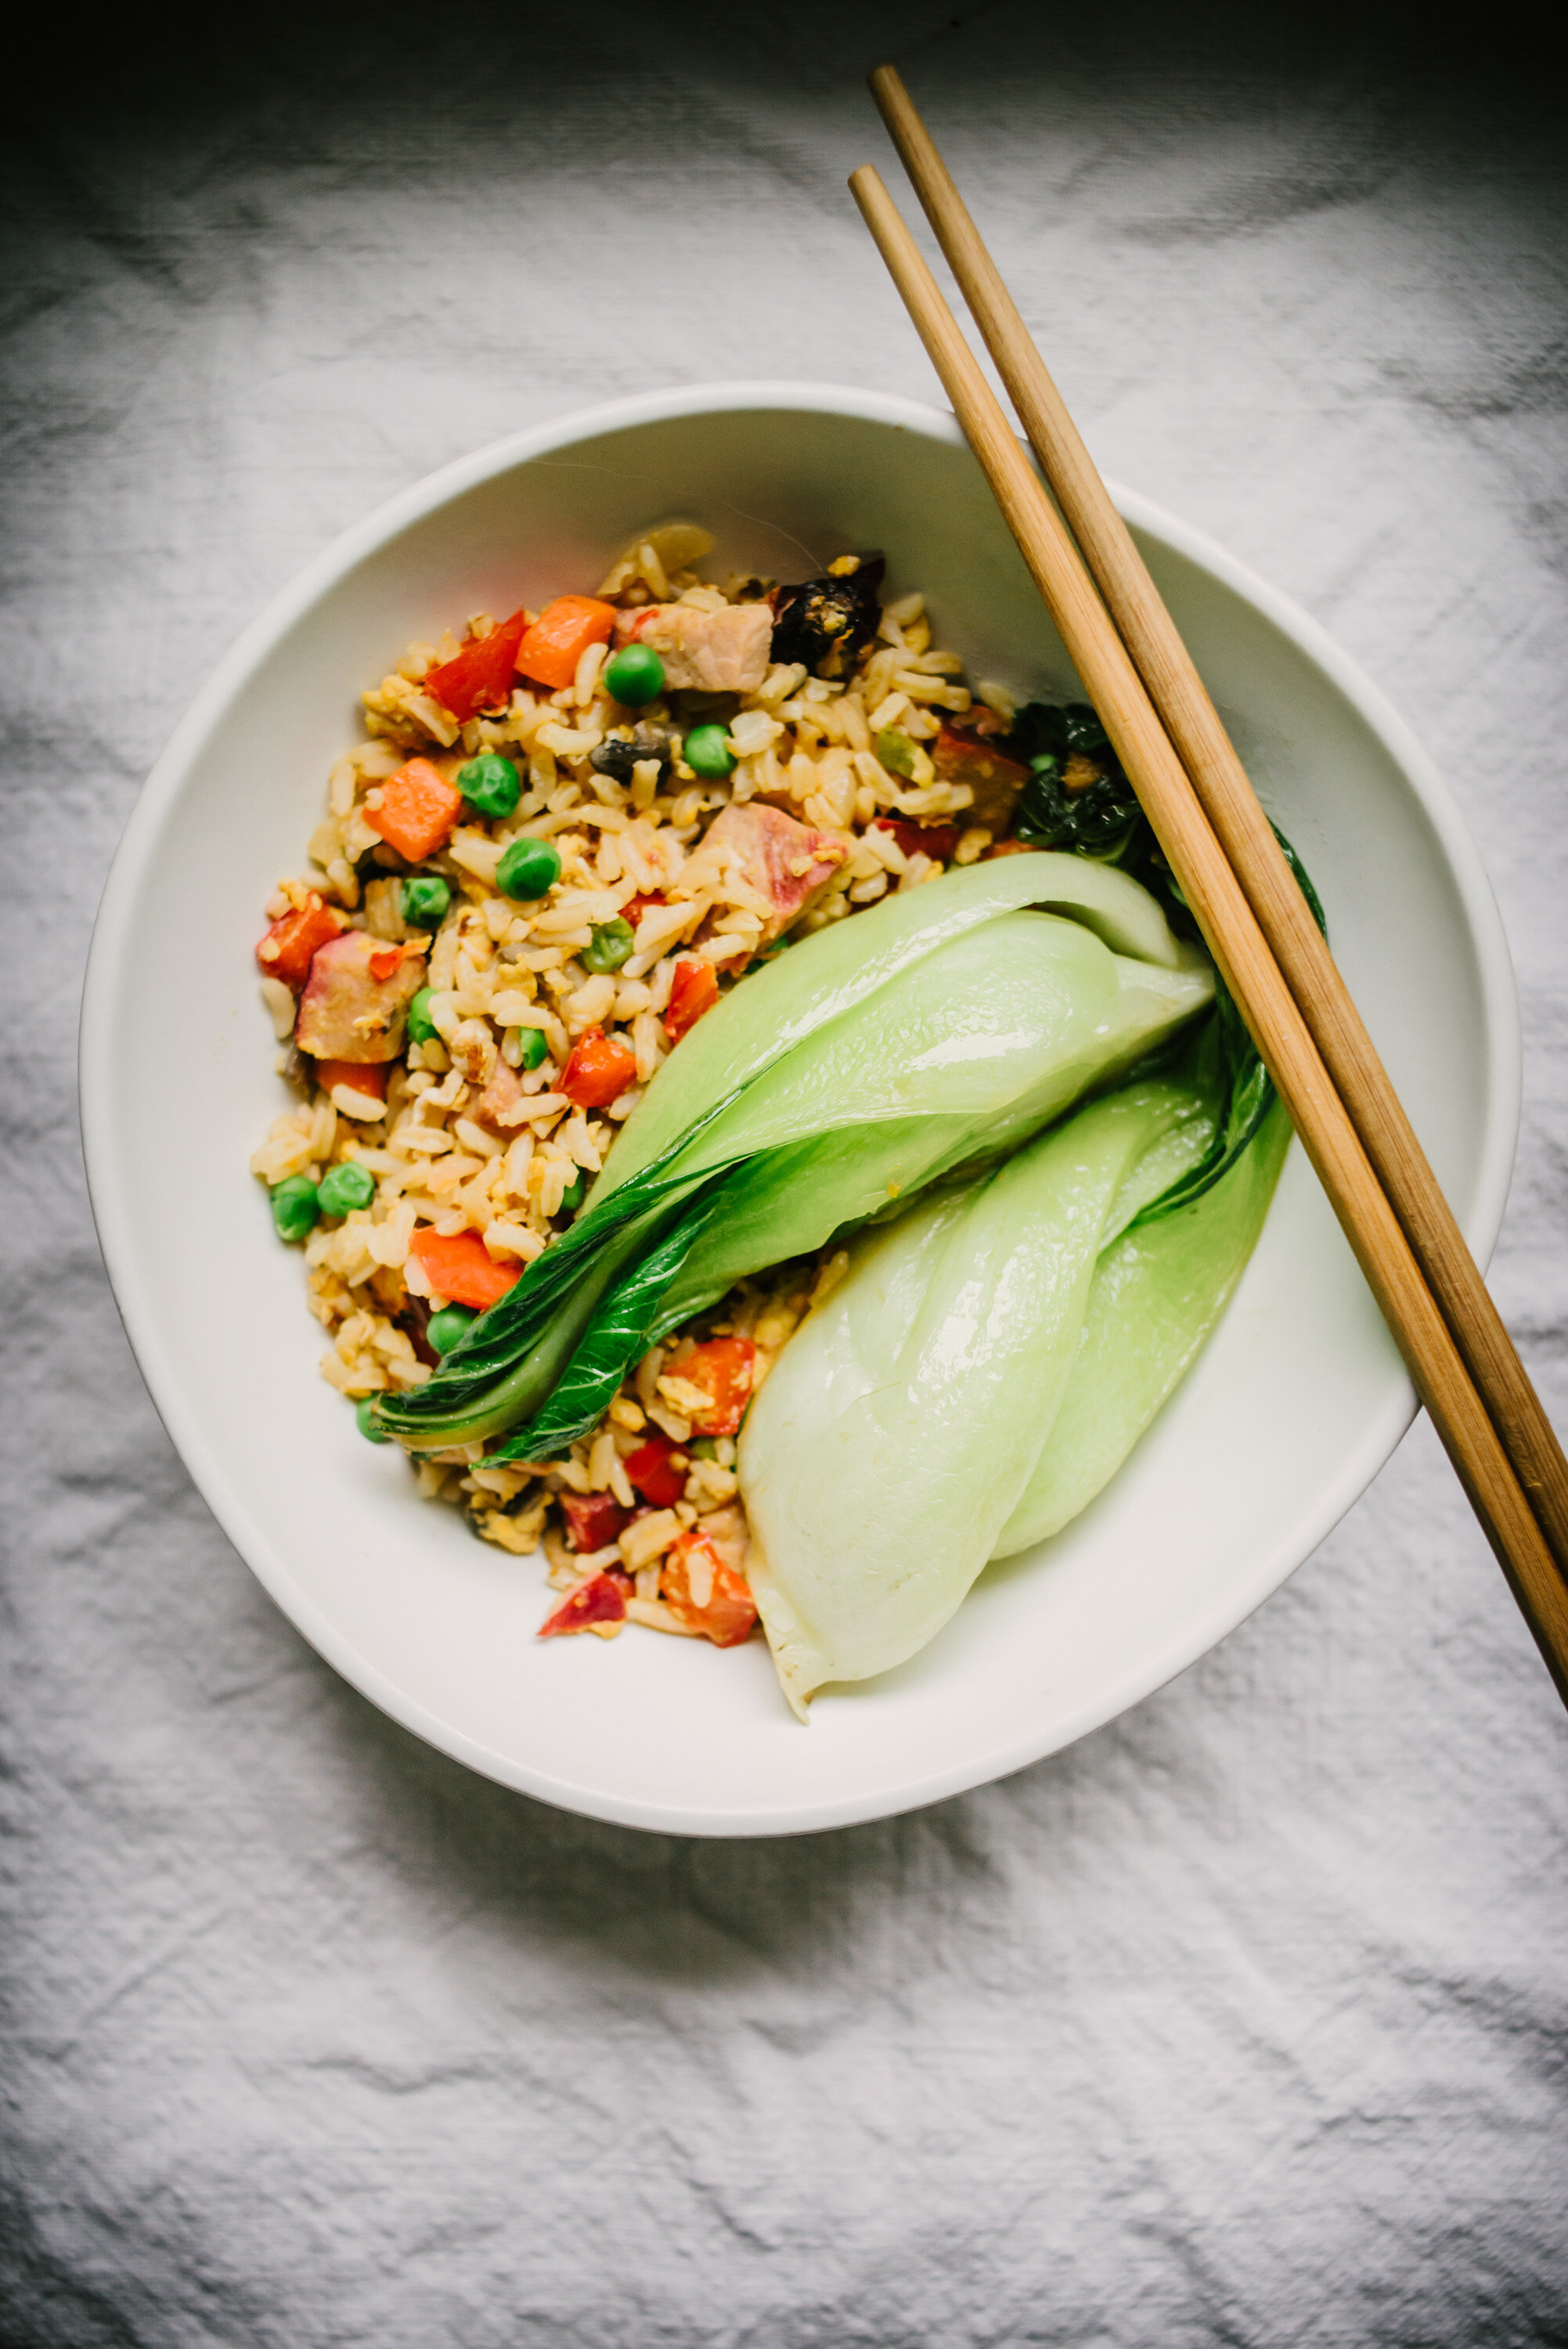
Pork Fried Rice with Bok Choy
/
This Pork Fried Rice is so good! I think it’s better than take-out to be honest. Last month I purchased Chinese barbecued pork at Costco, I wasn’t sure what I was going to do with it, maybe a stir fry or soup, but I’ve made fried rice with bacon before and it came out so good that I had no choice but to make this. The Costco pork contains two pieces at about a pound each, so the amount works great for the recipe below and you can freeze the other pound of pork.
The original recipe had half the sauce that I have below, that’s how I made it the first time and it really needed more sauce for all that rice, so I doubled the sauce measurements and I think it came out perfect.
Another change from the original recipe, I didn’t use solid vegetable oil, I don’t have any and I don’t want any, lol. So I used olive oil instead, you might want to try avocado oil or a peanut oil which is more suitable for high heat, I didn’t want this to be too greasy and it wasn’t! I prefer this much more than take-out fried rice that can be way too greasy. If you can’t get your hands on Chinese barbecued pork you could make this with bacon, or leftover chicken, if you’re vegetarian you can add tofu or maybe eggplant.
I included a recipe for the Bok Choy, although mine came out really chewy and was hard to eat. Depending on the type of Bok Choy you have you might want to chop it up rather than quartering it. I’ve learned that Shanghai Bok Choy is more tender, it’s greener all the way through. And the larger the Bok Choy the more fibrous and chewy it will be, so I would recommend chopping it in small pieces.
So make some rice! Pop it in the fridge and make this the next day, you’ll love it!
Pork Fried Rice with Bok Choy
6 tablespoons soy sauce
10 teaspoons rice vinegar
2 tablespoon Asian sesame oil
1/2 teaspoon sugar
1/4 cup peanut oil (you can start out with less and then add as needed)
3/4-1 lb Chinese barbecued Pork, cut into roughly 1/2-inch pieces
1 onion, diced
2 carrots, diced
1 red bell pepper, diced
Crimini or white mushrooms, diced
1 cup frozen peas, defrosted
2 scallions sliced thin
2 cups dry rice cooked in advance (equals about 6 cups cooked rice)
4 eggs lightly beaten
In a small bowl mix together the soy sauce, rice vinegar, sesame oil and sugar, set aside.
In a large skillet or wok, heat the oil, add the diced pork and cook over high heat for a minute or so. Add the onion, carrot, bell pepper, and mushroom, cook stirring frequently until just tender. Add the eggs and scramble until just set.
Stir in the cooked rice, peas and scallion, add the soy sauce mixture and cook until everything is hot, stirring frequently. Serve in bowls with Garlicky Bok Choy.
Garlicky Bok Choy
1 tablespoon vegetable oil
2 garlic cloves, chopped
1 shallot, chopped
1 pound baby bok choy, rinsed, cut into quarters, with core intact
1 tablespoon soy sauce
Heat oil in a large skillet or wok over medium-high heat. Add garlic and shallot and cook, stirring, until fragrant, about 30 seconds. Add bok choy, soy sauce, and 2 Tbsp. water and cover immediately. Cook 1 minute. Uncover and toss, then cover and cook until bok choy is tender at the core, about 3 more minutes.
Pork Fried Rice Adapted from Food and Wine
Garlicky Bok Choy Adapted from Bon Appetit