Green Harissa

green_harissa-1.jpg

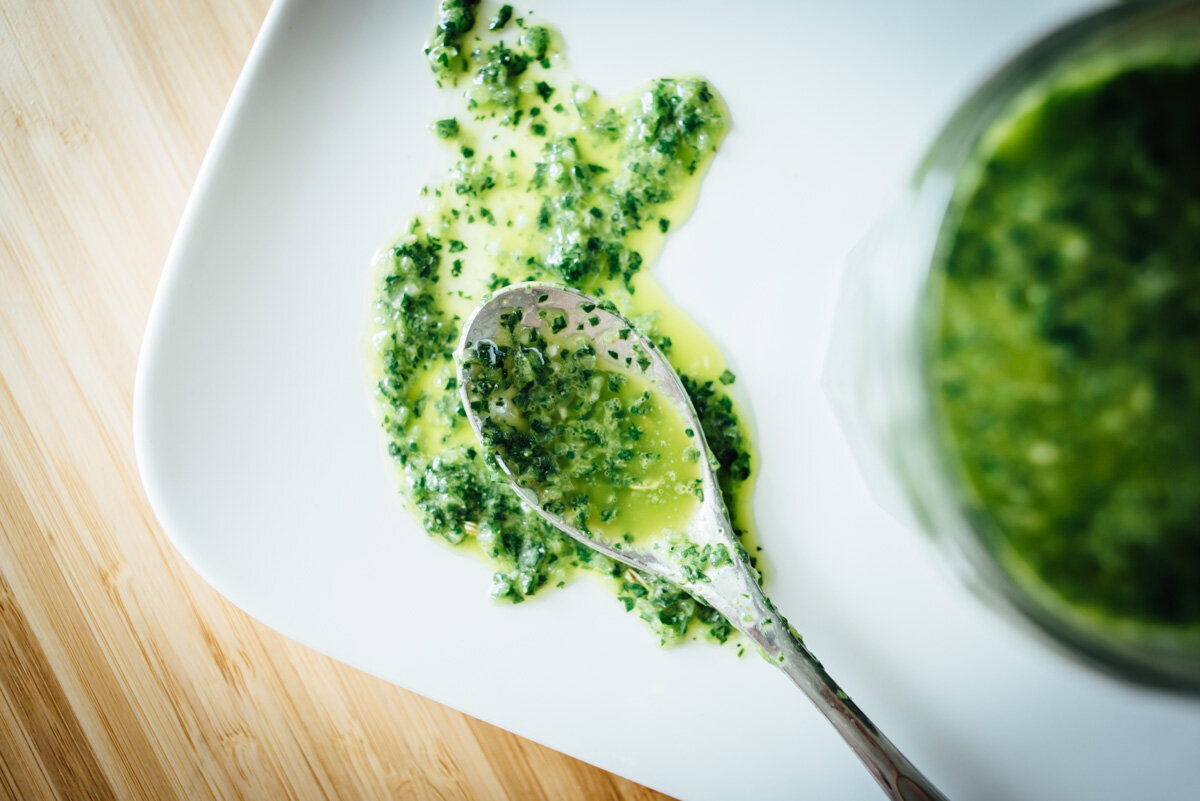
Green Harissa. I love this sauce. I’ve been making it quite a bit lately because it goes with everything! We put it on fish, chicken, potatoes, rice, roasted vegetables, you name it, it works. The recipe is from Sprouted Kitchen Cooking Club, Sarah has a lot of great sauces but this one not only works with so many dishes, it lasts up to two weeks in the fridge. So it’s a good-to-have-on-hand sauce. If you don’t have mint you can just add more cilantro, the herbs you can mix up a bit but stay heavy on the cilantro.

Things are good here, I’m working on my ‘Granola Project” which I hope to be sharing with you in the next couple weeks or so. I’m pretty excited about it and having fun with it. The garden beds are prepped with compost and at this point I’m just waiting for the temps to get high enough to plant. I started some tomatoes and vegetables from seed this year. I’m worried I started too late! It’s been almost 5 weeks and they still look so young. I hope they’re not duds. Worse case I’ll have to buy starters but I think some of them are going to pull through. This is all new to me and I haven’t blogged about it because I don’t know what I’m doing (yet). Ha ha. Maybe next year I can offer some tips. But the berry bushes are blooming in the yard so everything is looking good there.

I get my second (Moderna) vaccine in a couple weeks. The first one was fine, no side effects at all, just a sore arm for a few days. I’m so looking forward to eating at a restaurant outside! I know people have done this pre-vaccine, but I just haven’t felt comfortable with that. This past year, as soon as things are looking good, Covid cases are low, places open up more and then cases rise, and I’m like, fuck! I missed that small window where Covid-19 wasn’t spreading like crazy. But maybe I didn’t get it because I didn’t go out then. Who knows. It’s all a crapshoot. All I know is when restaurants start opening their doors for indoor dining, everything goes bad. Dining outside is the best option at this point. And I can’t wait! Until then, enjoy this sauce on anything and everything.

green_harissa-2.jpg
green_harissa-3.jpg
green_harissa-4.jpg
green_harissa-5.jpg
green_harissa-6.jpg

Green Harissa

  • 1 clove of garlic - peeled

  • 1 jalapeño - stemmed and seeded, chopped rough

  • 1 cup of cilantro

  • 1/2 cup of mint (you can add more cilantro instead)

  • 1/2 cup of parsley

  • 1 lemon - juiced

  • 1 Tablespoon white vinegar

  • 1/2 teaspoon of cumin

  • 1/2 teaspoon of coriander

  • 1/2 teaspoon of fennel seeds

  • 1/2 teaspoon of kosher salt

  • 1/2 cup of extra virgin olive oil

Put everything in a food processor, with herbs on top, and blend for 10 seconds then pause, scrape down the sides if needed and process another 10 seconds until it’s almost blended with bits of herbs still left intact. Keep refrigerated in sealed container up to two weeks. Allow to come to room temp before serving.

Potato and Broccoli Cakes + Charred Scallion Yogurt Sauce

potato_broccoli_cakes-1.jpg

Potato and Broccoli Cakes with Charred Scallion Yogurt Sauce. I’ve made these about three times now, they are so good! The recipe is from Sprouted Kitchen Cooking Club which I joined about a year and a half ago. And the sauce I’ve made a few times now as well. They make a great side dish for dinner, but even better is having one or two with an egg on top for breakfast or lunch the next day. I made a couple changes to the recipe, I found the patties hold together better with a half cup of breadcrumbs added, the mixture was too wet and some of them were falling apart. And I used Panko breadcrumbs rather than seasoned breadcrumbs, you can use what you have or prefer, but I like the crunch of Panko breadcrumbs. 

The Charred Scallion Yogurt Sauce is super tasty, you can add some fresh or charred jalapeño to it as well. The recipe makes about 12 ounces of sauce, and this is great to use leftover on sandwiches or roasted vegetables, it will stay fresh in the fridge for up to 2 weeks. 

I hope you try this recipe, it’s so good I had to share it with you. Enjoy!

potato_broccoli_cakes-2.jpg
potato_broccoli_cakes-3.jpg
potato_broccoli_cakes-4.jpg
potato_broccoli_cakes-5.jpg

Potato and Broccoli Cakes

  • 1 lb. of Yukon gold potatoes

  • 2 Tbsp. of butter

  • 1/3 cup of cream (or milk)

  • 1 tsp. of sea salt

  • fresh ground pepper

  • 2 eggs

  • 1/2 cup of grated parmesan, divided

  • 6-8 oz. of steamed broccoli (about 1 cup finely chopped)

  • 1 1/2 cup of Panko breadcrumbs, divided

  • avocado or olive oil for cooking

Peel the potatoes and boil until tender, about 10 minutes. Drain and remove to a mixing bowl, along with the butter, cream, salt and pepper. Let them cool down slightly. Mash everything until smooth. Whisk in the eggs and 1/4 cup of the parmesan. Make sure the broccoli is super, super well chopped, stir that into the potato mixture.  Add 1/2 cup of the breadcrumbs. It should look like meatball dough - damp but holds form.

Mix the breadcrumbs and remaining parmesan cheese in a shallow bowl.

Heat a generous slick of oil in a non-stick skillet over medium heat. Form small, 3 x 1” thick patties out of the potato mixture, dredge it in the parm breadcrumbs to get a little coat, then pan fry them for 2-3 minutes per side until golden brown. Set aside to cool. Repeat with the remaining potato mixture, adding a fresh slick of oil to the pan between batches. Makes 8 cakes.

Serve warm or room temperature with yogurt sauce


Charred Scallion Yogurt Sauce

  • 1 bundle of scallions (green onions) - ends trimmed

  • 1 tsp. of extra virgin olive oil

  • pinch of sea salt

  • 1 tsp. of sea salt

  • pinch of fresh ground pepper

  • 1 1/2 cups of plain, whole milk, Greek yogurt

  • 2 Tbsp. of extra virgin olive oil

  • 1 cup of chopped, flat leaf parsley

  • 1/4 cup of chopped fresh dill (or 1 tsp. dried dill)

  • 1 lemon - juiced (about 3-4 Tbsp.)

  • 1 Tbsp. of white wine vinegar

  • Dash of hot sauce or pinch of red pepper flakes

  • 2 Tbsp. of water (as needed for consistency)

Preheat your oven to 425°, or grill on high heat. Trim the scallions and rub them with a bit of oil and salt. Place them on foil or parchment and pop them in the oven to roast for 15-20 minutes in oven (10-15 minutes on grill) until browned and tender. Set aside to cool.

Into a blender or food processor, pulse the scallions and salt and pepper. Add the yogurt, parsley, dill, lemon juice, vinegar, hot sauce, water and pulse until flecked and smooth-ish. If it still seems too thick, add another splash of water.

Store in an airtight jar in the fridge for 1-2 weeks.

Crunchy Veggie Lentil Salad

crunchy_veggie_lentil_salad-1.jpg

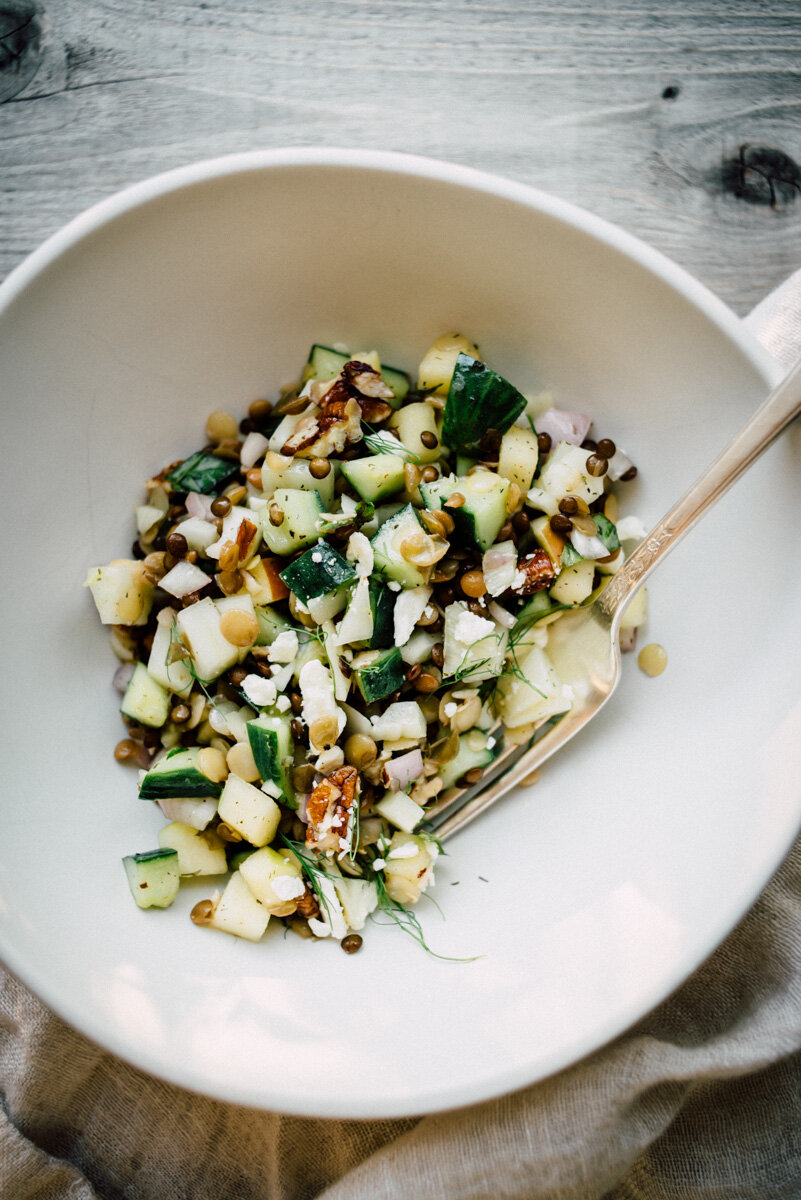
Crunchy Veggie Lentil Salad. I haven’t had lentil salad in a long time. And this was one of the recipes that came up on Sprouted Kitchen Cooking Club this week. Sarah called it “Crunchy Lunchy Lentils.” This is the type of salad you make ahead. It can last for days in the fridge and generally (always) tastes better after it’s had time to sit for a day or so. I’ve made a few adjustments to the recipe but didn’t deviate all that much. I used a trio of green, brown and black sprouted lentils that cooked in 6 minutes versus French lentils that take about 20 minutes. I think my ratios of veggie to lentils were off a bit, I think there should have been more lentils, but it still worked out to a great salad regardless. 

This month has been pretty crazy. A few weeks ago there were a series of fires that erupted here in Oregon, then came a wind storm that blew all the smoke over here in Portland. We had to literally seal all the openings in the house because the air quality outside was hazardous, it was coming in from the fireplaces, any opening in the house, and remained like that for nearly 10 days. When that started I had already begun my project to paint the kitchen cabinets and countertop, the kitchen was in complete disarray but I had to move forward and get it done. We had air purifiers and fans running 24/7. It was pretty horrible happening on top of a pandemic, we couldn’t spend time outside at all. A lot of businesses and restaurants (that are already hurting) had to close, and there were some days where I couldn’t get grocery delivery or take-out, which was kind of big deal because we couldn’t use the kitchen much, everything was covered in drop cloths, so not much cooking other than microwaving something or eating sandwiches. I had prepared a couple of dishes in advance and was planning on grilling outside while the kitchen was unusable, but that didn’t work out. It was just one disaster layered on top of another. Many people lost their homes due to the fires, so we were lucky that we didn’t have to go through anything like that. I finished my kitchen project, the outside air cleared up and it rained and rained. And now we’re having a beautiful week of sunshine, with windows open and fresh air everywhere. But I feel a little PTSD from the smoke episode, all this sunshine and dry weather is dangerous this time of year, even with a burn ban people still do stupid stuff and light camp fires or whatever. I’m so afraid of new fires and that smoke coming back. It was just too much. I think I should just have a cocktail and enjoy a few rays of sunshine for now. And really, we had so much rain last week I think things are ok and I shouldn’t worry so much.

Anyways, if you’re still reading, I hope you enjoy this salad, it’s vegetarian and could be vegan if you skip the feta cheese, but I just love cheese in this salad. Enjoy!

crunchy_veggie_lentil_salad-2.jpg
crunchy_veggie_lentil_salad-3.jpg
crunchy_veggie_lentil_salad-4.jpg
crunchy_veggie_lentil_salad-5.jpg

Crunchy Veggie Lentil Salad

  • 3/4-1 cup of French / De Puy lentils

  • 2 Persian cucumbers (or a 1/3 of an English Cucumber) - seeded

  • 1 apple

  • 1 medium fennel bulb - fronds reserved

  • 1 small shallot or 1/2 large shallot

  • 1/2 cup of pecans (or walnuts) chopped

  • 1/3 cup feta or parmesan cheese (+ more for serving)

  • 1/2 cup of fresh mint leaves

  • 1/4 cup of fresh basil leaves

For the vinaigrette

  • 1 clove of garlic, minced

  • 1 lemon - juiced

  • 2 Tbsp. of apple cider vinegar

  • 1 Tbsp. of maple syrup

  • 3 Tbsp. of extra virgin olive oil

  • 1/2 tsp. of dried dill

  • 1/2 tsp. of coriander

  • flaky sea salt

  • fresh ground pepper

Rinse your lentils. Put them in a pot with 1 ½ cups of salted water or broth. Bring the liquid up to a simmer, put the cover on ajar and cook for 20 minutes until tender. (if using different Lentils, cook per package instructions) Fluff the lentils, and set them aside to cool completely.

While the lentils cook, fine dice the cucumbers. Core and finely dice both the apple and fennel and mince the shallot. Chop the herbs.

In the bottom of your mixing bowl, combine all the vinaigrette ingredients and whisk to combine. Add the cooled lentils, all your chopped vegetables, walnuts, cheese and herbs. Toss to coat. Chill in the fridge for at least an hour, the longer it sits the better it tastes! It will keep a few days in the fridge, so this is a great side dish or lunch throughout the week. Top with fennel fronds when serving.

Sourdough Focaccia with Flaked Sea Salt

focaccia-4.jpg

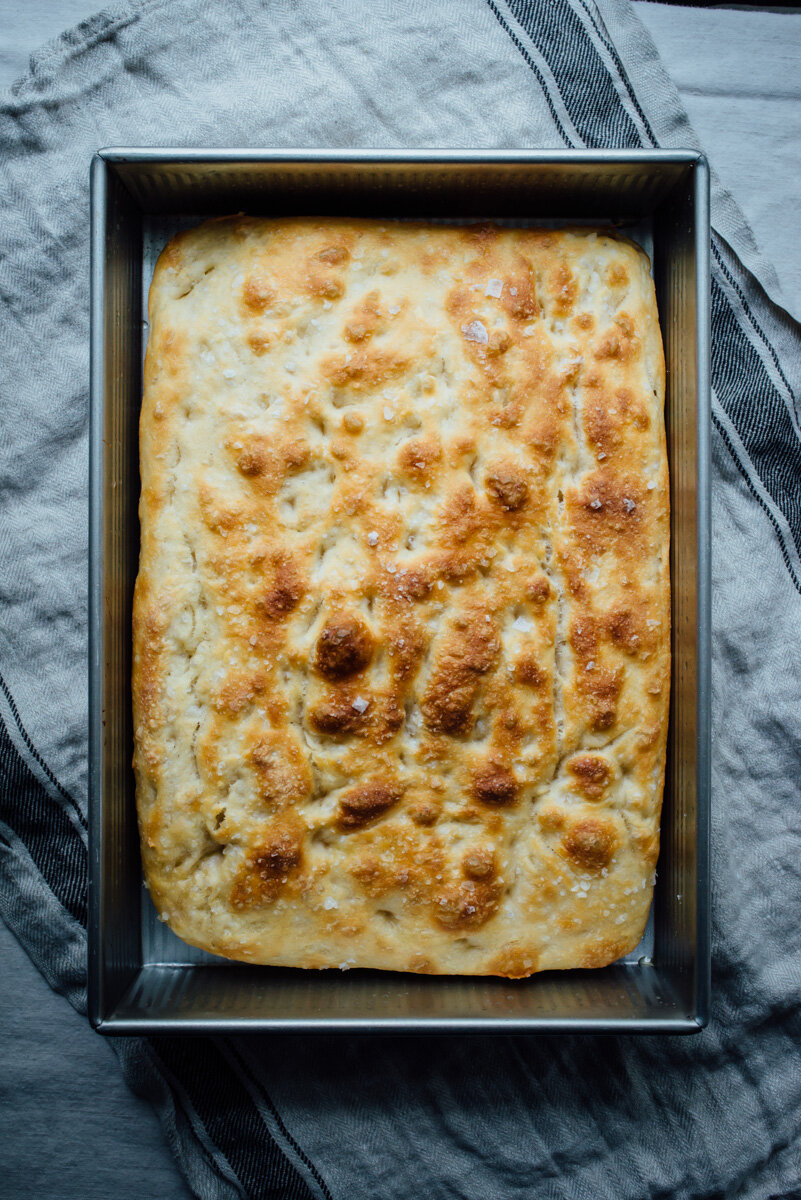
Sourdough Focaccia with Flaked Sea Salt. Sourdough is totally new to me, for years I thought to try it out but felt intimidated by the whole process. And it is a process! But not nearly as bad I was expecting, I’m enjoying it quite a bit. A few weeks ago I got the sourdough starter from a local pizzeria, Red Sauce Pizza, I was purchasing flour and yeast there and they offer a free sourdough starter with purchase. They actually forgot to include it in my bag, I contacted them and they delivered it to my house the next day! That was so nice.

I put the starter (which was super sticky and not bubbly) in the fridge and fed it a few days later, then it started up! I kept it in the fridge and fed it once a week and had no problems at all. 

The recipe below is from Alexandra Cooks and I highly recommend going to her blog, she has so much experience and information that I couldn’t possibly explain here since this is so new to me.

The main things I want to point out about sourdough bread making:

  • It’s not as complicated as it seems

  • You don’t have to buy a sourdough starter, ask your neighborhood bakery, family, friends or neighbors, they’re all throwing away starter discard! .

  • You can feed the refrigerated sourdough starter every 1-2 weeks to keep it active

  • It’s mainly hands off, most of the time is letting it rise

  • This focaccia definitely needs a non-stick pan like this USA Bake pan

  • It’s totally worth it because the bread is amazing!

You may have seen on my instagram feed that I made some Focaccia for a fund raiser through The Side Yard Farm.

This week I’m participating in @bakersagainstracism with @thesideyardfarm’s local bake sale here in Portland to support Black United Fund of Oregon! 100% of the proceeds from this event will be going directly to BUFOR to aid in their mission to directly fund social and economic development initiatives in the underserved communities of Portland. I’ll be baking this Sourdough Focaccia with flaked sea salt.The bake sale will run from 11am Monday 6/15 through Friday 6/19. Pick-up of all purchased items will be at The Side Yard Farm on Saturday 6/20 between 10am-4pm, no shipping or delivery available.

Here’s where you can pre-order, it looks like a lot of great baked goods on the site! 

https://pdx-bakers-against-racism.square.site

It’s now Wednesday and they’re nearly sold out of everything! More baked items are being added I’m told and they are also accepting donations.

Just a friendly reminder when you pick up your baked goods be sure to wear a mask! Coronavirus cases are on the rise here in Oregon and we all want this to go away as fast as possible!

Below is the recipe for this fantastic Focaccia! 

focaccia-1.jpg
focaccia-3.jpg
focaccia-2.jpg

Sourdough Focaccia with Flaked Sea Salt

  • 50 g – 100 g (1/4 to 1/2 cup) active sourdough starter

  • 10 g (about 2.5 teaspoons) kosher salt

  • 430 – 440 g water, room temperature (about 100°F)

  • 512 g (about 4 cups) bread flour

  • 3 tablespoons extra-virgin olive oil, divided, plus more for drizzling

  • Flaky sea salt, such as Maldon

I recommend watching her video here, it helped me a lot! 

Place the starter, salt, and water in a large bowl. Stir with a spatula to combine — it doesn’t have to be uniformly mixed. Add the flour. Mix again until the flour is completely incorporated.

Perform one “fold”: 30 minutes after you mix the dough, reach into the bowl and pull the dough up and into the center. Turn the bowl quarter turns and continue this pulling 8 to 10 times. 

Drizzle with a splash of olive oil and rub to coat. Cover bowl with a tea towel or bowl cover and set aside to rise at room temperature (70ºF/21ºC) for 4 to 18 hours (the time will vary depending on the time of year, the strength of your starter, and the temperature of your kitchen — in summer, for instance, sourdoughs double in 6 hours; in winter, they double in 18 hours. A straight-sided vessel makes monitoring the bulk fermentation especially easy because it allows you to see when your dough has truly doubled. You will also see bubbles in the dough which is a good sign that it is ready.

When dough has doubled, place 2 tablespoons of olive oil into a 9×13-inch pan (use a non-stick pan if possible or guess what, it will stick!).

Drizzle dough with a tablespoon of olive oil. Use your hand to gently deflate the dough and release it from the sides of the bowl. Gently scoop the dough into the center of the pool of oil in your prepared pan. Fold dough envelope style from top to bottom and side to side to create a rough rectangle. Turn dough over so seam-side is down. (watch her video for better reference).  

Rub top of dough with oil. Leave alone for 4 to 6 hours (At this point you can also put it in the refrigerator overnight for a slow rise, just take it out prior to baking and proceed as below instructions, you will get a higher rise and I think it’s better!), uncovered, or until puffy and nearly doubled.  

Heat oven to 425ºF. Rub hands lightly with oil, and using all ten fingers, press gently into the dough to dimple and stretch the dough to nearly fit the pan. Sprinkle generously with a flaked sea salt. Transfer pan to the oven and bake for about 25 minutes or until golden all around. Remove pan from oven and transfer bread to a cooling rack. Cool at least 20 minutes before slicing.

Adapted from Alexandra’s Kitchen

French Onion Soup

french_onion_soup-1.jpg

Hi folks! This is my first attempt at making French Onion Soup. There were a lot of recipes to choose from, all pretty similar, but the one I adapted here (from Food52) had a generous amount of red wine so I went with that, because red wine + beef broth = amazing flavor. But first I had to buy some individual oven-safe soup bowls. I found these at Crate and Barrel (on sale! yay!) and got the little platters to go with them. I think they’re really cute and will work great for future soup and sandwich situations. So as far as the soup goes, the biggest challenge will be cutting all those onions without burning your eyes, as I mention below in the recipe, I recommend using a food processor to slice them, be advised when you’re done and open the lid you will experience all that cut onion at once! I had to put the lid back on until I was ready to put them in the pan. Alternatively you can put the onions in the refrigerator a day in advance, or even the freezer if you don’t have that much time, this greatly reduces the burn factor. The cheese: I made the individual crocks twice, the first time I didn’t put enough soup in the bowl so I didn’t get the draped cheese effect. The second time I made it, which is what you see here, I added enough soup and really piled on the bread and cheese, but still, I only got a little drape. But seriously I can’t complain it tasted so good!

Another thing worth mentioning is that if you cook the soup and then refrigerate it overnight, it will taste even better the next day. It’s just a fact. Recipe below, enjoy!

french_onion_soup-3.jpg
french_onion_soup-2.jpg

French Onion Soup

  • 2 1/2 - 3 pounds onions

  • 3 tablespoons butter

  • 2 tablespoons olive oil

  • 3 cloves of garlic, smashed

  • 1 generous pinch of salt

  • Fresh ground black pepper, a few twists

  • 4 sprigs fresh thyme

  • 1 bay leaf

  • 6 cups beef stock

  • 2 cups red wine

  • 1 baguette or other crusty bread

  • 4-6 slices of swiss cheese, one for each serving

  • Grated gruyere cheese, a handful for each serving

Halve and slice the onions. I highly recommend a food processor to slice the onions. Slicing this many onions can be torture, if you don’t have a food processor place the onions in the refrigerator a day before and they won’t burn your eyes (as much if at all).

Melt together the butter and olive oil in a large dutch oven, add the garlic until it’s caramelized. Add the onions, season with salt and pepper, and stir around just until the onions are all coated in the olive oil/butter. Add in the fresh thyme and the bay leaf and let the onions caramelize, about 20-30 minutes. They will be golden to brown in color.

Once the onions are caramelized and have cooked down, pour in the stock and wine. Simmer uncovered for at least an hour and as much as three hours, add salt and pepper to adjust the flavors.

Meanwhile, slice the bread and toast in a 400° oven until lightly golden brown. You'll want 2 pieces of bread per person - one for the bottom of the bowl, and one for on top.

Grate your cheese. Alternatively, you can drape a deli-cut slice of cheese (swiss or gruyere) over the top of the bowls. I used both, grated cheese on the soup, then a slice of swiss over the toast slice.

Preheat your broiler. Remove the thyme sprigs and bay leaf from the soup. Arrange your oven-safe individual serving bowls on a baking sheet.

To prepare, place a toast slice in the bottom of each bowl. Ladle in the soup (close to the top of the bowl) top with some grated cheese, a slice of toast, then a slice of cheese or more grated cheese. Be generous! You want the cheese to seal in the soup and drape over the edge of the bowl. Which mine sort of did and didn’t, I swear I put so much cheese but it still melted down into the soup, so as you’re stacking your cheese and bread make sure to pile it high!

Makes about 4-6 servings.

Adapted from Food52

Summer Cheese Board

summer_cheese_board-1.jpg

I know, I know, it’s September, but it is technically still summer. I’ve been wanting to do a summer cheese board for some time and also show the grapes we grew! We were so excited to see them grow this year since we only planted them two years ago. It’s a pretty productive vine and I have no idea what to do with so many green grapes other than cheese boards and snacks. They were a challenge to photograph, mostly hiding behind the leaves, and being on the northern fence, it was almost always bad lighting. When light did reach the grapes, it was like a giant spotlight, and when it didn’t, it was all so dark. And green. But hey, here they are. After 6+ years creating on this blog, this is the first blog post without a recipe! I’ll post a list of what I have here for fruit and cheese because the Humbolt Fog with peach on a slice of baguette is amazing! I had fun arranging the cheese board with the end of summer fruits. I know strawberries don’t produce much into the summer in some areas, but in my backyard they just keep going and going, it’s one of those every-bearing varieties. The plums and peaches are truly reaching the end of the season here, when I was buying them the clerk said get them while you can because this is it. So this is it. End of summer folks, Autumn begins September 23rd. Soups are on the horizon!

summer_cheese_board-1-2.jpg
summer_cheese_board-2-2.jpg
summer_cheese_board-4.jpg
summer_cheese_board-2.jpg
summer_cheese_board-3.jpg
summer_cheese_board-5.jpg
summer_cheese_board-6.jpg

Summer Cheese Board

Panzanella

panzanella-1.jpg

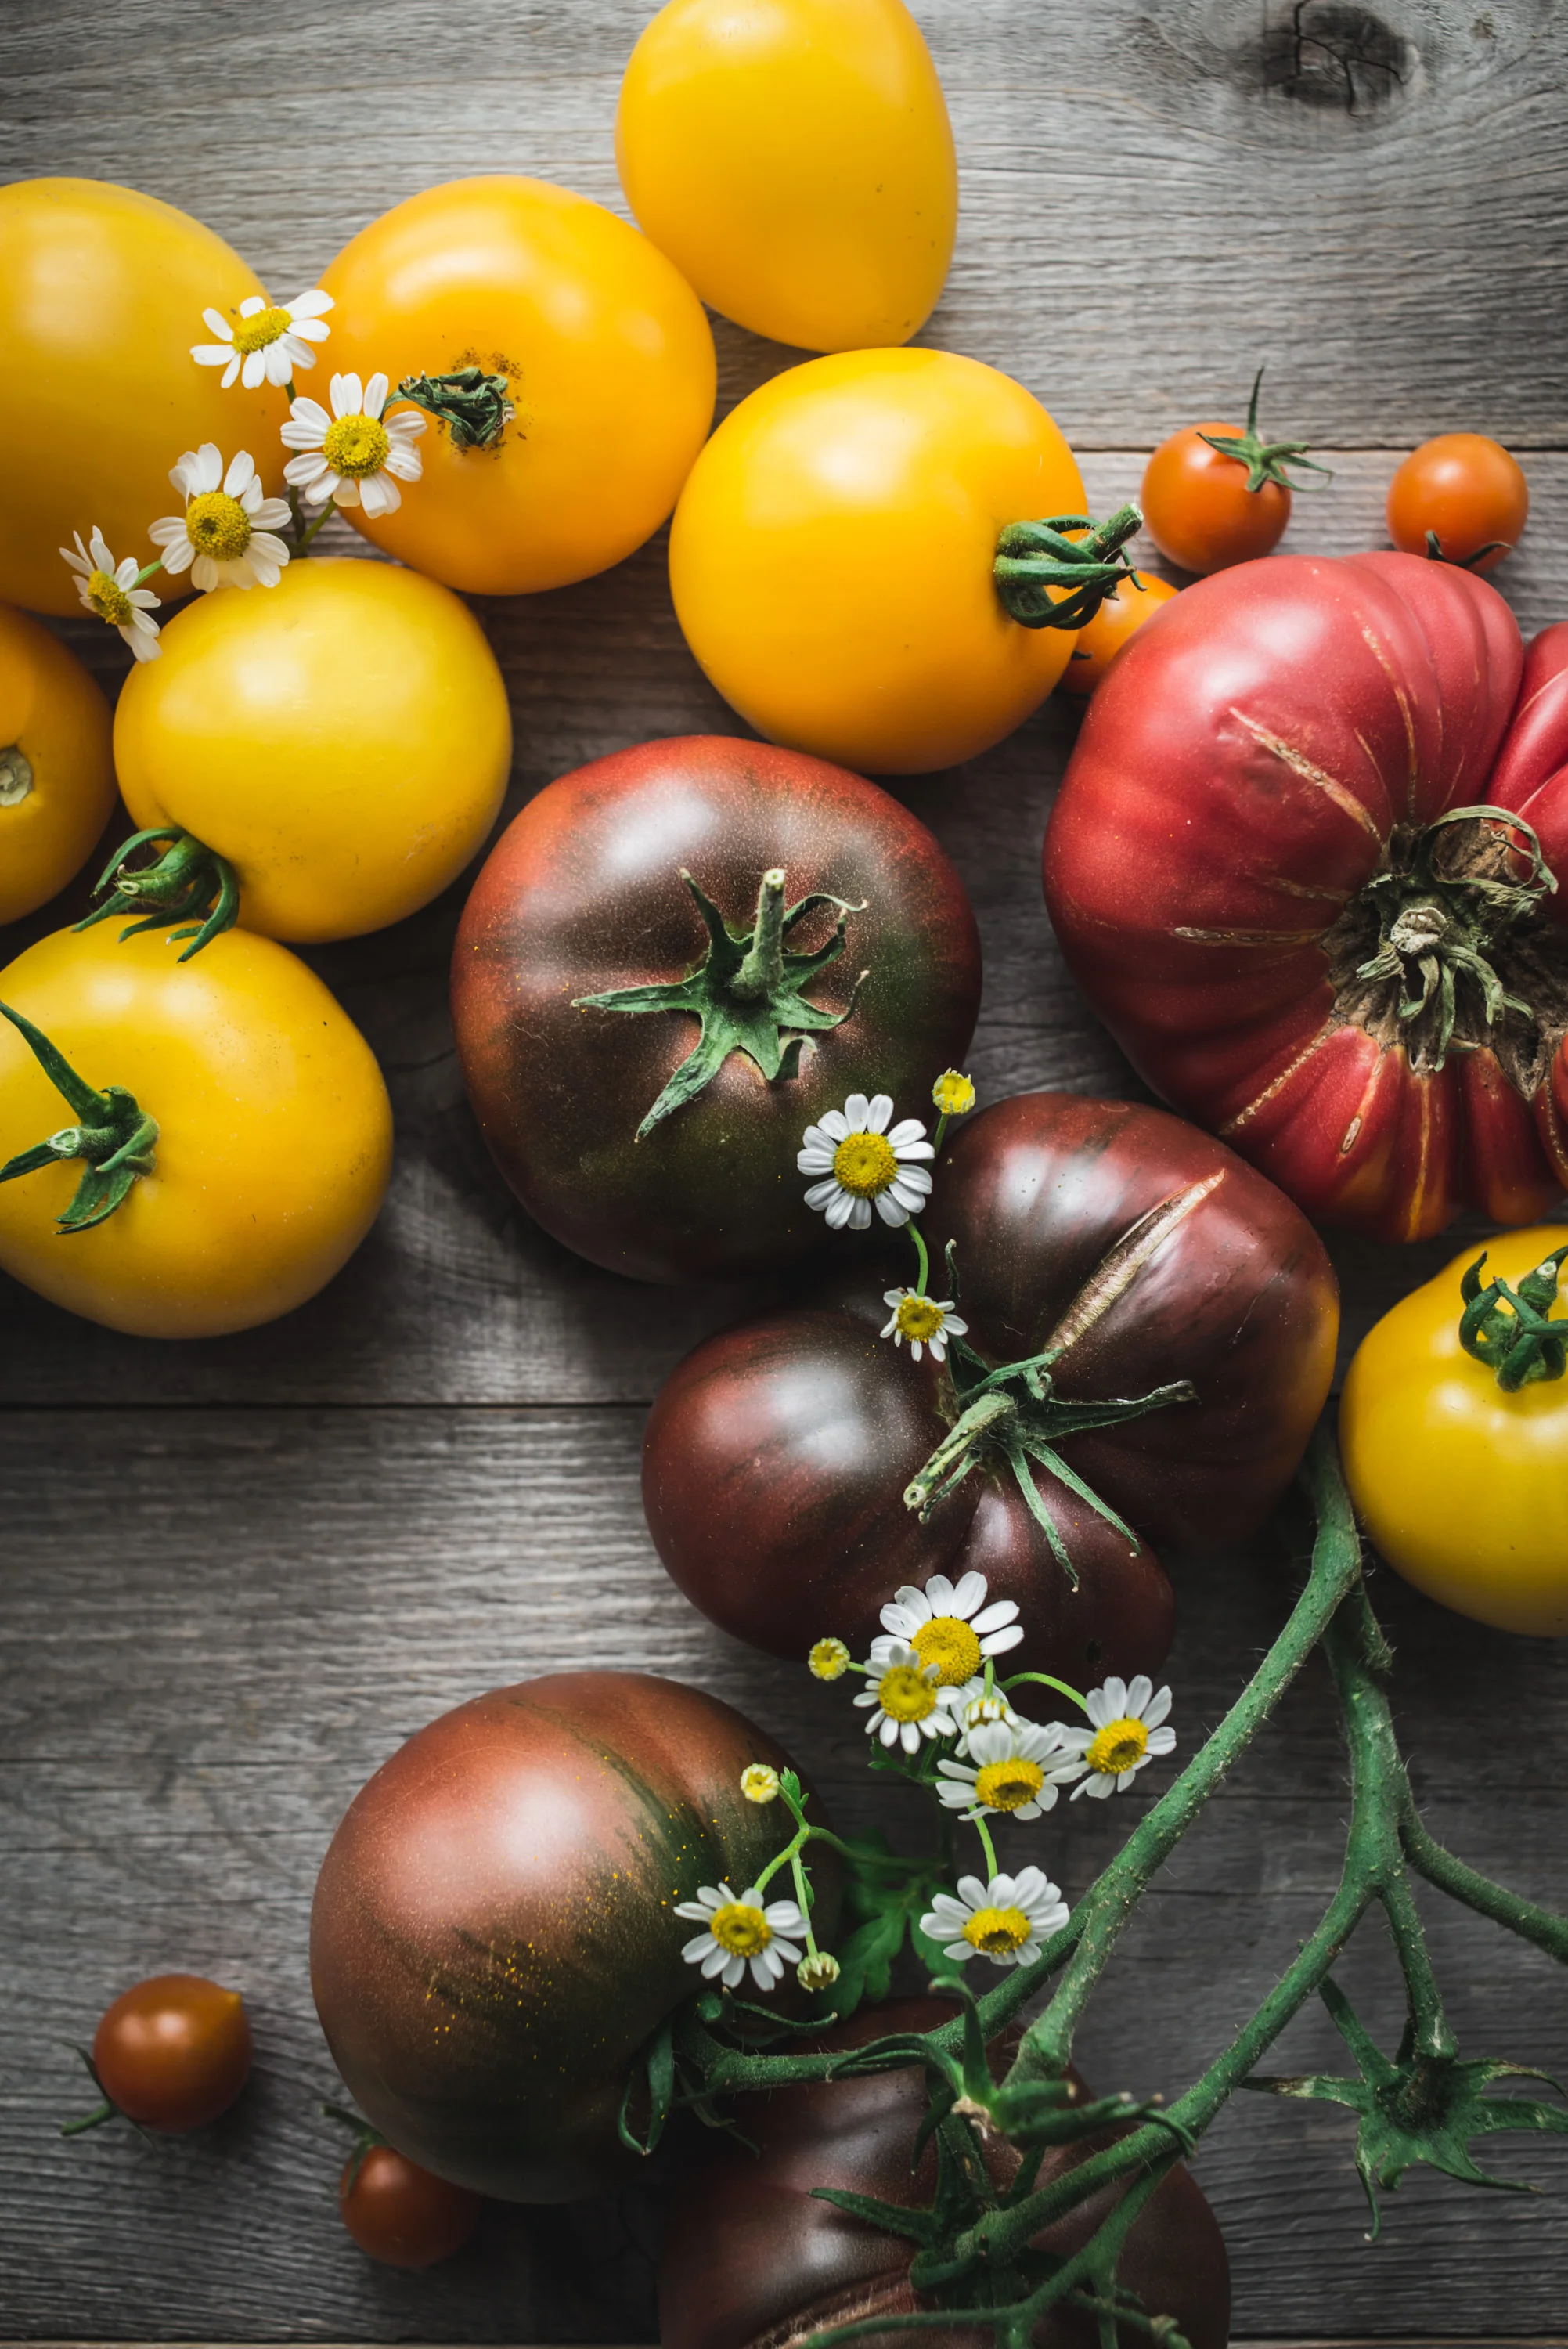
Hello tomatoes! Wow it’s been such a cool summer that it has taken a bit longer for them to ripen in the garden, but last week all four plants decided it was time. The yellow Taxi tomatoes along with the Sungold cherry tomatoes were the first on the scene, followed by Black Krim, and lastly the Brandywine. I’ve been wanting to make this Panzanella for a while, and since I had made a loaf of No-Knead bread a couple days prior it worked out great. Most recipes say to put the bread cubes in the oven, but I opted for the skillet which went pretty quick and ya know, fried bread? So good. You could serve this as a side dish or appetizer, or it makes a great vegetarian meal when you want something light. 

And speaking of serving, I received sample dishes from Carthage.co Stoneware which you see here and they are just beautiful! The large white plate is the Dadasi Dinner plate in chalk and the dark bowl is the Zaghwan Soup Bowl in Old Silver. I think they both look great but especially love the Zaghwan bowl with these bright colored tomatoes. And the prices are quite reasonable for high-end ceramic dishes. You can read more about these hand-crafted ceramics here. They have a nice weight to them and they’re a pleasure to photograph. I’ll be back with more tomato and/or zucchini dishes this month. Until then I recommend this Panzanella, enjoy!

panzanella-2.jpg
panzanella-3.jpg
panzanella-4.jpg
panzanella-5.jpg
panzanella-6.jpg
panzanella-7.jpg
panzanella-8.jpg
panzanella-9.jpg
panzanella-11.jpg
panzanella-10.jpg
panzanella-13.jpg
panzanella-12.jpg

Panzanella

  • 3 cups baguette or rustic bread, preferably stale, cut into 1-inch cubes

  • 6 tablespoons extra-virgin olive oil, more to taste

  • 3/4 teaspoon kosher sea salt, more to taste

  • 2 pounds very ripe tomatoes, preferably a mix of varieties and colors

  • 6 ounces small fresh mozzarella balls (or shredded chunks of fresh mozzarella)

  • 1/2 cup torn basil leaves

  • Salt and pepper to taste

  • 1/2 teaspoon Dijon mustard

  • 2 tablespoons Champagne vinegar (or white balsamic vinegar)

  • 1/4 cup Olive Oil

  • Salt and Pepper

In a large bowl mix together the bread cubes with olive oil and salt. Add a bit of olive oil to a  large cast iron skillet and heat on medium, when warm place the cubes in a single layer, tossing as needed until crisp on all sides. When done place the bread cubes on a plate and allow to cool a bit. 

To make the dressing, in a small bowl whisk together the Dijon and vinegar, then whisk in the olive oil.

Cut the tomatoes into chunks and then add them to a large bowl, add the mozzarella, bread cubes and the basil leaves (but leave a few to top the dish), add some salt and pepper and stir gently. Let sit for at least 30 minutes. Top with remaining basil leaves. Serve at room temp.

Pickled Kirby Cucumbers

kirby_cucumber_dill_pickles-1-2.jpg

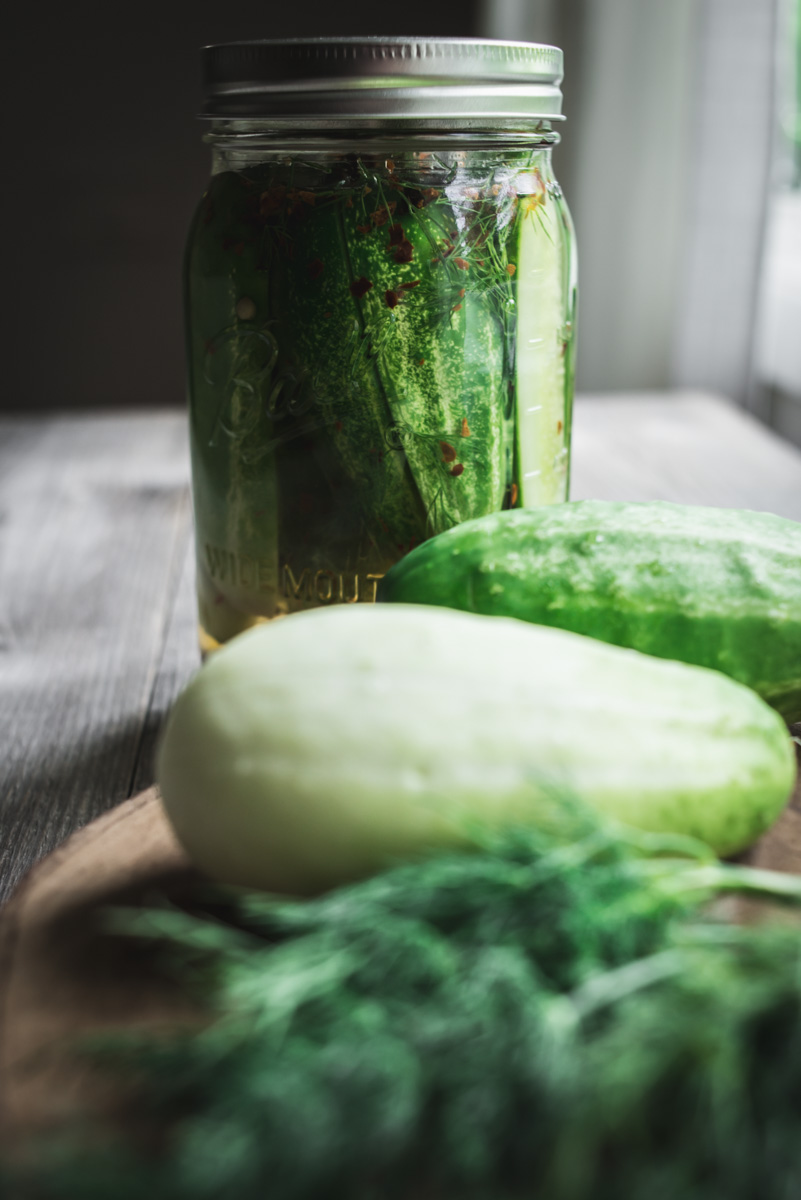
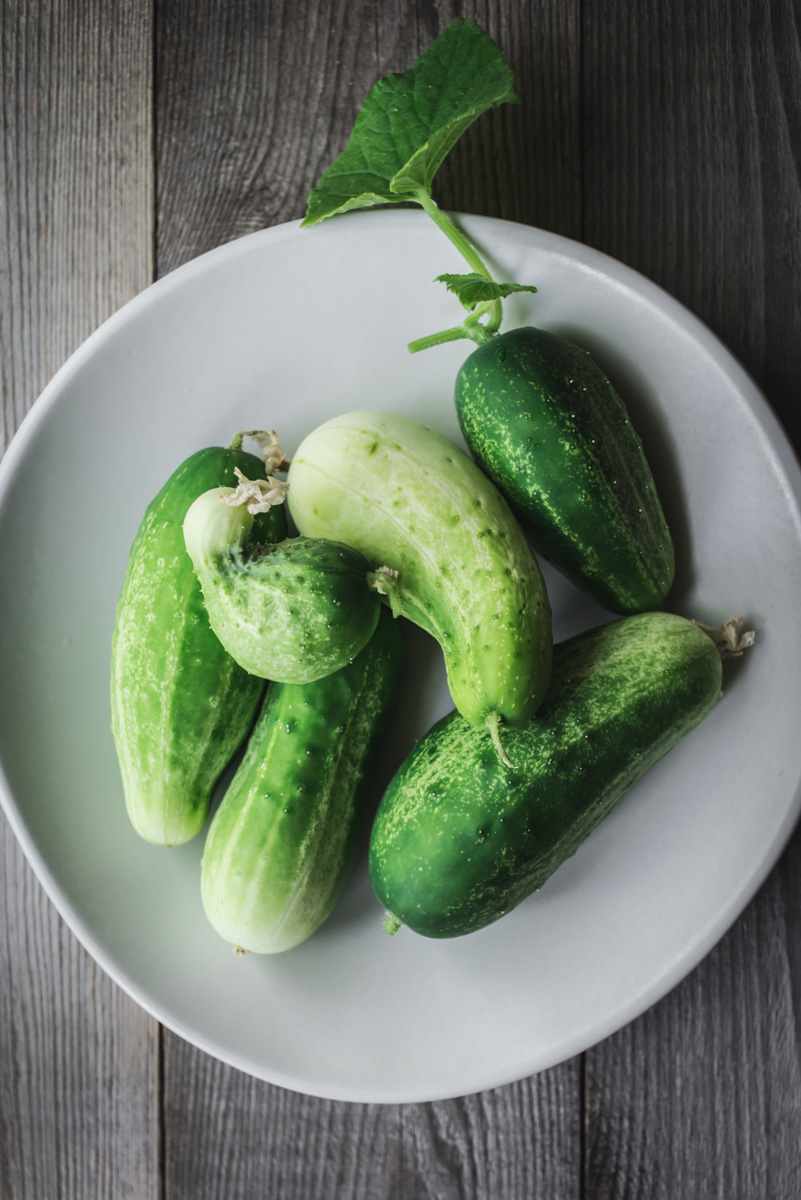
This is my favorite time of the year, the garden is in full swing and in addition to tomatoes ripening this week, I have a bunch of these cute Kirby cucumbers. I wanted to pickle them whole but they’re so fat I couldn’t even fit two of them in the mason jar, so I quartered them for this recipe. This version of pickling is the quick refrigerator pickle. There is no cooking involved and you simply let it sit in the refrigerator for a few days until it’s ready to eat. What I like most about this style is that the pickles stay crisp. I pickled some zucchini a couple weeks ago, which involved cooking the zucchini a bit, and while it tasted really good I think they were too soft. But hey, it’s all good.

The best pickle I ever had was Guss’ Pickles on the Lower East Side in NYC. It’s no longer there but it looks like they kept the business going in Brooklyn. And they sell them at Whole Foods? I’ll have to keep my eye out for them, but until then I have a good supply of pickles in the fridge. Hope you’re having a great summer, I’ll be back with some tomato recipes soon!

kirby_cucumber_dill_pickles-6.jpg
kirby_cucumber_dill_pickles-1.jpg
kirby_cucumber_dill_pickles-3.jpg
kirby_cucumber_dill_pickles-4.jpg
kirby_cucumber_dill_pickles-5.jpg

Pickled Kirby Cucumbers

  • 2-3 Kirby Cucumbers, quartered

  • 1 cups white vinegar

  • 1 cups water

  • 1 tablespoon mustard seeds

  • 1 tablespoon kosher salt

  • 1 tablespoon sugar

  • 1 teaspoon crushed red pepper

  • 1 tablespoon peppercorns

  • 1 garlic clove

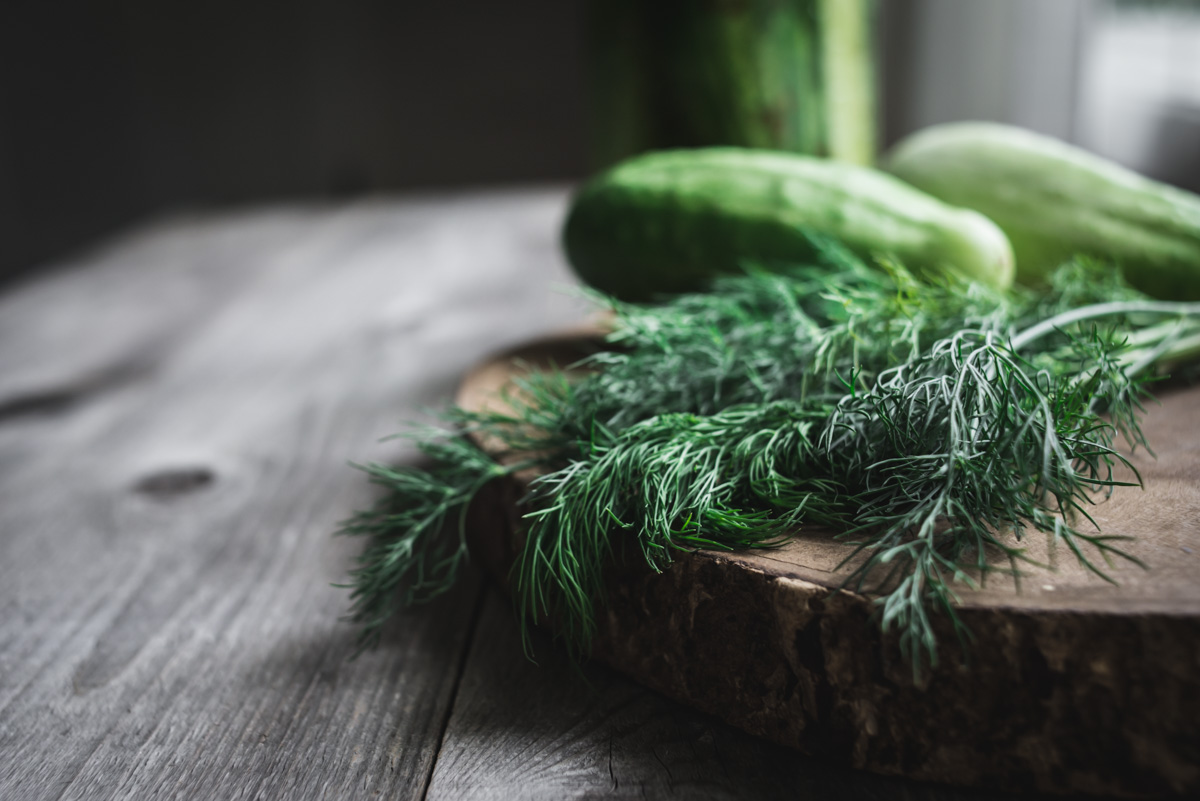
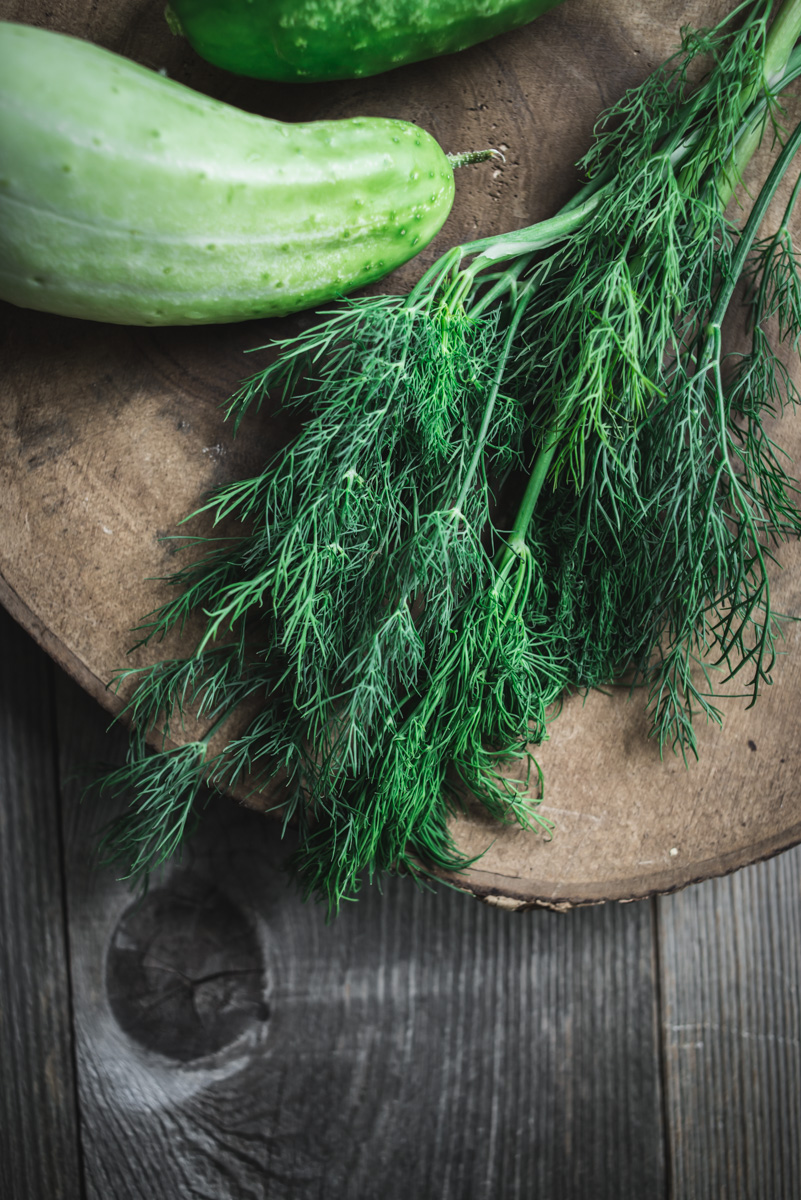
  • Fresh dill, a few sprigs

Place the quartered pickles in a quart mason jar. Add all the spices, garlic and dill to the jar. Pour in the water and vinegar, top off with more if needed. Place the cap on and give it a good shake. Pickles will be ready in a week or so. Store in the refrigerator. They should last a couple months. But you will have eaten them by then  ;)


CBD Infused Coconut Oil

CBD_infused_coconut_oil-11.jpg

CBD Infused Coconut Oil is surprisingly easy to make thanks to Jeff Danzer’s recipe. I’ve seen CBD Hemp infused oil for sale online and it’s very expensive. Not only is making your own more economical, you have more control over the type of oil you want to use and the strength. Why CBD Infused Coconut Oil? I’ve been meaning to cook with Cannabis for some time now. I’ve been reluctant because it’s hard to know the exact potency unless it’s been tested in a lab, or you try your recipe yourself and take the whole day off as a precautionary. That can be a bit much. But CBD is derived from Hemp and it’s a whole different experience.

I’m working with a farm in Southern Oregon, Cascadia Blooms, to develop some recipes with the Hemp they grow. If you’re not familiar with CBD, Cascadia Blooms has a great FAQ section here, basically CBD Hemp will relax your body without the psychoactive high you would experience with THC in Cannabis. Adding it to your food or drink is a great way to consume it. 

You can use the CBD Infused Coconut Oil the same way you would use any Coconut Oil. I wanted to try it without making a whole batch of cookies, so I first tried about a teaspoon in coffee (people are doing that? yes) but I didn’t like it, I drink my coffee black but if you use cream and sugar you might like it, in any case the 1 teaspoon did nothing for me, so then I smeared a heaping tablespoon on toast, and that was the right amount. (Keep in mind it takes at least an hour to feel the effects, so best to take your time and see how you feel after 1-2 hours.)

The effects? Within about an hour I felt relaxed, it definitely reduces anxiety. As a result I felt more focused on whatever I might be doing, it’s kind of incredible how many distractions there are, never mind social media and email, sometimes I have a hard time focusing because of my mile-long list of things to do. I can’t seem to walk through any room in the house or the yard without seeing something to do, fix, clean, update, really around every corner (and our house isn’t even messy!). I think that creates a kind of low level anxiety for me. But with CBD it felt different, I know those things to do are there, but I’m not anxious about it. That’s the most profound effect that I experienced. It lasts for about 4 hours and tapers off.

I’ve included the cleaning process below but it is optional as Cascadia Blooms takes care to keep their Hemp flower clean, organic and ready for food consumption. The cleaning process also produces a lighter tasting oil which helps to control flavor. The coconut oil I infused had very little smell or flavor of the Hemp, however you might want to skip that process if you want that flavor depth, it will be determined by the flower you use, but it generally has an herb-like flavor, a little peppery that would be suitable for savory dishes. The entire process is done in a French Press, which I think is rather brilliant, it worked out great for steeping and straining. This is first of a series of CBD Recipes as you will need the infused ingredients to work with (butter, coconut oil, olive oil, etc). I look forward to sharing more with you!

You can order online everywhere in the U.S. (except Idaho and South Dakota, sorry!) and the Hemp is shipped in double-lined sealed bags so that there is no odor at all in your mailbox. You can read more about their packaging and shipping info here.

This is a sponsored post on behalf of Cascadia Blooms, all thoughts and opinions are my own, the recipe below provided by Jeff Danzer.

So let’s get started!

CBD_infused_coconut_oil-1.jpg
CBD_infused_coconut_oil-2.jpg

Break the large hemp flower into popcorn size pieces

CBD_infused_coconut_oil-3.jpg
CBD_infused_coconut_oil-4.jpg

Soak the hemp flower in French Press with distilled water, submerged, for 2-3 days until water is clean, changing water twice a day

CBD_infused_coconut_oil-5.jpg
CBD_infused_coconut_oil-6.jpg

Run through salad spinner to remove excess water. Dry and decarb on baking sheet, bake 60-90 minutes until dry (foil should be loosely covering the pan, not too tight or it will steam!)

CBD_infused_coconut_oil-7.jpg

Add the oil and dried Hemp flower to French Press

CBD_infused_coconut_oil-8.jpg

Steep in boiling water for 2 hours

CBD_infused_coconut_oil-9.jpg
CBD_infused_coconut_oil-10.jpg

Strain oil through French Press into sterile jar or container

CBD_infused_coconut_oil-12.jpg
CBD_infused_coconut_oil-13.jpg

As I mentioned above, I recommend a tablespoon per serving for optimal effect, but use your own discretion as to what works for you best

Hemp CBD Infused Cooking Oil

  • 4g Hemp Flower

  • 8 ounces Olive or Coconut Oil

  • Distilled water

  • French Press

  • Pot of boiling water

Hemp CBD Infused Cooking Oil - Cleaning and Drying

Soak

Pick the buds off the stem. In a French Press Completely immerse the buds and stems in distilled water and soak for 2 to 3 days, changing the water twice a day until the water in the French press is clear.

Rinse

Remove the herb from the French Press and place in a salad spinner. Spin for about 30 seconds to remove excess water.

Dry and Decarb

Preheat oven to 240º F.

Spread the hemp evenly over a large baking sheet and place a large piece of light aluminum foil loosely over the top of it. Crimp the edges to keep in any odor (but don’t seal it too tight or it will steam.) Bake for 60 to 90 minutes until completely dry. Your Hemp is now clean and ready for infusion into your butter, oil, alcohol or vegetable glycerin.

Hemp CBD Infused Cooking Oil - Simple Steeping Method

Place Hemp flower buds in French Press along with the oil. Fill a pot halfway or so with water and bring to a boil. Your water line should not be much higher than the oil level in the French Press. 

Stand the French Press in the pot of boiling water and let steep for 2 hours. Adding more water as needed if it boils down.

Strain the oil through the French Press into a sterile jar or container. It is now ready to use. 

The 7-Minute Egg

7_minute_egg-3.jpg

When it comes to boiling eggs, minutes really matter. I only recently discovered this. My whole life I’ve been starting them in cold water, bring to a boil, cook for an unknown amount of time, which resulted in a hard-boiled egg that was sometimes ok. But then I was watching Salt Fat Acid Heat recently and Samin mentioned the 7-minute egg, and it looked really good, not as runny as soft boiled but not hard boiled either. You start the eggs in boiling water. This makes an enormous difference. Not only the quality of the yolk, but the texture of the white, it’s fully cooked and kinda velvety, not rubbery which I thought all boiled eggs were just like that. And after 7 minutes you put them in an ice bath for a few minutes. Since I’ve been using this method the shell comes off the egg perfectly, no more moon craters of the past. The cooking times range from 6-12 minutes, with 12 minutes being hard boiled, everyone finds their favorite somewhere in-between, but I’m sold on 7-minutes. And, I made another video! If you like you can follow my Youtube channel here and Vimeo here

7_minute_egg-1.jpg
7_minute_egg-2.jpg