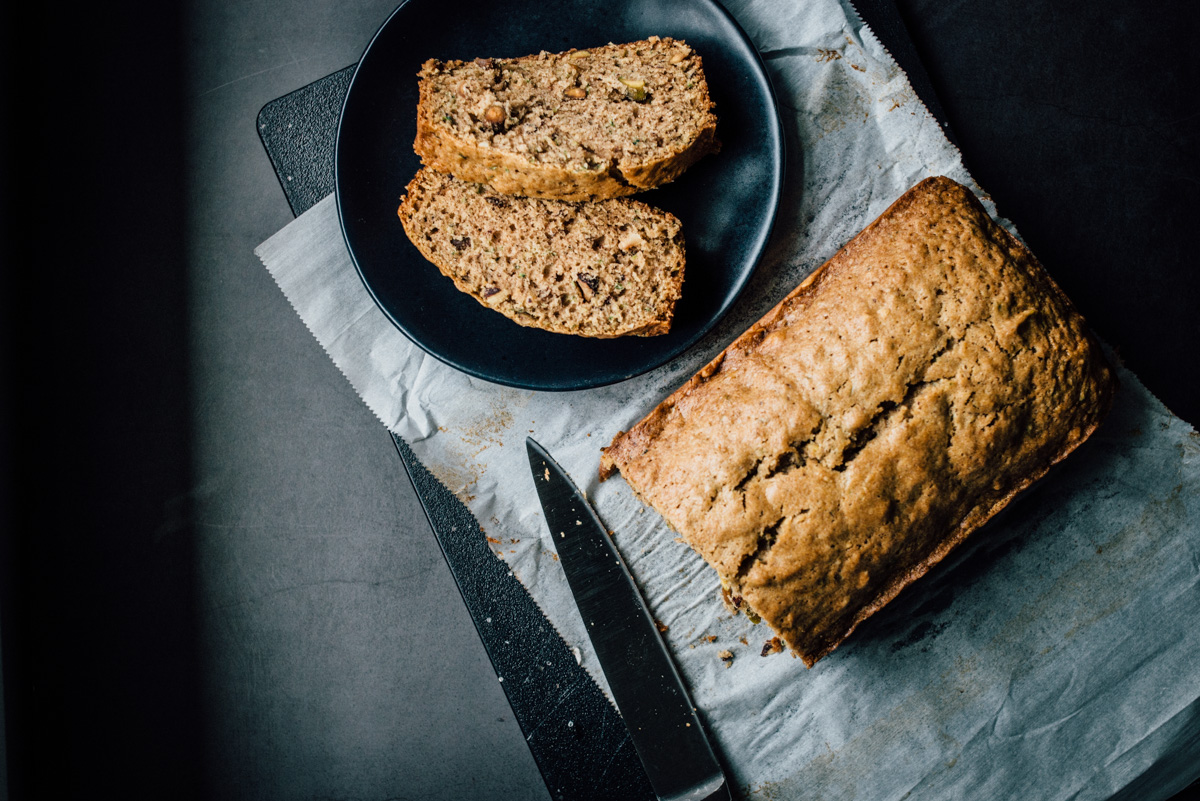
Raspberry Pistachio Oat Scones
/
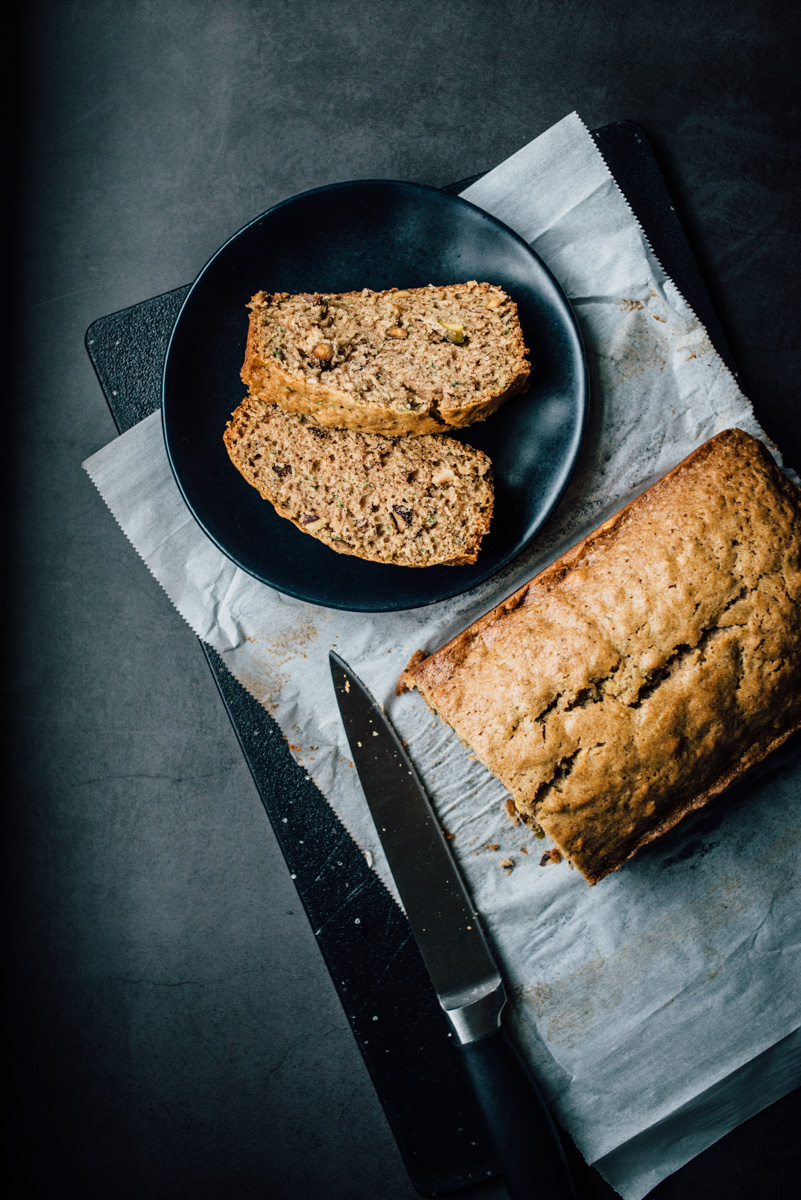
I haven’t made scones in a long long time. There are a couple recipes here in the archives but I haven’t made them like this before. Last week I saw Teresa posted this recipe on Instagram and it sounded really good. Plus I still have raspberries in the freezer from last summer’s harvest! I had to rinse and defrost them so they basically mushed into the batter, but not a big deal as they really tasted great. Two things I like about this recipe. 1. there is no added sugar other than maple syrup, and 2. I really like the texture of the oats in the scones. This recipe was also different in that you have sort of a shaggy loose dough, so you form it in a circle on your baking sheet, then pre-cut the slices (but not separating them), bake, then slice them apart afterward. The recipe was super easy and like I said I think it tastes great, these are not the dried out scones of yesteryear. You know what I mean? Like the ones Larry David prefers? Have you been watching the most recent Curb Your Enthusiasm? I’m trying to find a link to the scone scene, but all I can find is this part where he wants to open a spite store next door to Mocha Joe’s after being banned from there, and he thinks he knows what is the BEST scone to serve at his new spite cafe. Anyway it’s pretty funny because his scones are dry as the Sahara and nobody likes them. I promise these are not dry scones. Also, there’s an optional glaze I’ve included below in the recipe, I didn’t use it and kinda like this barely-sweet scone. However if you’re wanting something sweeter be sure to top them with the glaze. Enjoy!


Raspberry Pistachio Oat Scones
1 cup all-purpose flour
1 cup oats
1 tablespoon baking powder
1/2 teaspoon salt
4 tablespoons butter, softened almost melted
1/4 cup pure maple syrup
1 tablespoon vanilla extract
1 large egg
1/4 cup whole milk greek yogurt
1 cup raspberries
1/2 cup chopped pistachios
Preheat oven to 400°F. Line a baking sheet with parchment paper and set aside.
In a large bowl whisk together flour, oats, baking powder and salt in a bowl. Set aside.
In a separate bowl whisk together the butter, maple syrup, vanilla extract, egg, and whole milk yogurt.
Add the wet ingredients to dry ingredients and stir to combine with a wooden spoon. Gently fold in raspberries and pistachios. They will get a bit smushed. (mine did a lot!)
Place batter on top and round it into a disk shape. Batter will be sticky. Cut into 6-8 pieces (depending on the size of scone you want, I did 6) so when they come out of the oven you can run the knife through again to fully separate.
Bake for 20-25 minutes, rotating the sheet half-way through to ensure even cooking. When done, they should be slightly firm. Finish cutting and enjoy! (They can keep on the counter, covered, for one day, but I recommend refrigerating any more than that because of the fresh fruit)
Glaze (optional)
1 cup powdered sugar
4-5 tablespoons milk
1/2 teaspoon vanilla extract
Whisk together all the ingredients until smooth and drizzle over cooled scones.
Adapted from @aloveafare