The Better Cheesecake

Welcome 2022! I’ve seen a lot of complaining and griping about 2021, but honestly for me it’s been one of the best years of my life. My granola business seems to be a good fit for me in so many ways. I’ve learned so much in the past 8 months about bringing a product to market, and I’ve met so many wonderful people. It’s been an incredibly positive experience. Not that I wasn’t complaining, last fall when the Delta variant hit Oregon hard we had to wear masks outside at the markets! That was a bit much! But we got through it. So…cheesecake!

The Better Cheesecake. I named it as such because it is remarkably better than my other cheesecake recipe. I made this for the new year and we were absolutely blown away by the flavor and texture. I think it’s the added heavy cream. And the way it’s baked. The recipe below is adapted from an adapted version of a Dorie Greenspan recipe on NYTimes Cooking

I changed a few things but not much. I used salted butter (and added more for the graham cracker crust) I think it tastes much better. Also I used a combination of sour cream and heavy cream, rather than just sour cream, and lastly I kept the pan of water separate in oven rather than placing cheesecake in pan of water. This was a tip that was in the comments section. The original recipe has you double foiling the pan and then placing it in boiling hot water while it’s baking. But it’s so much easier to just put a pan of hot water in the base of the oven. I think the hot water helps with the cracking problem. Because this time I had only one not-so-big crack on the top of the cheesecake. My other one cracked all over the place! 

I still had blueberries and cherries in the freezer from last summer’s yard harvest. They held up well and tasted great. I still have more blueberries to cook with so maybe there’s a pie coming up next week.

I hope your new year is off to a good start! And you can’t go wrong with this cheesecake, it’s so good!

The Better Cheesecake

For the crust:

  • 1 3/4 cups graham cracker crumbs

  • 3 tablespoons sugar

  • Pinch of salt

  • 1 stick (8 tablespoons) salted butter, melted

For the cheesecake:

  • 2 pounds (four 8-ounce boxes) cream cheese, at room temperature

  • 1 1/3 cups sugar

  • 1/2 teaspoon salt

  • 2 teaspoons pure vanilla extract

  • 4 large eggs, at room temperature

  • 3/4 cup sour cream

  • 3/4 cup heavy cream

For the berry sauce:

  • 2 cups fresh or frozen blueberries and/or cherries

  • 1/2 cup water

  • 1 tablespoon sugar

Make the crust: Butter a 9-inch springform pan — choose one that has sides that are 2 3/4 inches high (if the sides are lower, you will have cheesecake batter left over.)

Melt the butter. Stir the crumbs, sugar and salt together in a medium bowl. Pour over the melted butter and stir until all of the dry ingredients are uniformly moist. (You can do this with your fingers.) Turn the ingredients into the springform pan and use your fingers to pat an even layer of crumbs along the bottom of the pan and about halfway up the sides. Don’t worry if the sides are not perfectly even or if the crumbs reach above or below the midway point on the sides. Put the pan in the freezer while you heat the oven. 

Center a rack in the oven, and have a rack on the bottom for a pan of water. Heat the oven to 350° F and place the springform on a baking sheet. Bake the crust for 10 minutes. Set aside to cool. Reduce the oven temperature to 325° F.

To make the cheesecake: Put a kettle of water on to boil. Working with a stand mixer, preferably fitted with the paddle attachment, or with a hand mixer in a large bowl, beat the cream cheese at medium speed until it is soft and creamy, about 4 minutes. With the mixer running, add the sugar and salt and continue to beat for another 4 minutes or so, until the cream cheese is light. Beat in the vanilla. Add the eggs, one by one, beating for 1 full minute after each addition — you want a well-aerated batter. Scrape down the sides of the mixing bowl as needed. Reduce the mixer speed to low and stir in the sour cream and heavy cream.

Give the batter a few stirs with a rubber spatula, just to make sure that nothing has been left unmixed at the bottom of the bowl, and scrape the batter into the springform pan. The batter will reach the rim of the pan. (If you have a pan with lower sides and have leftover batter, you can bake the batter in a buttered ramekin or small soufflé mold.) Fill a roasting pan with hot water and place in the bottom rack of the oven.

Place the cheesecake on a sheet pan and place on the middle rack and bake the cheesecake for 1 hour 30 minutes, at which point the top will be browned (and perhaps cracked) and may have risen just a little above the rim of the pan. Turn off the oven’s heat and prop the oven door open with a wooden spoon. Allow the cheesecake to cool down for another hour.

After 1 hour remove from oven and let the cheesecake come to room temperature on a cooling rack.

When the cake is cool, cover the top lightly and refrigerate for at least 4 hours, although overnight is better. At serving time, remove the sides of the springform pan.

Make the berry sauce: In a small saucepan add the berries, water and sugar. Bring to a boil then reduce heat to a simmer, cook for about 5 minutes. Remove from heat and allow to cool a bit before serving.


Peanut Butter Chocolate Chip Cookies

peanut_butter_chocolate_cookies-1.jpg

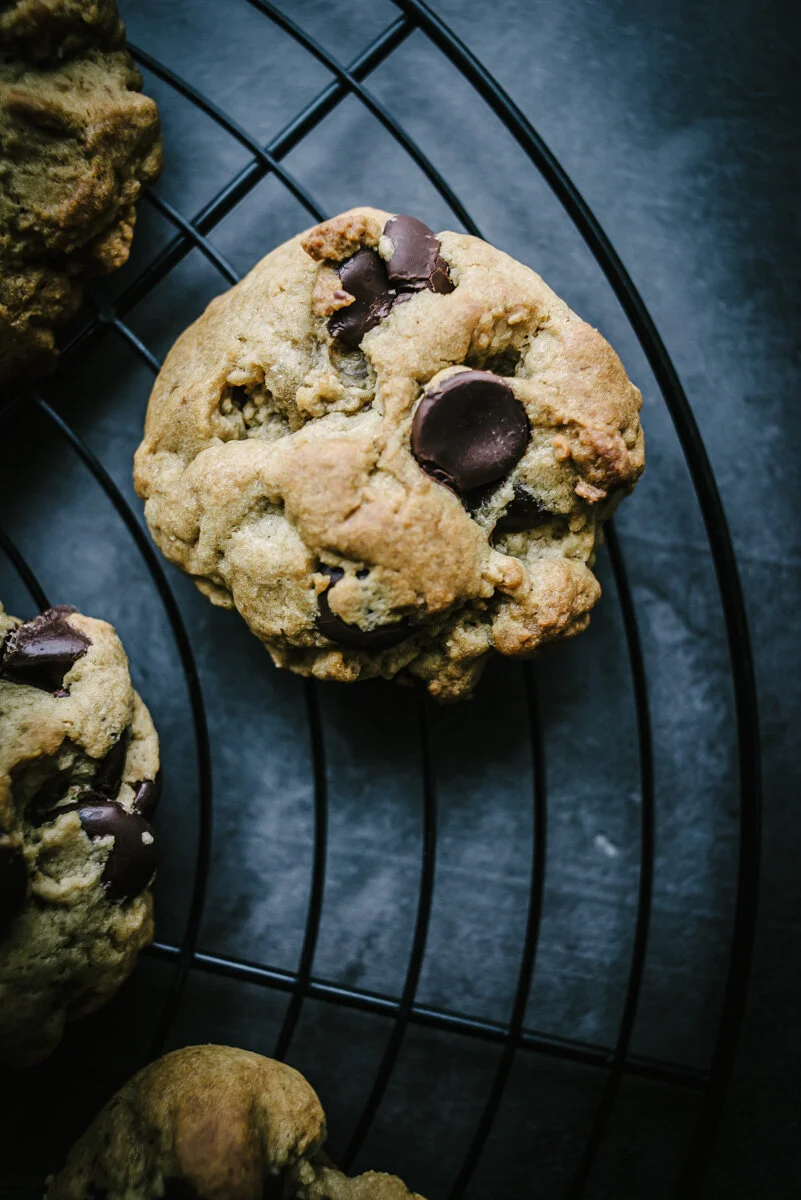
Here’s another treat to get you through the winter months. Peanut Butter Chocolate Chip Cookies! We had a big snow fall last week, 8-10 inches of snow (with a layer of ice sandwiched in-between) which is a big deal around here. The city practically shut down. Businesses closed. They don’t plow most streets because it’s… sort of rare, but not that rare! And they don’t use salt on the roads because it’s bad for the roads and the environment and will end up costing more money in the end with repair work. So you have to drive with chains on your tires or plan to walk to places, hunker down and light a fire. And maybe make some cookies if you have power. And we did! I couldn’t believe it. Huge snow/ice storm and we didn’t lose power. 

I was almost going to make the Peanut butter and Chocolate Blondies again, but they are so rich. Amazing as they are I really just wanted something a tad lighter. And these are just that. A little less butter, and a little less peanut butter. And also cookies, so rather than baked all at once in one pan, you can do as I did and bake small batches at a time. The dough stays fine in the fridge for a week and you can have fresh baked cookies in just a matter of minutes. Bake 6-12 cookies at a time. Whatever you want. Easy. You can freeze the dough as well if you want to take a break from cookie baking/eating. Since it’s just the two of us I find it makes more sense to do these small batch desserts. Some things freeze well post-baked and taste good defrosted, like cakes, but cookies? I think fresh baked is best.

The original recipe was named “Chewy” Peanut Butter Chocolate Chip Cookies, which mine were not, maybe because I used honey rather than corn syrup? I’m not sure. The only thing I changed here was that I used honey instead of Corn Syrup. But I don’t have corn syrup and didn’t have any plans to use it so I replaced it with honey. No complaints! These cookies were awesome! I would definitely make them again. Enjoy! And stay warm!

peanut_butter_chocolate_cookies-2.jpg
peanut_butter_chocolate_cookies-3.jpg
peanut_butter_chocolate_cookies-4.jpg
peanut_butter_chocolate_cookies-5.jpg
peanut_butter_chocolate_cookies-6.jpg

Peanut Butter Chocolate Chip Cookies

  • 1/2 cup butter, softened 

  • 1/2 cup peanut butter 

  • 1 cup packed brown sugar 

  • 1/2 cup white sugar 

  • 2 eggs 

  • 2 tablespoons honey

  • 2 tablespoons water 

  • 2 teaspoons vanilla extract 

  • 2 1/2 cups all-purpose flour 

  • 1 teaspoon baking soda 

  • 1/2 teaspoon salt 

  • 2 cups chopped semisweet chocolate 10 oz bag

Preheat oven to 375F° (190C°). Line a baking sheet with parchment paper.

In a large bowl cream together the butter, peanut butter, brown sugar, and white sugar until smooth. Beat in the eggs one at a time, then stir in the honey, water, and vanilla. In a separate bowl whisk together the flour, baking soda, and salt. Then stir the flour mixture into the peanut butter mixture. Fold in chocolate chunks. Drop by 1/4 cupfuls 3 inches apart onto the parchment-lined baking sheet.

Bake for 12 to 15 minutes in preheated oven, or until edges are golden. Allow cookies to cool for a few minutes on the cookie sheet before removing to wire racks to cool completely. Makes about 36 cookies.

Cranberry Orange Pecan Loaf Cake

cranberry_orange_pecan_loaf_cake-1.jpg

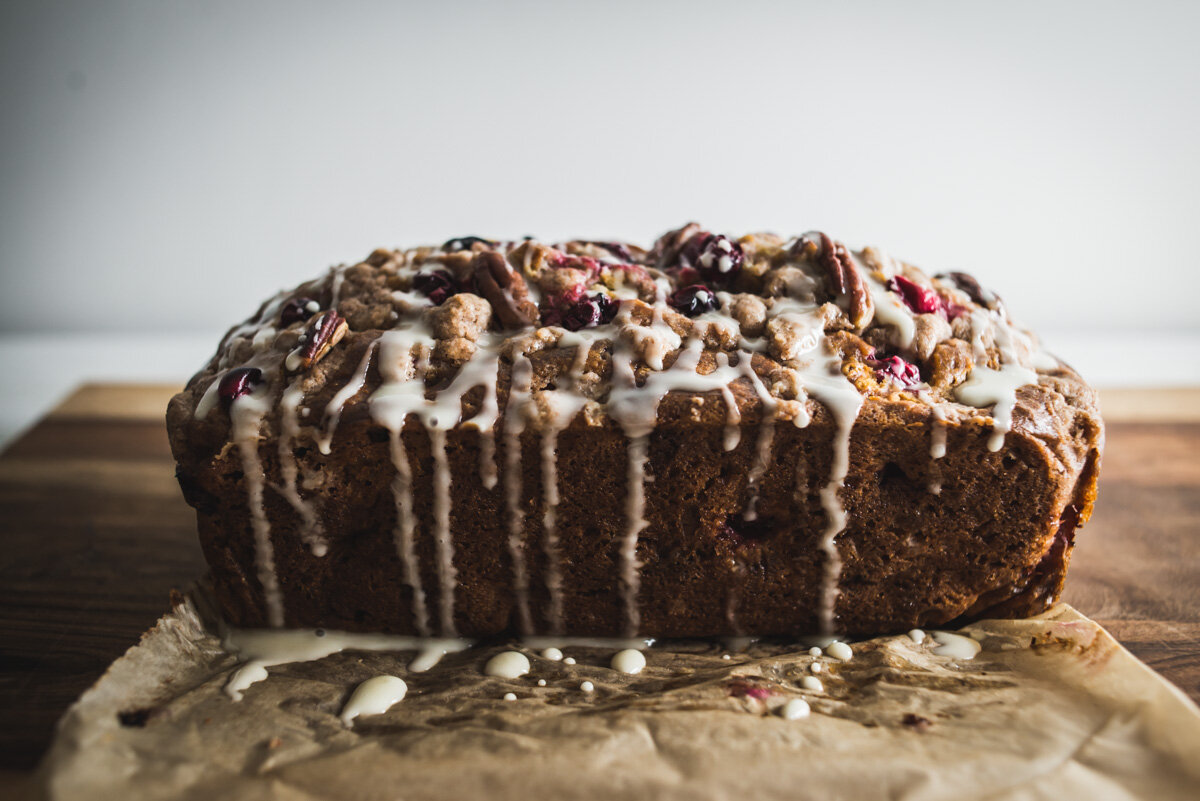
Cranberry Orange Pecan Loaf Cake. I had some fresh cranberries leftover from Thanksgiving and wanted to make some type of cake with them, I made a Cranberry Cobbler years ago but wanted something different, so here we are. This is such a great cake! I adapted the recipe from Sally’s Baking Addiction and made a few changes. For one, I melted the butter for the streusel, a lot of recipes say to use cold butter and crumble it into the flour and sugar, but sometimes I end up with flour that’s not quite mixed in with the butter after it’s done, I find it’s easier and more reliable to just add the sugar, spice and flour to melted butter. Also instead of buttermilk I used a mixture of greek yogurt and milk, and I added some Pecans to the recipe.

My baking time was a lot different than the 45 minutes to an hour suggested in the original recipe, it may have been due to the pan I used, a cast iron loaf pan, but in any case the total bake time for me was 1 hour and 20 minutes! It didn’t seem quite done after an hour so I took the temperature and let it go longer until it reached 200°. That worked! It’s a great cake, enjoy!

Oh and be careful out there friends, Covid-19 cases are going through the roof! We’re so close to getting a vaccine, it’s not that much longer, do your best to stay safe for you, your family, your neighbors, friends, we’re all in this together! 

cranberry_orange_pecan_loaf_cake-2.jpg
cranberry_orange_pecan_loaf_cake-3.jpg
cranberry_orange_pecan_loaf_cake-4.jpg
cranberry_orange_pecan_loaf_cake-5.jpg
cranberry_orange_pecan_loaf_cake-6.jpg
cranberry_orange_pecan_loaf_cake-7.jpg
cranberry_orange_pecan_loaf_cake-8.jpg

Cranberry Orange Pecan Loaf Cake

Streusel

  • 1/4 cup all-purpose flour

  • 2 Tablespoons granulated sugar

  • 1/2 teaspoon ground cinnamon

  • 3 Tablespoons salted butter, melted

Cake

  • 2 cups all-purpose flour

  • 1 teaspoon baking soda

  • 1/2 teaspoon salt

  • 1 large egg

  • 1/2 cup dark brown sugar

  • 1/2 cup granulated sugar

  • 2/3 cup milk

  • 1/3 cup greek yogurt

  • 1/3 cup vegetable oil 

  • 1 teaspoon pure vanilla extract

  • 2 teaspoons orange zest (about 1 orange zested)

  • 1 cup fresh cranberries (more for topping)

  • 1/2 cup crushed pecans (more for topping)


Glaze

  • 1/2 cup powdered sugar

  • 1 Tablespoon orange juice

Preheat oven to 350°F. Grease a 9×5 inch loaf pan with butter, line with parchment paper and butter that as well.

Make the streusel: Whisk the flour, sugar, and cinnamon together in a medium bowl. Add the melted butter and stir with a fork until combined. Set aside.

Make the cake: Whisk the flour, baking soda, and salt together in a large bowl. 

In a medium bowl, whisk the egg, brown sugar, and granulated sugar together until combined. Whisk in the milk, yogurt, oil, vanilla, and orange zest. 

Pour the wet ingredients into the dry ingredients, then fold with a rubber spatula to completely combine. Fold in the cranberries and Pecans.

Pour the batter into prepared loaf pan. Scatter the streusel on top, add a few cranberries and crushed pecans. Cover the baking dish with foil and bake for 35 minutes. Then remove foil and bake for an additional 25-45 minutes. Cake is done when cake tester or toothpick comes out clean (or at 200° temp, I started using a thermometer because sometimes it comes out clean and it’s not bake all the way through!)

Cool bread completely in the pan set on a wire rack. Then remove using your “parchment handles” onto serving plate or board.

The glaze! In a small bowl, whisk the powdered sugar and orange juice together. Drizzle over cooled bread.

Slice and serve. Cover and store leftover bread at room temperature for 1 day or in the refrigerator for up to 1 week.

Adapted from Sally’s Baking Addiction

Cherry Crumble pie

cherry_pie_crumble_topping-1.jpg

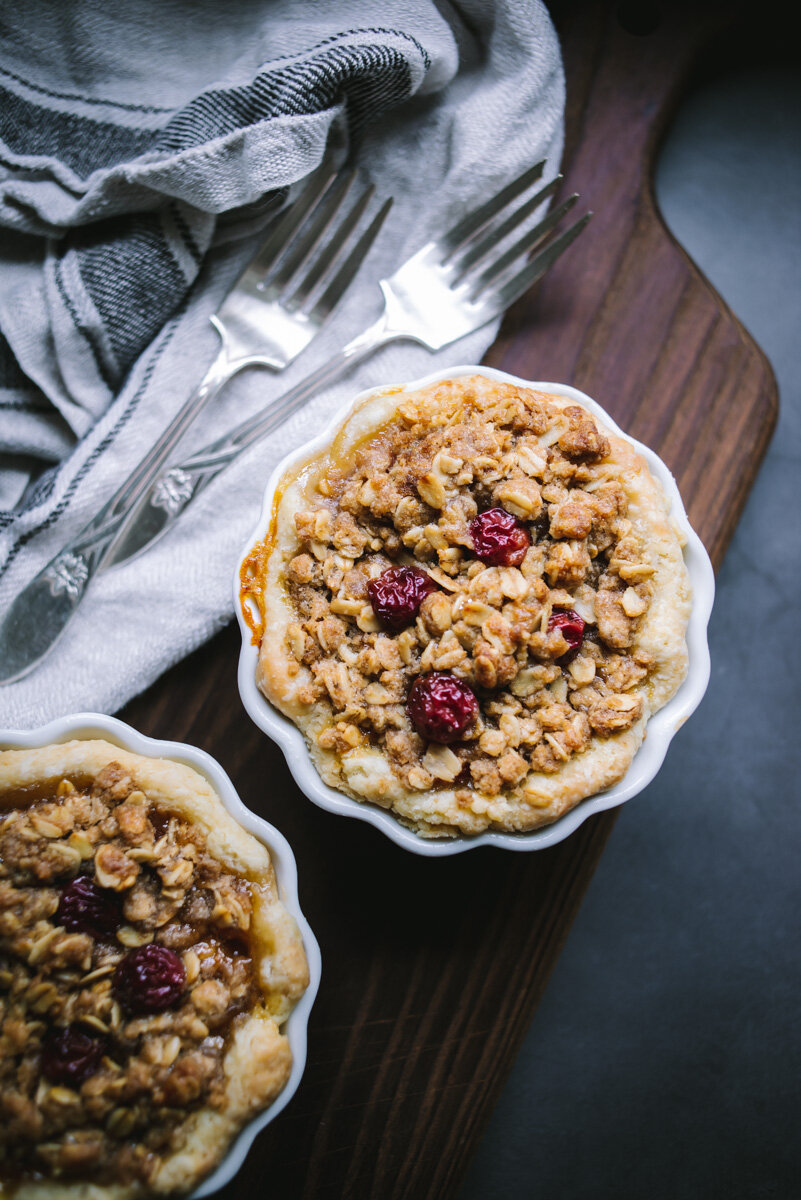
We had such a nice surprise a few weeks back. We have a cherry tree in our front yard that has been here ever since we bought the house several years ago, but it never really produced much fruit. Maybe a few at the very top for the squirrels to eat. But this year was a different story. Tons of cherries and within reach! So Jeff and I spent an afternoon picking cherries in our front yard. We ended up with about five pounds of cherries! We pitted and froze about half, and the other half I made into a pie which came out incredibly good! The recipe below is for a full-size pie that I made a few weeks ago, but you can make four mini-pies instead which is what I did this week. One thing I noted below in the recipe is to bake the pie in the lower third of the oven. Rather than pre-bake your pie shell to avoid “soggy bottom” you can refrigerate the rolled out pie dough in the pie pan prior to baking, add your filling and bake on the lower rack and it will brown the bottom. That is if your oven heats from the bottom up. I had read about this somewhere and tried it and it worked really well! Recipe below, enjoy!

cherry_tree-1.jpg
cherry_pie_crumble_topping-2.jpg
cherry_pie_crumble_topping-3.jpg
cherry_pie_crumble_topping-4.jpg
cherry_pie_crumble_topping-5.jpg

Cherry Crumble pie

Crumble:

  • 2/3 cup rolled oats

  • 1/2 cup all-purpose flour

  • 1/2 cup brown sugar

  • 1/4 teaspoon ground cinnamon

  • 1/4 teaspoon Cardamom 

  • 1/2 teaspoon kosher salt

  • 6 tablespoons unsalted butter, melted and cooled

Sour cherry filling:

  • 3/4 cup sugar

  • 3 tablespoons cornstarch

  • 1/4 teaspoon kosher salt

  • 2 1/4 pounds fresh sour cherries, pitted, or 2 pounds frozen sour cherries, partially thawed

  • 1 Pie Dough, recipe here

Prepare your pie crust in advance so it’s well chilled. Roll out your pie dough, place in pie dish, cover with plastic wrap and refrigerate for at least 1 hour. 

Preheat oven to 375°. 

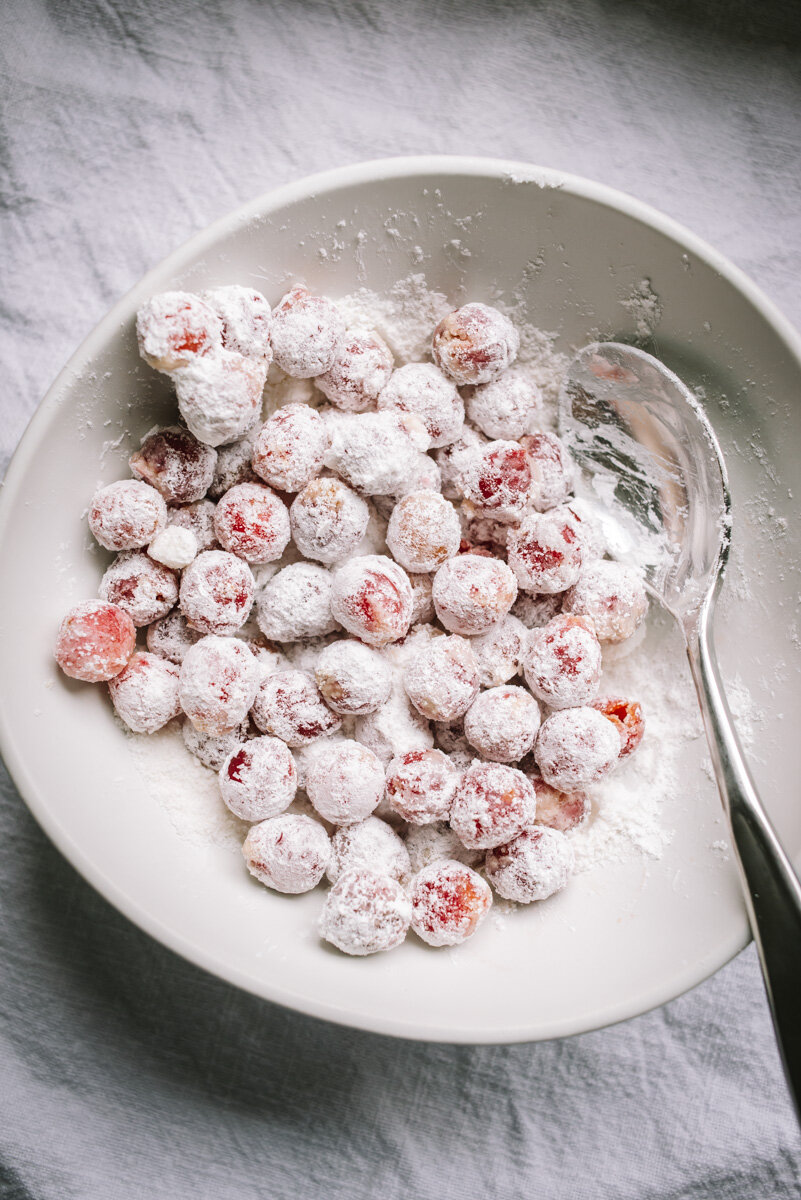
Prepare the cherry filling by mixing sugar, cornstarch and salt together in a medium bowl, then toss in the cherries until well coated.

In another medium bowl whisk together the oats, flour, brown sugar, spices and salt. Pour the cooled melted butter over the flour mixture and stir to combine well (sometimes it’s easier to do this with your hands).

When the pie crust is good and chilled, pour in the cherry filling mixture, then top with the crumble mixture. Place the pie on a baking sheet and bake for 50-60 minutes on the bottom third of your oven (this helps the bottom crust to cook better). About 45 minutes for the mini-pies. Remove from oven and cool before serving.

Recipe adapted from Smitten Kitchen

Black Forest Cake

black_forest_cake-1.jpg

Black Forest Cake. or rather a Black Forest Gateau. Gateau just means cake with cream and fruit filling. I didn’t know that so thought to pass that along. I asked Jeff what kind of cake he would like for his birthday and he showed me this Black Forest Gateau on BBC good food. It looked amazing! I searched around for other recipes online and came up with the one I’m posting here. I’m really happy with the results so decided to take some photos and do a blog post. The cake part of the recipe is from Call Me Cupcake and the rest, the filling and topping, is from my previous cake recipes, with the exception of the brandied cherries which I sort of made up, there are so many different ways to make them, but they came out really good! It’s not cherry season so I used frozen cherries. I couldn’t find any Bada Bing cherries in a jar (I didn’t need 6 jars!), which would have looked nice on top of the cake, but I just worked with what I could find. It’s weird these days why it’s hard to find certain things, not just toilet paper but jalapeños at Whole Foods? None? Really? oh well. We just have to make do with what we have and appreciate what we do have. 

I’d like to think of this as a beautiful mess. It came out much messier than I expected, I wanted a few drips of ganache down the sides and it proceeded to pour over like a waterfall out of control. But hey that’s ok. Jeff sort of marveled at all the layers and things going on. Puddles of chocolate? Who can complain about that. This cake will make you smile, I promise. Most of this is make-ahead-recipes so it’s quick to assemble on the day your serving it. You really could make everything the day before, then just warm the ganache, assemble and chill before serving.

Oh, I just remembered, another thing I couldn’t get with my grocery delivery was Mascarpone for the frosting. So I ordered an extra pint of whipping cream and made it myself, you can find the recipe here, it’s very easy to make. It needs to strain for at least 12 hours so it’s best to do it at night and it will be ready the next day. I’m finding all these weird things I’ve made over the years coming in very handy lately!

black_forest_cake-2.jpg
black_forest_cake-3.jpg
black_forest_cake-4.jpg
black_forest_cake-5.jpg
black_forest_cake-6.jpg

The Cake

  • 4 ounces butter, 1 stick

  • 2 1/2 cups all purpose flour

  • 3/4 cup cocoa powder

  • 2 teaspoons baking powder

  • 2 teaspoons baking soda

  • pinch of salt

  • 2 cup granulated sugar

  • 2 large egg

  • 1 1/3 cup sour cream

  • 3/4 cup hot water

Heat oven to 350°F (175°C). Butter and flour three parchment-lined 9-inch cake pans. Cut the butter into chunks and melt in the microwave or stove top and set aside to cool.

Sift the flour, cocoa powder, baking powder and baking soda in a large bowl, stir to combine. Add the salt, sugar, eggs and sour cream, whisk together, then slowly whisk in the melted butter and hot water (so you don’t cook the eggs!) Stir until completely smooth. Divide the batter between the three prepared cake pans.

Bake for 25-30 minutes until the center is set and a test knife comes out clean. Let the cakes cool for 10 minutes in their pans before inverting them onto a cooling rack. Let cakes cool completely, wrap in plastic wrap and refrigerate for at least an hour before assembling. Cakes can be made ahead and refrigerated.

The Cherries

You could buy brandied cherries and use straight from the jar but I couldn’t find any. I had frozen cherries so this is how to prepare either frozen or fresh cherries.

  • 1 pound frozen cherries (defrosted in refrigerator)

  • 1 cup brandy

  • 1/2 cup water

  • 1/4 cup sugar

Add the cherries, brandy, water, and sugar to a small saucepan and heat over medium until the sugar has dissolved. Simmer for 15 minutes and remove from stove, allow to cool and refrigerate in sealed container. 

The Mascarpone Whipped Cream Frosting

  • 1 cup mascarpone

  • 1 cup heavy whipping cream

  • 1 tablespoon granulated sugar

  • 1/2 teaspoon vanilla extract

Beat together the mascarpone, whipping cream, sugar, and vanilla extract in the bowl of a stand mixer fitted with a whisk attachment at medium high speed until fluffy, about 1 to 2 minutes. Refrigerate until ready to use.

The Ganache

  • 2 ounces dark chocolate, chopped finely (or semi-sweet chocolate chips)

  • 1/4 cup heavy cream

  • Plus more dark chocolate for shaving on top of cake later

Place the chopped chocolate in a bowl. Heat the cream over a medium heat until just simmering, then pour over the chocolate, allow the chocolate to melt for a bit then whisk briskly until well combined. Set aside. (this should be your last step in cooking before assembling the cake)

Assemble!

Place your first layer of cake on a cake stand or plate. Spread a good amount, about 1/2” thick with the mascarpone frosting. Top that with almost half the brandied cherries. Place your second layer of cake and repeat with mascarpone frosting and cherries, but leaving a few cherries aside for the final top, unless you have extra fresh or jarred cherries to use. Place your final cake layer on top of that, then pour on the ganache, let it dribble down the sides of the cake. Add some chocolate shavings on top (a vegetable peeler works great for shavings) and add the remaining cherries. Chill well, at least an hour, before slicing. It’s kind of a mess, but a good mess!
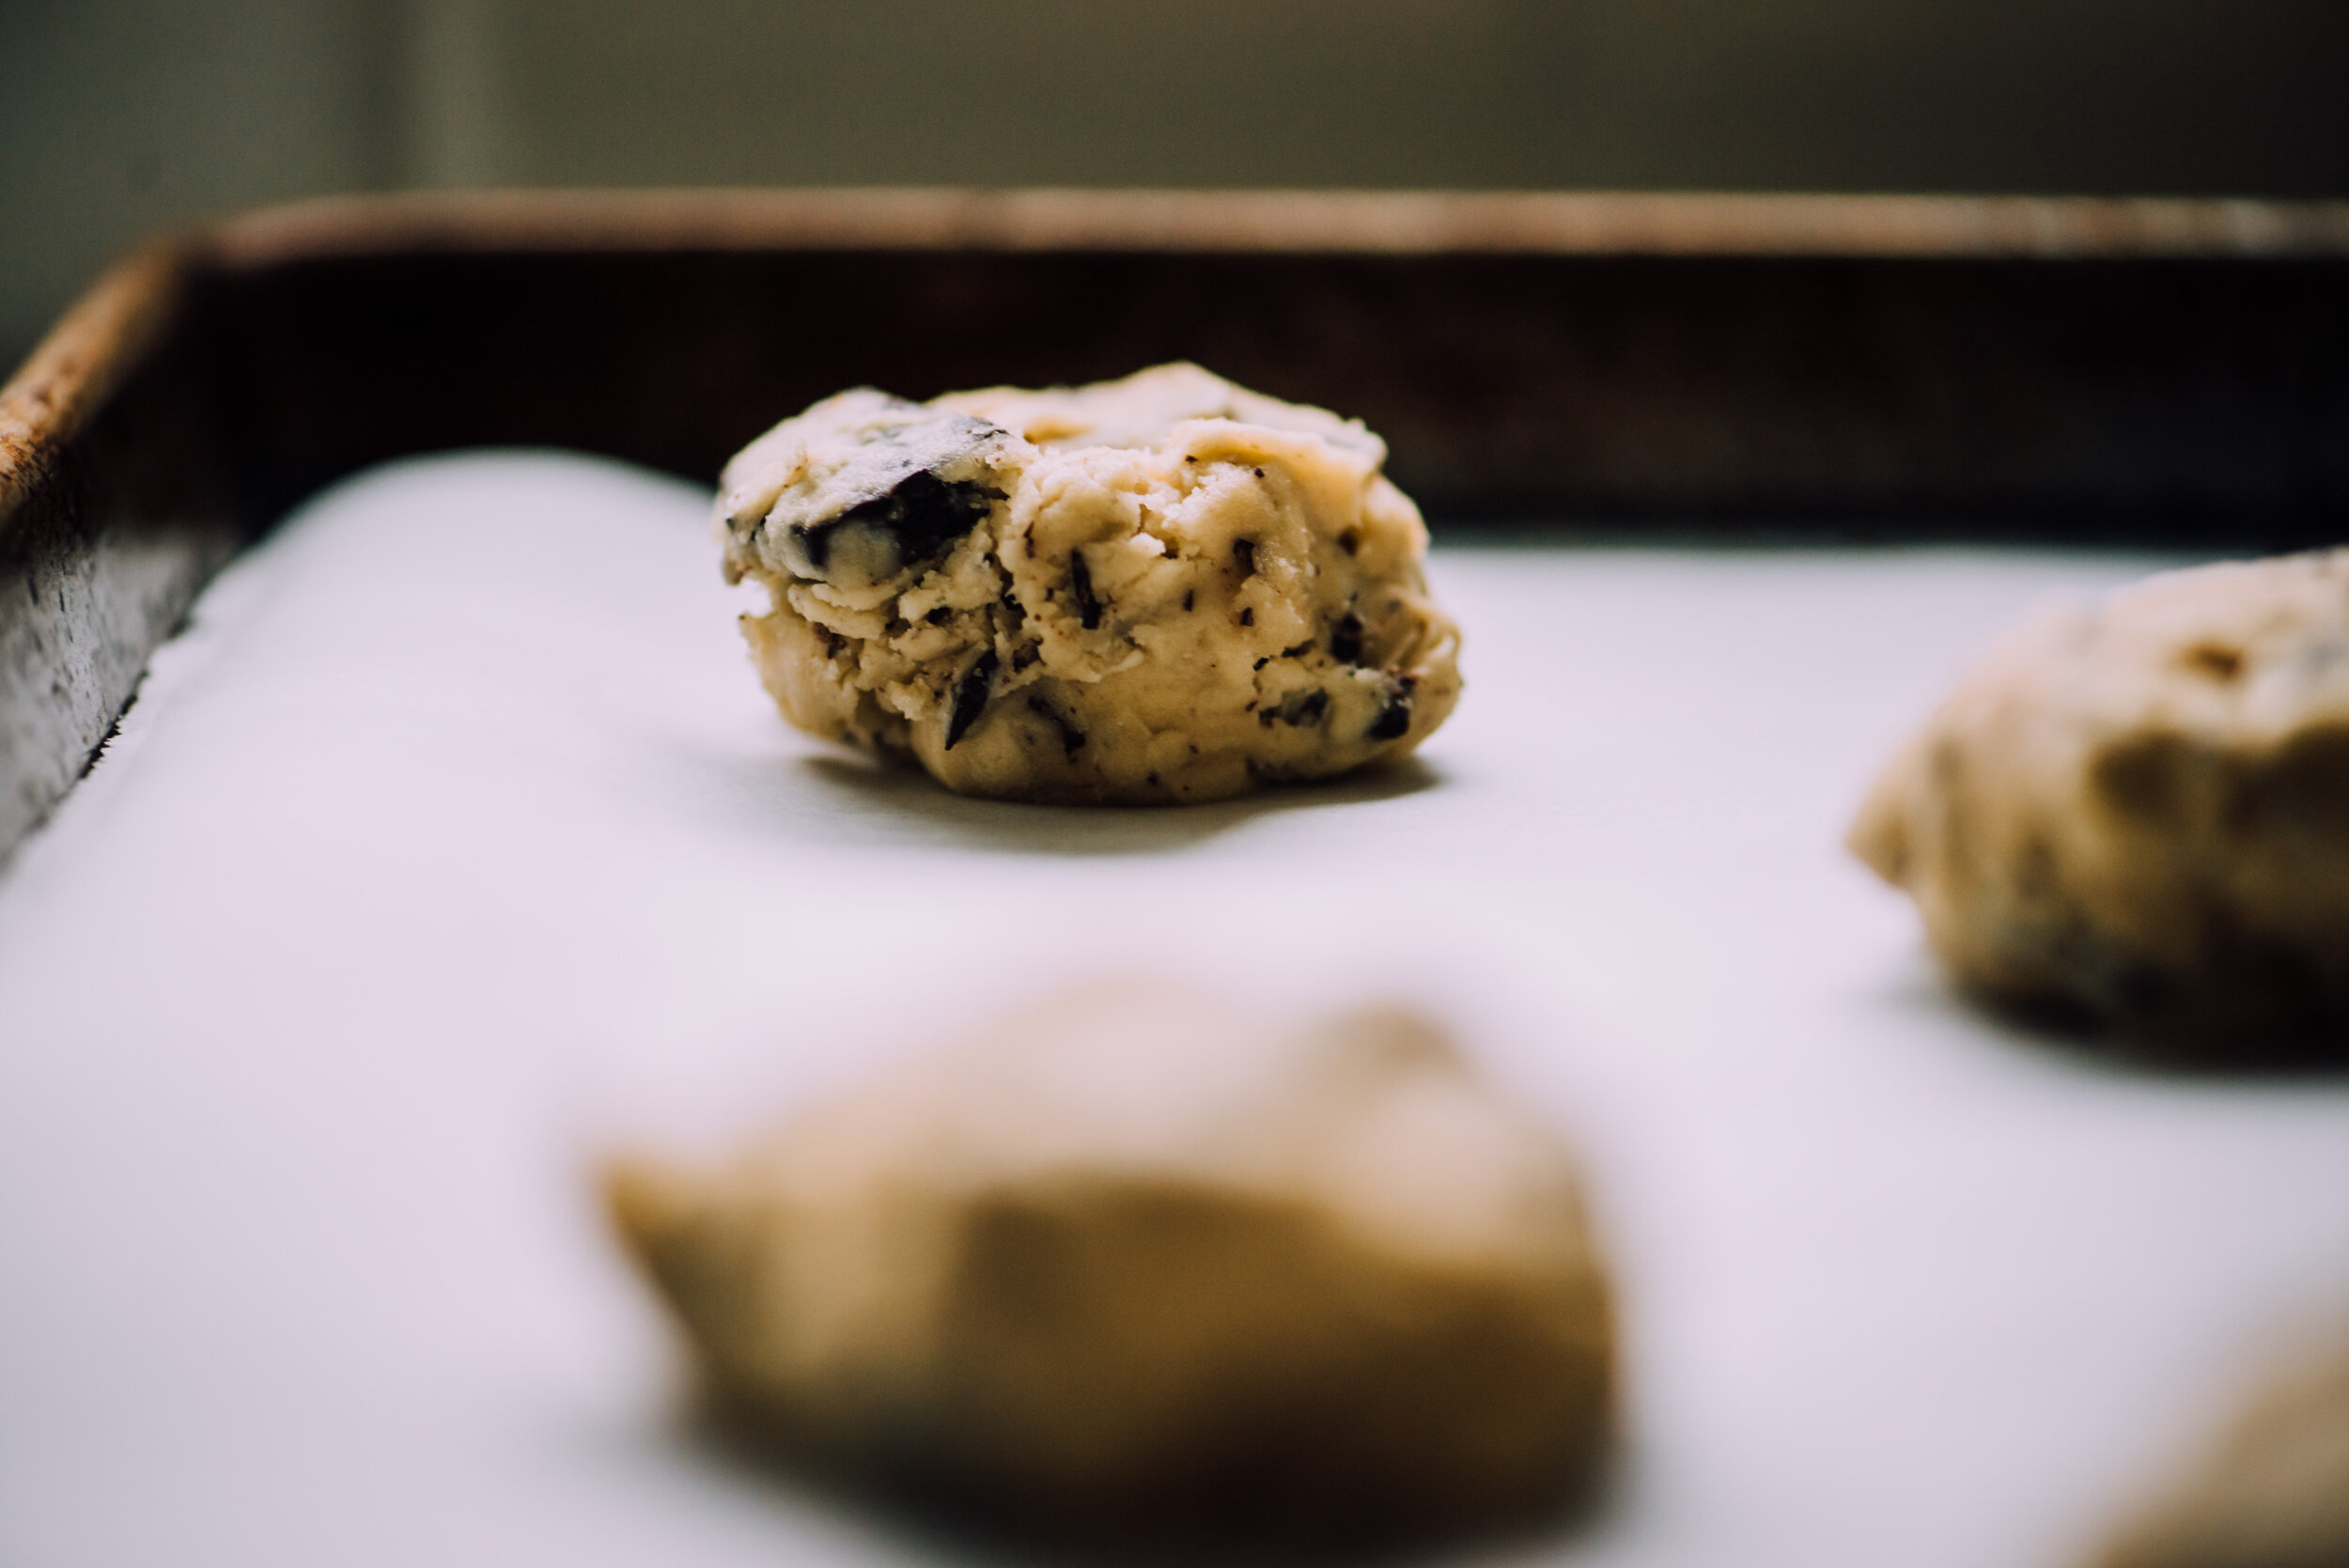
Photo by Jeff McDonald

Photo by Jeff McDonald

Peanut Butter and Chocolate Blondies

peanutbutter_chocolate_blondies-1.jpg

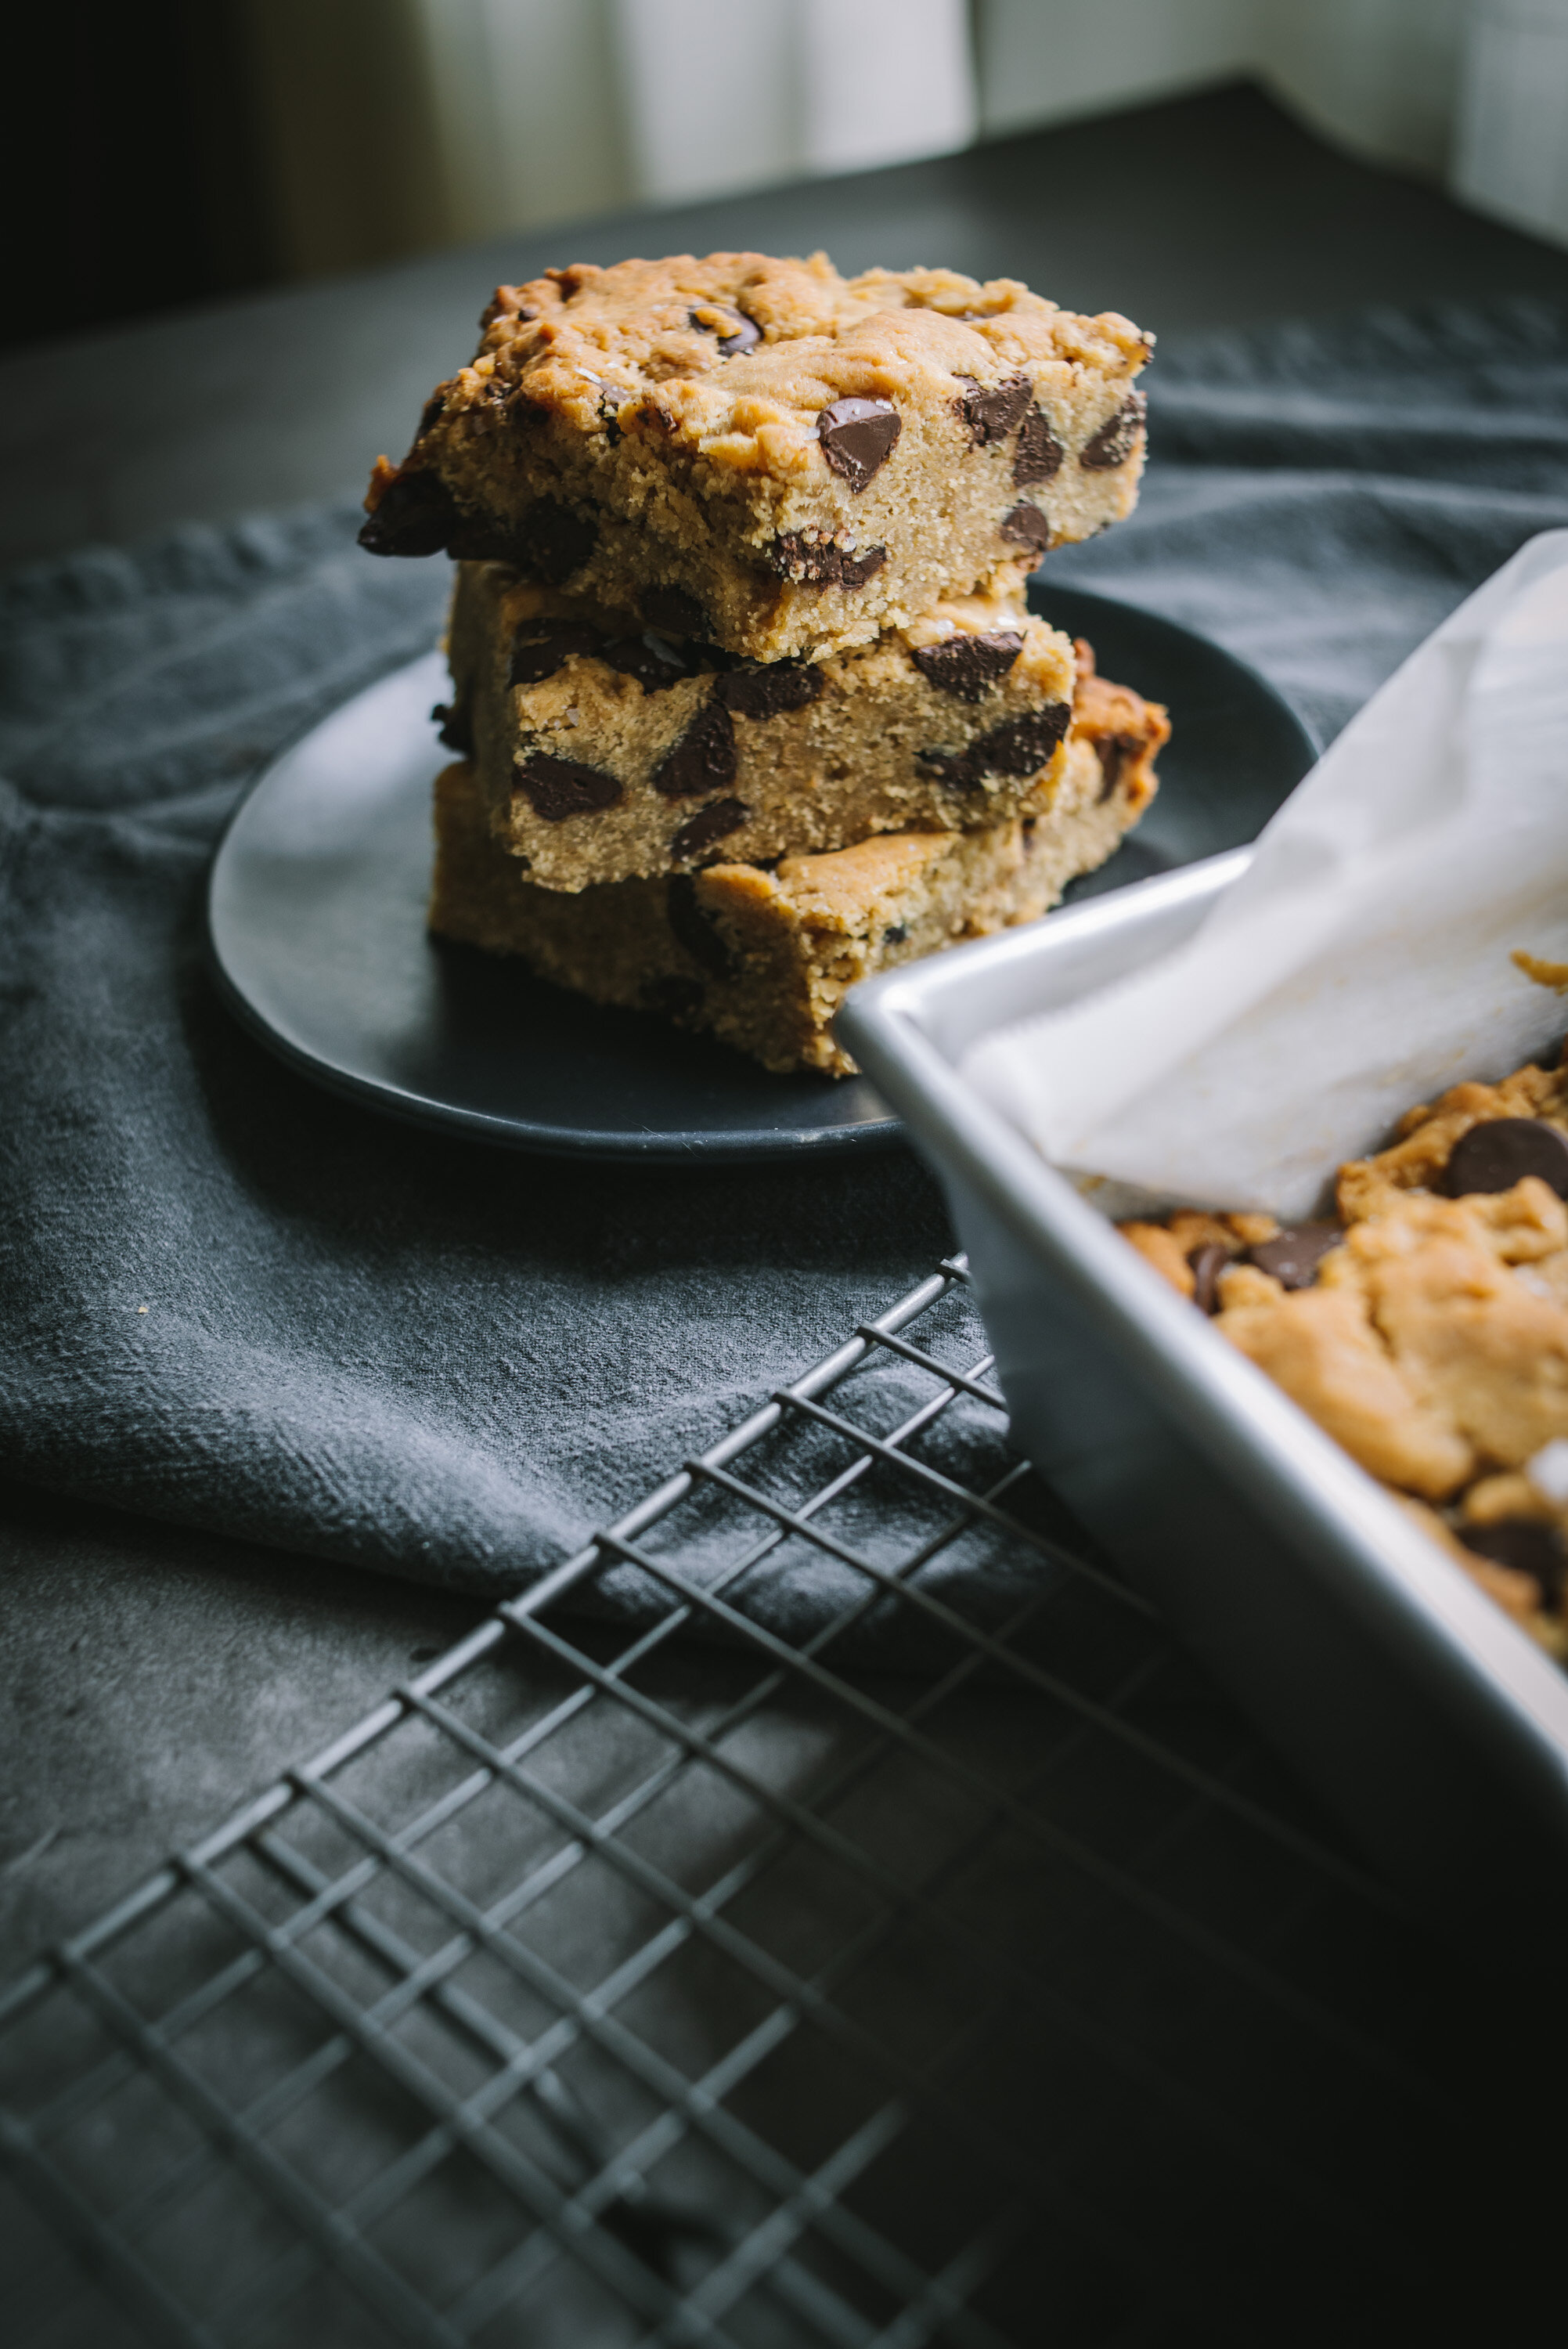
Peanut Butter and Chocolate Blondies. These are so good! I made them about a week ago and they’re all gone now. Jeff and I finished the last one today. The serving size I show here can be a bit much (or not!), so I ended up cutting the nine squares in half for 18 pieces total. It’s a nice snack size. I had been craving peanut butter and chocolate for like two weeks and I finally made this recipe. The original recipe was more of a thin bar, baked in a 9”x13” pan for 20 minutes, but I wanted something at least an inch thick so I baked them in a 9”x9” pan for about 40-45 minutes and they came out great. What I like about this recipe is that there is an extra layer of peanut butter inside, not a lot but enough to make it really good! 

I hope you are all getting along well, we’re fine here and I’ve been working on the garden a bit more, I’ve started some herbs and vegetables from seed, which I might blog about if it all works out, I’m learning all the time over here. But so far so good. It has been a bitch trying to buy seeds online, either no stock or way overpriced on Amazon, but my local nursery was well stocked with curbside pickup, and my neighbor gave me some seeds for Parsley, Dill and Cilantro. I used to buy starters for herbs, but some tend to bolt sooner than you want, so it’s better to just grow by seed and stagger the planting (seeding) so you always have a fresh harvest. 

This recipe is pretty easy and straight forward, like I said I used a smaller baking pan for a longer oven time and was really happy with the results. But you could try the 9”x13” dish for 20 minutes.

If you love chocolate and peanut butter you will love this! I do!

peanutbutter_chocolate_blondies-2.jpg
peanutbutter_chocolate_blondies-3.jpg
peanutbutter_chocolate_blondies-4.jpg
peanutbutter_chocolate_blondies-5.jpg

Peanut Butter and Chocolate Blondies

  • 1 1/2 sticks (3/4 cup) salted butter

  • 3/4 cup creamy peanut butter, divided into 1/2 cup and 1/4 cup

  • 1 cup light brown sugar

  • 1/2 cup granulated sugar

  • 2 eggs

  • 1 tablespoon vanilla extract

  • 2 cups all-purpose flour

  • 1 teaspoon baking powder

  • 1 cup semi-sweet chocolate chips

  • flaky sea salt

Preheat the oven to 350 degrees F. Grease a 9x9 inch baking dish lined with parchment paper.

In a medium sized pot melt together the butter and 1/2 cup peanut butter over a medium heat on the stove, stirring frequently until melted. Stir in the brown sugar, sugar, and vanilla, transfer to a large bowl and then whisk in the eggs gradually to temper them so that they don’t cook. Stir in the flour and baking powder until well combined. Transfer the bowl to the freezer and chill 5 minutes or the refrigerator for 15 minutes, until the dough is no longer warm to the touch. Stir in the chocolate chips. 
Spread 1/2 the dough out in the prepared dish. Dollop and swirl the remaining 1/4 cup peanut butter over the dough. Add the remaining dough overtop, don't worry if it doesn’t fully cover the peanut butter. Transfer to oven and bake for 40-45 minutes, until set in the center. Remove from the oven and sprinkle with sea salt. Let cool and then cut into bars. Store for up to 5 days in an airtight container.

Adapted from Half Baked Harvest

Crispy Thin Chocolate Chip Cookies

crispy_thin_chocolate_chip_cookies-1.jpg

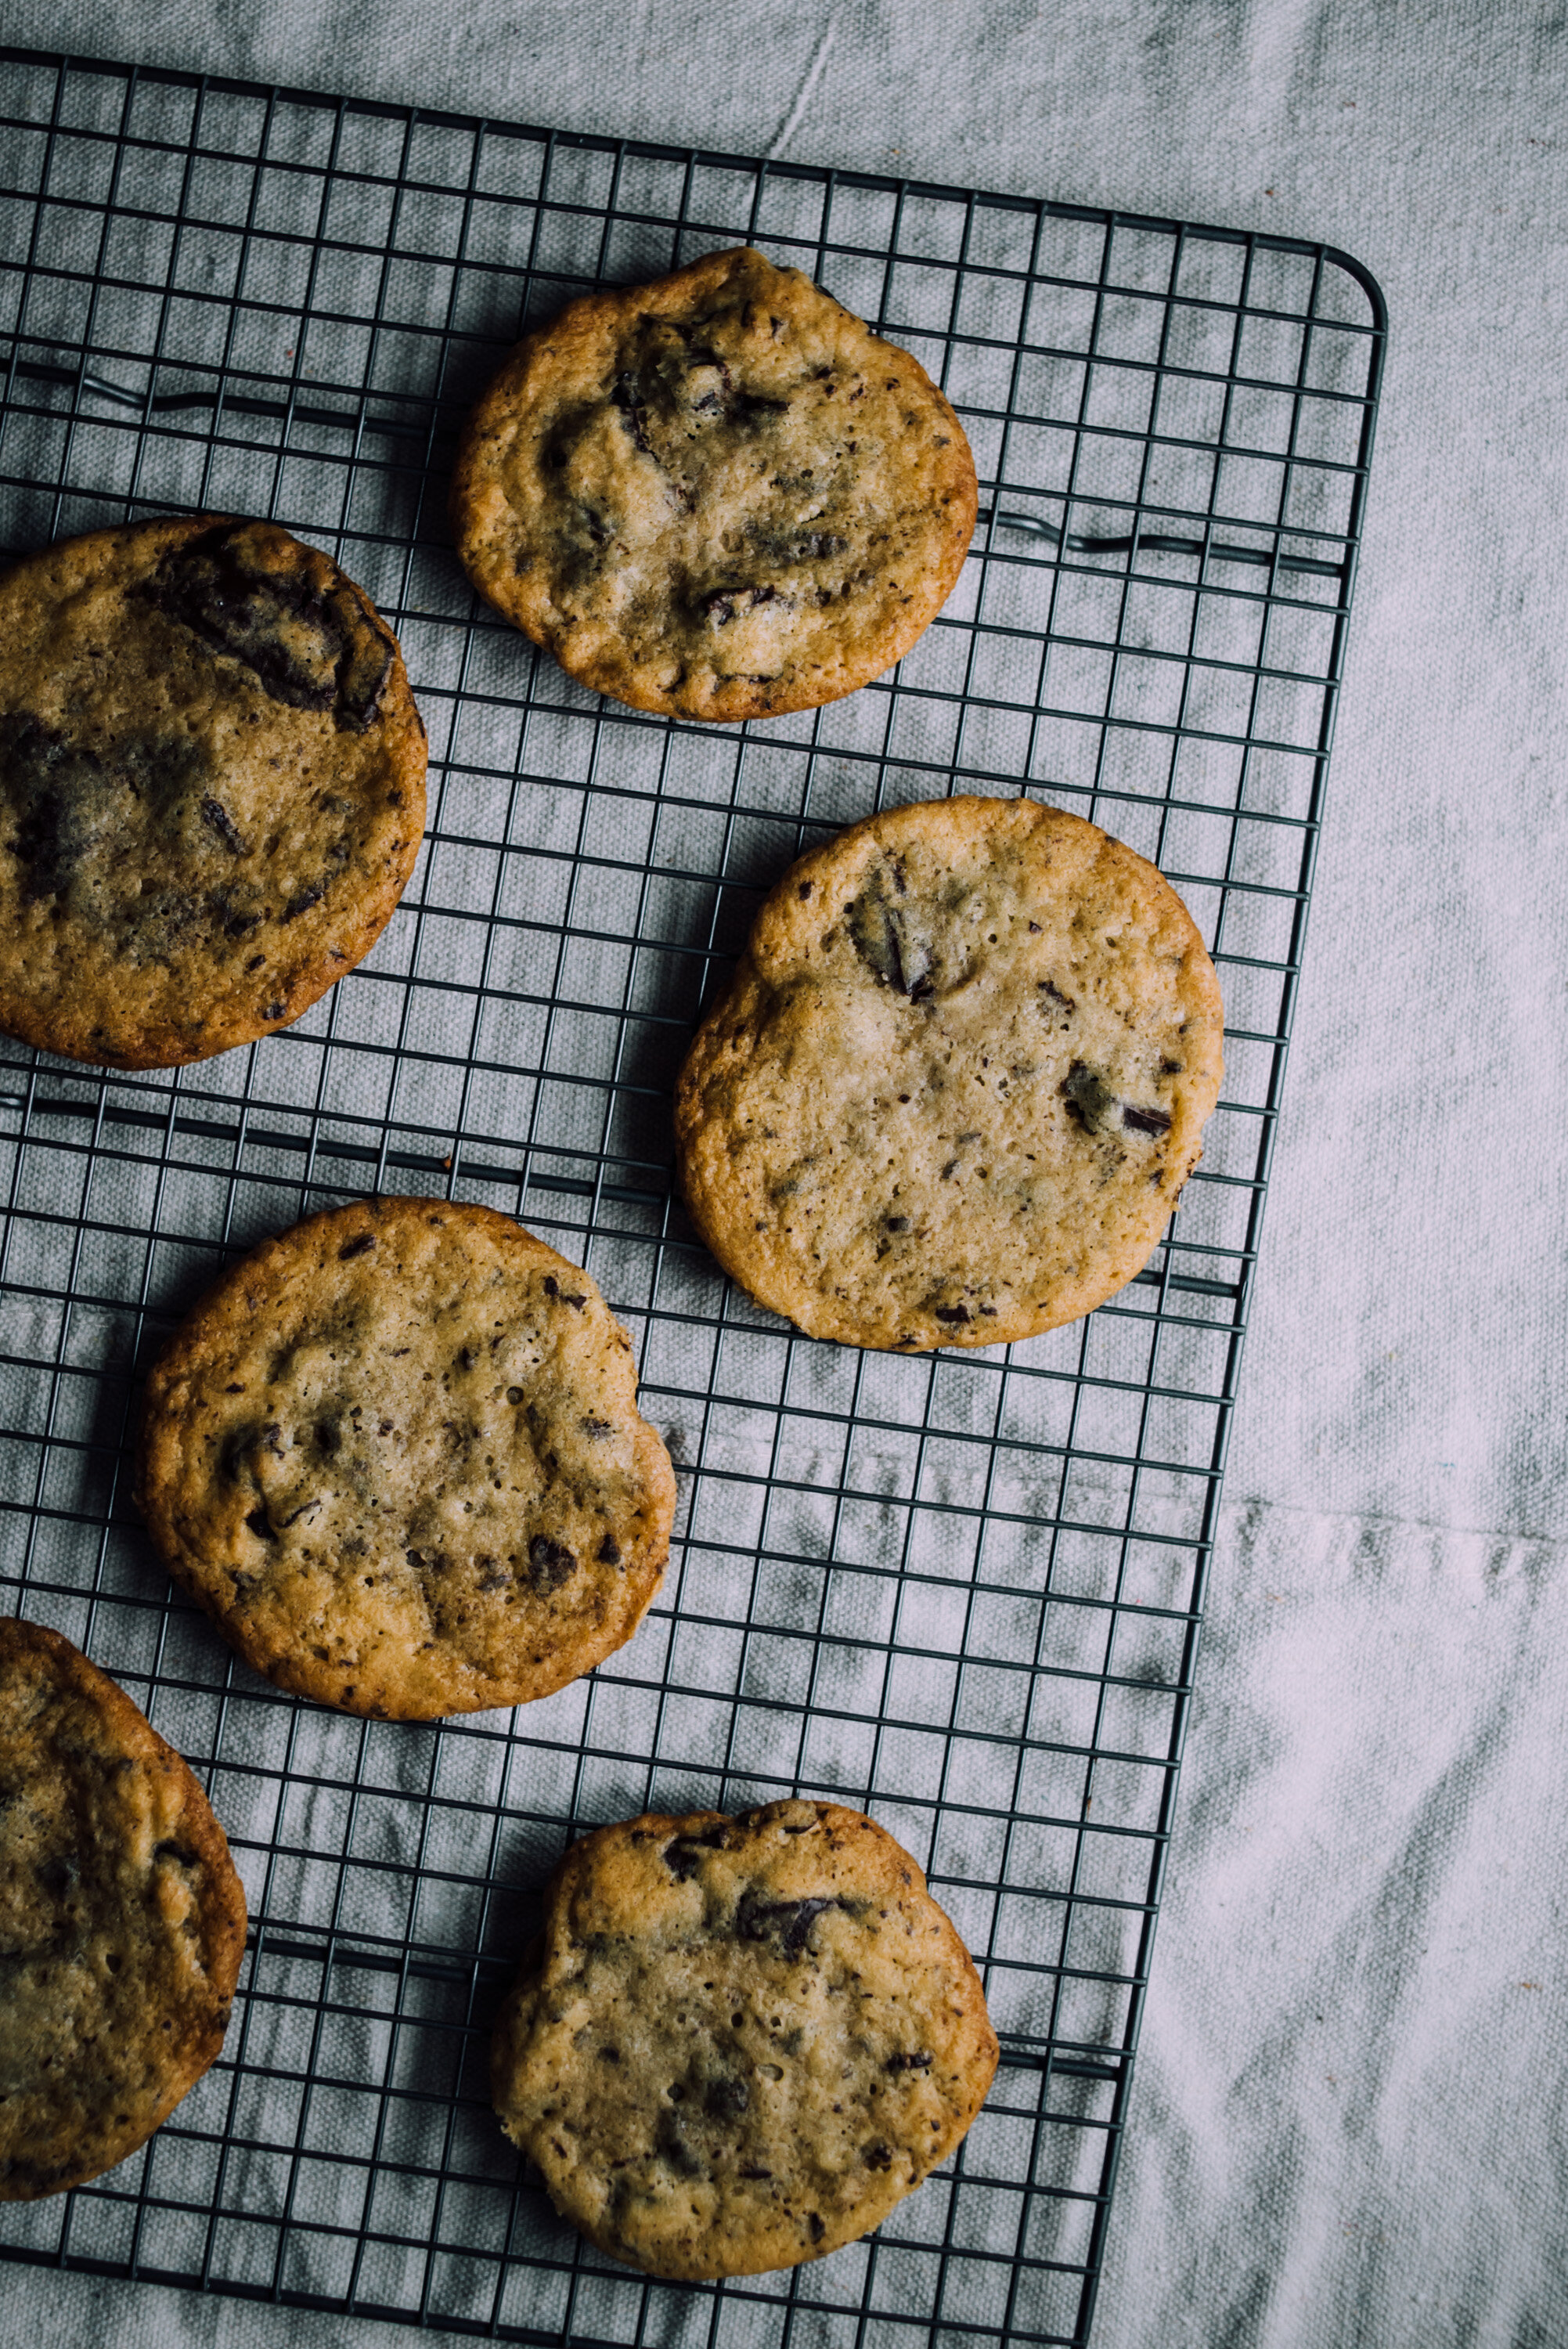
Crispy Thin Chocolate Chip Cookies. I’ll tell you right now, this recipe is a keeper! I’ve been eager to make these cookies ever since I saw David Lebovitz’s blog post recently. I’ve made chocolate chip cookies before, you might remember my 2-ways post back a few years ago with that giant cast-iron pan cookie! And while those are good, these are much much better. These are absolutely delicious. They’re similar to Tate’s Chocolate Chip Cookies. What makes them thinner and crisper? I compared the two recipes and while they’re quite similar in ingredients, this one here has less flour, less egg and the addition of water. Water? Maybe that’s the secret ingredient! 

In any case I made a couple changes, using dark brown sugar rather than light brown sugar, I think it works fine. And I chopped up 7 ounces of 72% Cacao dark chocolate bars rather than using chocolate chips, it’s up to you but I like the big chocolate pieces in the cookie. David has the dough balls scooped out around a 1/4 cup each, I think that might be too much, I used a heaping tablespoon of cookie dough, rounded it out into a ball and they were pretty large, you can see from my photo below that even spacing them out a lot they still ran into each other. You basically want a 1”-1 1/4” ball. I got out my big-ass baking sheet on the next round so they had plenty of room to spread. The following batches I went for more of a 1” size ball. And all of them were done more close to 15 minutes. Not only will the time depend on the size of the cookie, but if the cookie dough is left out of the fridge longer they might be done a minute or two sooner. So keep an eye on them towards the end.

It’s January which marks the 7th anniversary of this blog! I can’t believe I’m still doing this, lol. I’ve learned a lot and have become much more comfortable cooking and baking and of course photographing the whole business. Much thanks to those that stop by to see what I’m up to, I appreciate your comments and such. I know blogging is not so much a thing these days but personally appreciate everyone out there that’s sticking to it and sharing recipes, how-tos and all that. The internet has become so toxic over the years, sometimes it’s nice to just chill out and read about cookies. I have quite a few recipes I want to share with you over the next few weeks, some of my favorites that have been on repeat. I think you’ll enjoy them. Speaking of enjoy, please please make these cookies, you won’t be disappointed.  David’s recipe is adapted from Joanne Chang’s Pastry Love: A Baker’s Journal of Favorite Recipes.

crispy_thin_chocolate_chip_cookies-2.jpg
crispy_thin_chocolate_chip_cookies-3.jpg
crispy_thin_chocolate_chip_cookies-4.jpg
crispy_thin_chocolate_chip_cookies-5.jpg
crispy_thin_chocolate_chip_cookies-6.jpg
crispy_thin_chocolate_chip_cookies-7.jpg
crispy_thin_chocolate_chip_cookies-8.jpg
crispy_thin_chocolate_chip_cookies-9.jpg
crispy_thin_chocolate_chip_cookies-10.jpg

Crispy Thin Chocolate Chip Cookies

  • 8 ounces (225g) (2 sticks) unsalted butter, at room temperature

  • 1 cup (200g) superfine sugar (or put regular sugar in blender for a few seconds)

  • 1/2 cup (100g) firmly-packed dark brown sugar

  • 1 large egg, at room temperature

  • 3 tablespoons (45g) water

  • 2 teaspoons vanilla extract

  • 1 3/4 cups (245g) flour

  • 1 1/4 teaspoon flaky sea salt or kosher salt (if using Morton's kosher salt, use 3/4 teaspoon or 1 teaspoon for more profound saltiness)

  • 1 teaspoon baking soda

  • 1 1/2 cups (280g, 7-10 ounces) bittersweet or semisweet chocolate (chopped or chips)

In a stand mixer fitted with the paddle attachment beat the butter and sugars on medium speed until light and creamy, about 5 minutes. Or use a hand mixer, doing this by hand will wear you out and take much much longer.

Stop the mixer and scrape down the sides with a rubber spatula, add in the egg, water, and vanilla and mix until well combined.

In a medium bowl mix together the flour, salt, and baking soda. Add the chopped chocolate and toss in the flour mixture. With the mixer on low speed, stir in the flour and chocolate chunk mixture until thoroughly combined. Cover the bowl (or transfer to a container and cover) refrigerate the dough at least 3 to 4 hours, or overnight.

To bake the cookies, preheat the oven to 350ºF (180ºC). Line two large baking sheet with parchment paper. Arrange the dough, formed in 1-inch to 1 1/4-inch balls on the baking sheet, spaced at least 3-inches (8cm) apart. (They will spread, so expect to get 5 or 6 on a standard baking sheet.) Press the cookies down slightly with your hand and bake until the cookies have spread and just until there are no light patches across the center, rotating the baking sheet(s) midway during baking so they bake evenly. They'll take about 13-15 minutes, check the cookies a few minutes before the timer goes off and see if they need longer. The time will depend on the size of the cooker, larger will take a bit longer but only a minute or two more.

Remove the cookies from the oven and let cool for 5 minutes. Transfer the cookies to a wire rack and cool completely.

Storage: The dough can be refrigerated up to four days, or frozen for up to three months. The cookies will keep in an airtight container for up to three days but are best the day they are baked.

Adapted from David Lebovitz who adapted it from Joanne Chang

Pumpkin Cake with Salted Caramel Buttercream

pumpkin_cake_salted_caramel_buttercream-1.jpg

Last week at New Seasons Market I picked up some pumpkin cupcakes with a salted caramel frosting which were good but way way too much frosting, tons on the top and more inside. But the flavor was great. With that I wanted to make my own Pumpkin Cake with Salted Caramel Buttercream. So here we are.

Both the recipes below are half-recipes of the original versions. You can easily double the ingredients and make a layered cake if you like. As much as I like (love!) a big layered cake, it’s just so much cake for Jeff and I. Usually I’ll freeze leftover cake but even then it can be a bit much, we still have coconut cake in the freezer from July! So figured this smaller cake might work, it’s not as sexy as the layered cakes but it tastes just as good and is more manageable for the two of us.

Originally I wanted to maybe do a buttercream frosting with caramel drizzled over that, or just drizzle caramel sauce over the cake, so I set out to make my own caramel sauce, which I’ve made before. The only thing different than the last time I made it was that I used a different pot. It was a bit bigger but has a heavier base that seemed suitable. Well, when the sugar started to brown it was only browning on one side of the pan, I moved it slightly off the burner so that it would cook more evenly, but that just wasn’t happening and I ended up with burnt caramel sauce. Not having time to run out to the store to buy more cream, I decided to just make the buttercream frosting and add some store-bought caramel sauce I had in the fridge (which I’m not crazy about because it’s kind of gritty in texture). Even though the cake didn’t come out exactly how I planned it, I have no complaints with the finished product and I think you will love it too.

One more thing, the texture of the cake is somewhat light, so if you want to double up this recipe and do a layer cake, I’d recommend baking in 2-3 cake pans and layering those cakes, I don’t think this cake would hold up well to a horizontal cut across. Recipes below, enjoy!

pumpkin_cake_salted_caramel_buttercream-2.jpg
pumpkin_cake_salted_caramel_buttercream-3.jpg
pumpkin_cake_salted_caramel_buttercream-4.jpg
pumpkin_cake_salted_caramel_buttercream-5.jpg

Pumpkin Cake with Salted Caramel Buttercream

  • 1 1/3 cups all-purpose flour

  • 1 teaspoons baking soda

  • 1/4 teaspoon salt

  • 1 tsp cinnamon

  • 1 tsp pumpkin pie spice

  • 1/2 tsp cardamom

  • 1/2 cup Olive oil

  • 2 large eggs

  • 1/2 cup packed brown sugar

  • 1/3 cup granulated sugar

  • 1 cup pumpkin puree, about 1/2 can pumpkin puree

  • 1/2 teaspoon pure vanilla extract

  • Salted Caramel Buttercream Frosting (recipe below)

  • Crushed toasted hazelnuts (or nuts of choice)

Preheat the oven to 350°F, grease a 9” round springform cake pan with butter, add a parchment round to the bottom and butter that as well.

Whisk the flour, baking soda, salt, cinnamon, pumpkin pie spice and cardamom together in a large bowl. Set aside. Whisk the eggs in medium sized bowls, then whisk in the oil, brown sugar, granulated sugar, pumpkin puree, and vanilla extract until combined. Pour the wet ingredients into the dry ingredients and whisk until completely combined.

Pour the batter into the cake pan and tap it on the counter until evenly distributed, it will be somewhat thick.

Bake for 45-50 minutes or until a toothpick inserted into the cake comes out clean.

Once done, remove from the oven and allow to cool on rack. Remove springform (if using) and slide onto serving dish. Once completely cool top with icing (recipe below) and crushed nuts.

Cover leftover cake tightly and store at room temperature for a couple days or in the refrigerator for up to 5 days.

Adapted from Sally’s Baking Addiction

Salted Caramel Buttercream

  • 1/2 cup salted butter (1 stick)

  • 2 cups powdered sugar

  • 1 tsp vanilla extract

  • 1/4 cup salted caramel

  • 1/8 tsp kosher salt

In a stand mixer fitted with the paddle attachment, whip the butter on high until it’s fluffy and light, about 5-6 minutes, scraping down the bowl and paddle a few times in between. Turn the mixer to low and add the powdered sugar a little bit at a time, scraping down the bowl and paddle after each interval. With the mixer still on low, add the salted caramel, the vanilla and salt, set the speed to medium and mix for 2 full minutes, scraping down the sides as needed.

Honey Peanut Butter Rice Crispy Treats

honey_peanut_butter_rice_crispy_treats-1.jpg

Last week I stopped by a small vegan cafe in my neighborhood Tiny Moreso, in the case they had Peanut Butter Rice Crispy Treats which I bought along with some type of Apricot Balls full of flax and other healthy stuff, both were delicious. I looked online for a recipe, which there are many and all pretty simple. This recipe had more peanut butter so I went with it, and wow it’s so good! And it’s vegan if that matters to you. It comes together very quick, 10 or 15 minutes and then you just have to refrigerate the treats for about an hour and they’re done. It doesn’t get any easier. Tiny Moreso treats were tall and big, probably 3” tall, and most of the recipes online put the mixture in a more shallow dish, but I wanted that height so I put the mixture in a loaf pan and it worked out really well, this recipe works out to 8 servings, I only have six in the photos because Jeff and I couldn’t wait to try them! I haven’t had a Rice Crispy treat in so long but I do remember the version with Marshmallow was super sweet, I think using honey is so much better because it’s sweet but not toothache sweet. If you want you can pour the warmed chocolate over the entire mixture but I like the chocolate drizzle (Jackson Pollock) style. 

honey_peanut_butter_rice_crispy_treats-2.jpg
honey_peanut_butter_rice_crispy_treats-3.jpg
honey_peanut_butter_rice_crispy_treats-4.jpg
honey_peanut_butter_rice_crispy_treats-5.jpg
honey_peanut_butter_rice_crispy_treats-6.jpg

Honey Peanut Butter Rice Crispy Treats

  • 3/4 cup creamy peanut butter

  • 1/3 cup honey

  • 1/4 tsp kosher salt

  • 1/2 tsp pure vanilla extract

  • 3 cups rice crispy cereal

  • 2 oz Chopped chocolate (I like 72% cacao)

In a small pot add the peanut butter and honey, warm over a medium heat, stirring until well combined. Stir in the salt and vanilla. In a large bowl add the rice crispy cereal, pour the peanut butter mixture over the cereal and mix until all the cereal is covered. Place the mixture into a parchment lined loaf pan. Press down to fill any gaps and smooth over for an even top. Heat the chocolate in the microwave or over a double boiler on the stove top. When melted drizzle the chocolate over the rice crispy mixture. Cover with foil and refrigerate for at least 1 hour. Slice into 8 servings and enjoy! Store refrigerated in covered container.

Adapted from Joy Food Sunshine


Zucchini Nut Bread

zucchini_nut_bread-8.jpg

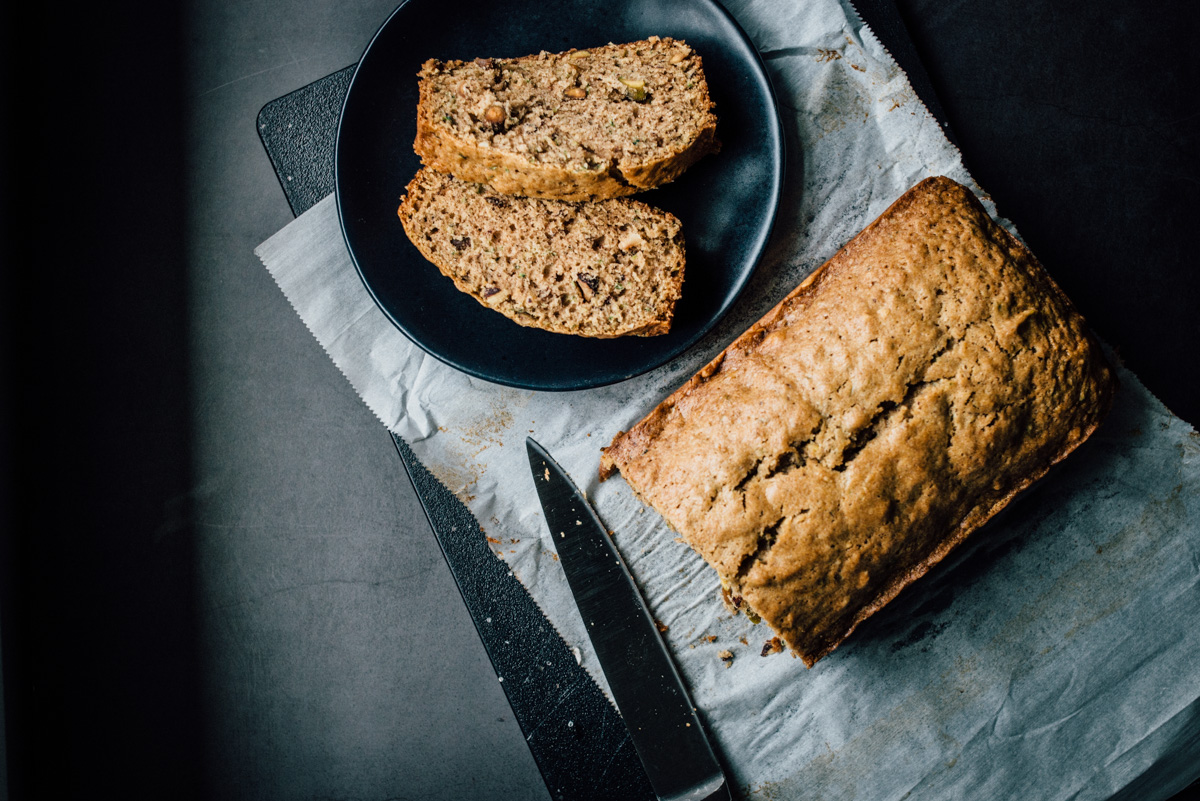
Zucchini Nut Bread. I didn’t expect to make this so soon. Our zucchini plant is growing so quickly now and producing more than we anticipated. We’ve picked 4 zucchini in the past week and more are on the way. This is the first time we’ve grown it so I didn’t know what to expect. Last year I planted a yellow squash and that didn’t work out, all male blossoms and no squash. But we did some changes to our soil this year and it’s made a big difference. I’m not sure if I posted about this but we removed all our old soil in the garden beds (which was potting soil) and replaced it with a proper soil/compost mix and everything is growing great! The weather has been unusually mild so far this July, seriously rain in Portland in July? Almost unheard of. So it’s been more like a longer spring season. Which is ok with me, and the grass, but I think those tomatoes would appreciate a bit more heat. The weather forecast for this week is in the 70s!? Yep. Weird. 

The recipe is adapted from Sally’s Baking addiction and it’s good! It has lots of cinnamon which I love. I almost wish it had more zucchini in it. I’ll add more next time because I’m certain there will be a next time with all this zucchini, and I’ll update on this post. The original recipe added chocolate chips, but I didn’t really want that for this bread (cake!) so I added what nuts I had on hand, about 1/4 cup pistachios and 1/4 cup crushed hazelnuts. This Zucchini Bread is light in texture, and I kinda wish it were a bit more dense, I’ll experiment some more and let you know how it works out. 

It’s super delicious, easy to make and I’m sure you will enjoy this recipe.

zucchini_nut_bread-1.jpg
zucchini_nut_bread-2.jpg
zucchini_nut_bread-3.jpg
zucchini_nut_bread-4.jpg
zucchini_nut_bread-5.jpg
zucchini_nut_bread-6.jpg
zucchini_nut_bread-7.jpg
zucchini_nut_bread-9.jpg
zucchini_nut_bread-10.jpg

Zucchini Nut Bread

  • 1 and 1/2 cups all-purpose flour

  • 1/2 teaspoon baking powder

  • 1/2 teaspoon baking soda

  • 1/2 teaspoon salt

  • 2 teaspoons ground cinnamon

  • 1/4 teaspoon ground nutmeg

  • 1 cup chopped nuts 

  • 1/2 cup canola or vegetable oil

  • 1/2 cup packed light or dark brown sugar

  • 1/2 cup granulated sugar

  • 1 large egg, at room temperature

  • 2 teaspoons pure vanilla extract

  • 1 cup grated zucchini (about 1 medium)

Preheat the oven to 350°F (177°C). Grease a 9×5” loaf pan lined with parchment paper with butter.

In a large bowl whisk the flour, baking powder, baking soda, salt, cinnamon and nutmeg together then stir in the nuts. Set aside. In a medium bowl, whisk the oil, brown sugar, granulated sugar, egg, vanilla, and zucchini together until combined. Pour the wet ingredients into the dry ingredients. Gently combine with a wooden spoon; do not over mix. Spread the batter into prepared loaf pan. Bake for 45 – 55 minutes. The bread is done when a toothpick inserted in the center comes out clean. Remove the bread from the oven and set on a wire rack. Allow to cool completely before slicing.

Cover and store leftover bread at room temperature for up to 5 days (I’m not sure I would leave it out this long, and I’m not sure it wouldn’t get eaten in 5 days!)

Adapted from Sally’s Baking Addiction