Homemade Greek Yogurt
/I’ve been wanting to get this Homemade Greek Yogurt up on the blog for a while now as I’ve been making it on repeat for the past few months, along with this granola and focaccia, all three are so good, and so much better than store bought. They’re all made with basic ingredients that you would have on hand. This yogurt is very easy to make with an Instant Pot, it just takes time. Your hands-on time is maybe 30 minutes total, but beginning to end it takes about 12 hours.
As for milk, I’ve been buying organic whole milk. I get organic because it lasts much longer in the refrigerator. The days of running out to the store for a half-gallon of milk are over for now, so I always try to have an extra tucked in the back of the refrigerator.
The first time you make this you’ll have to keep an eye on the cool down part until you know how fast your yogurt is cooling. I use an ice bath and it takes 15 minutes. If you don’t use an ice bath it can take an hour or longer to cool down, and you will have to keep checking the temperature over and over again. So for me it’s easier to do an ice bath and set a timer and be done with it.
I generally start this in the evening so that it can incubate overnight. It’s nice to wake up in the morning and have something done! I do that with the Focaccia as well, I let it rise overnight and bake it in the morning.
The only thing that makes “Greek yogurt” different from regular yogurt is that it’s strained (notes in recipe). It’s richer and creamier. It takes a little more time, but it’s worth it.
Homemade Greek Yogurt
1/2 gallon of whole milk (8 cups)
2 tablespoons yogurt
Essential Equipment
Boil
Pour the milk into the Instant Pot, cover the pot (the float valve position won’t matter) and set to yogurt, then press adjust (boil should appear in the digital display), it will take about 20-25 minutes to finish. When it’s done remove the pot and turn off the Instant pot.
Cool down
You want to cool it down to 115°F. An ice bath helps speed up the process, without an ice bath it may take an hour or so, but what I do is put the instant pot in a 9x13 glass pyrex baking pan, load it up with ice, and it cools down in about 15 minutes. You’re aiming for a temp between 110°-115°.
Once it reaches that temp remove it from the ice bath immediately and place it on a towel, drying the bottom of the pot.
Skim
Skim off the top skin and discard it.
Add Yogurt
Whisk in 2 tablespoons yogurt into the milk so it’s well combined.
9 hour incubation
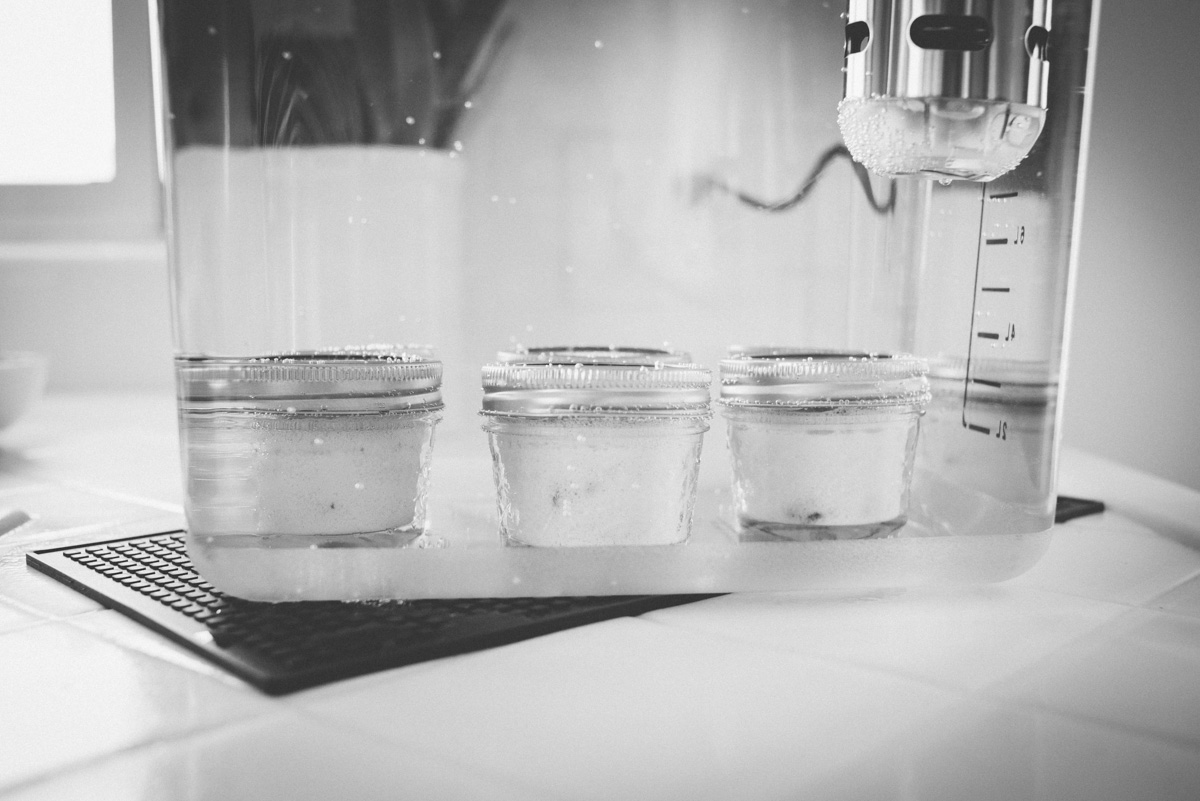
Place the pot back into the Instant Pot, place your cover on and set to Yogurt. This defaults to 8 hours, I’ve found better results after 9 hours but it can be done in as little as 8 hours. Use the + button to increase the time (you can even go longer if you want, up to 12 hours).
Ready to strain
When the timer goes off, remove the pot. At this point you can refrigerate it and eat it as regular yogurt. But I highly recommend taking the next step and straining it, The texture is so much better!
Set out a large bowl or pot with a strainer over it (set it so there is space between the bottoms and it can strain properly), then put a large piece of cheese cloth over the strainer. Scoop out the yogurt into the cheesecloth. Fold the ends of the cheesecloth over the yogurt to cover. Place in the refrigerator for an hour or two. The longer you strain the thicker the yogurt will be. I really like the texture after an hour or a bit longer. I’ve let it strain for two hours and it was almost too thick, but you might like it that way! I would experiment with different strain times to see what you like best. Once it’s strained scoop out the yogurt into a container, whisk it until smooth and refrigerate, it will last a good 2+ weeks in the refrigerator. You can discard the whey (the liquid strained out) or you can keep in the refrigerator and use this to make more yogurt. I haven’t tried that but I read that it works just as well.


