Zucchini + Herb Ricotta Tarts

zucchini_ricotta_tart-1.jpg

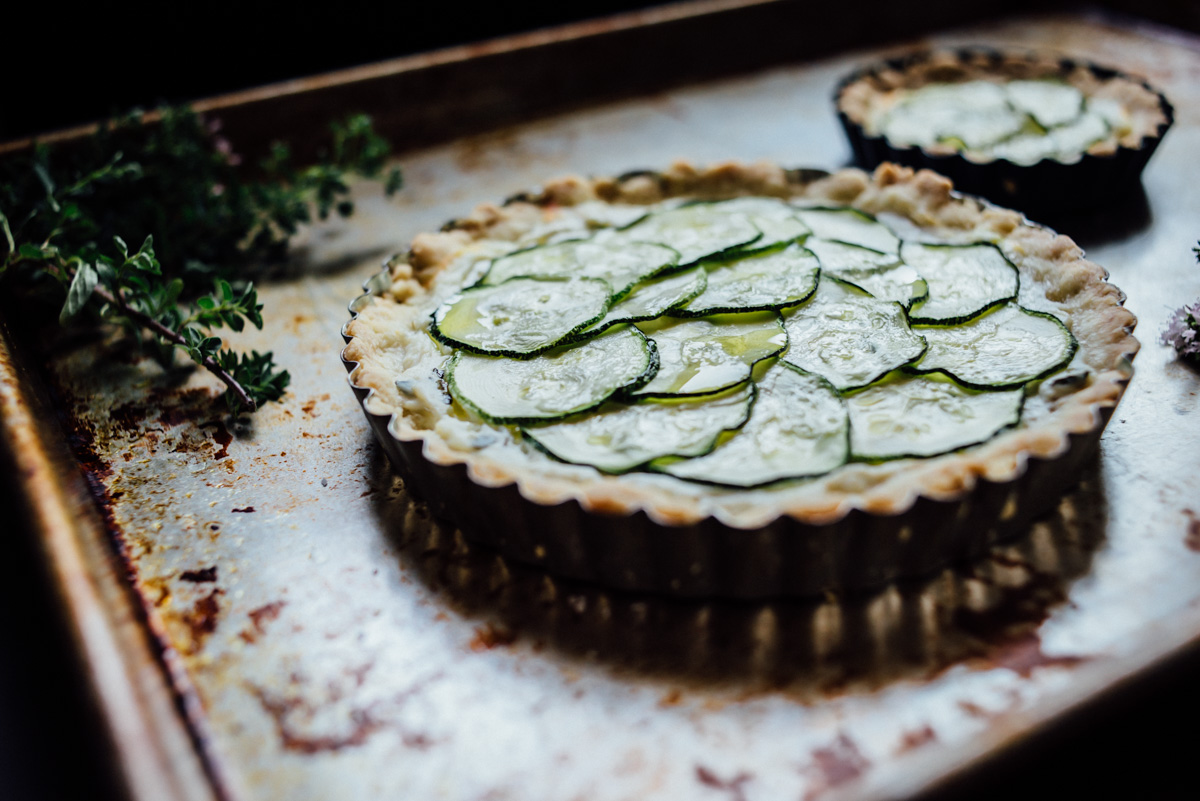
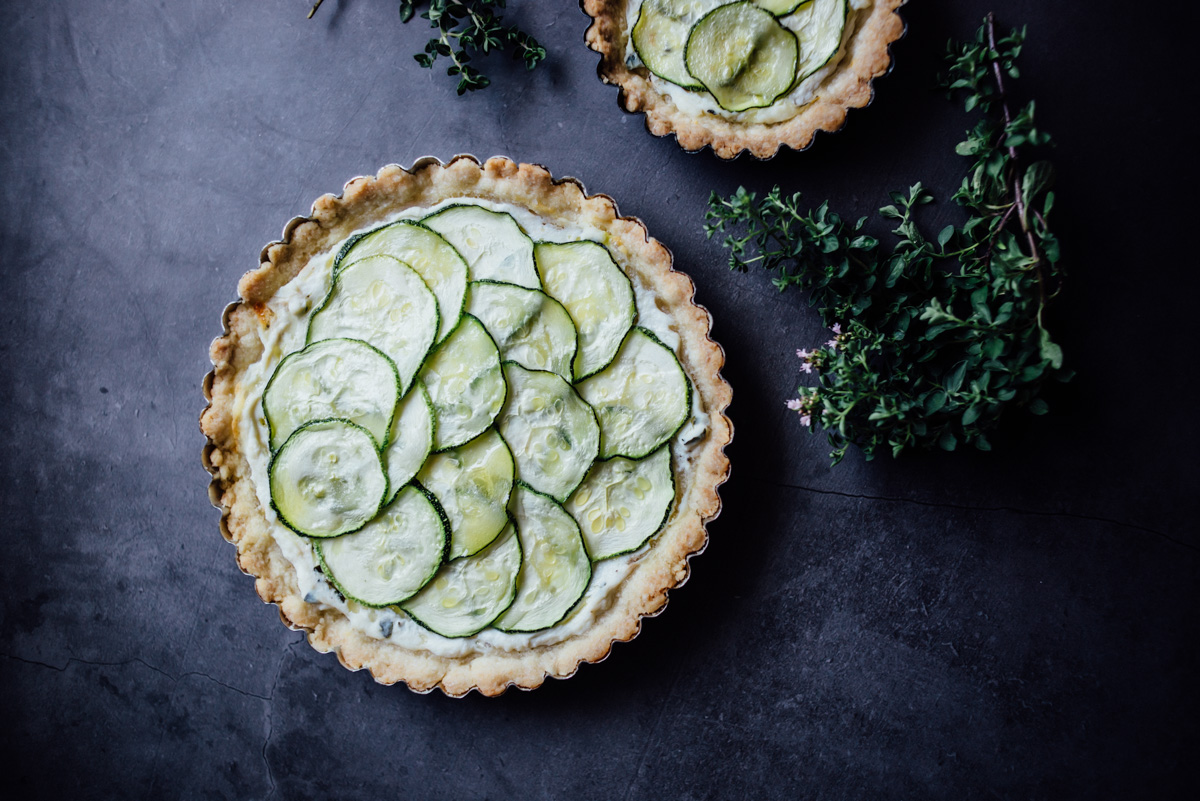
Zucchini and Herb Ricotta Tarts. I’m looking for all ways to eat zucchini lately. This is the first time we’ve grown zucchini and wow! it grows quickly, seems every 3 days or so there are a couple more to pick. It’s easy enough just to grill but I want to try some new ways to prepare it. I pickled some last week and they came out great. I’d like to get that recipe in a post soon, but you might start calling me The Zucchini Lady, ha ha. This tart dough is different than other doughs I’ve made, you make it with melted butter which is the opposite of 99% pie doughs out there as they use cold butter, but I thought I’d give it a try because with this dough you don’t have to roll it out, you simply press it in the pan. It was much easier and faster to make. You just mix it in a bowl by hand in one minute. Done. I was surprised by how much I liked it! Really nice texture, almost like a cookie type texture. I would make this again no doubt, but for savory tarts I would cut back on the sugar and add more salt, other than that it’s a winner. This Zucchini + Herb Ricotta Tart is super delicious, we had it with a side of Radicchio salad, it’s good for a lunch or light dinner. Oh and pan size, you can make one 9” tart or make a few smaller ones, I used a 6” tart pan and two 4” tart pans, the math doesn’t quite work out on that but it worked for me! ¯\_(ツ)_/¯ Enjoy :)

zucchini_ricotta_tart-2.jpg
zucchini_ricotta_tart-3.jpg
zucchini_ricotta_tart-4.jpg
zucchini_ricotta_tart-5.jpg
zucchini_ricotta_tart-6.jpg

Zucchini + Herb Ricotta Tarts

  • 1/2-1 whole zucchini sliced 1/8” thick

  • 1 cup ricotta

  • 1/4 cup shredded mozzarella

  • 1 teaspoon fresh thyme

  • 1 teaspoon fresh oregano 

  • Olive oil

  • Salt & Pepper

  • Tart dough (recipe below)

In a bowl combine the cheeses and fresh herbs with some salt and pepper. Spread a layer of the cheese mixture into the prepared tart pans, then arrange the zucchini slices on top. Drizzle with some olive oil to cover all the vegetable. Lightly salt. Bake at 400°F for 25-35 minutes until just browned.

Tart Dough

  • 1 stick (1/2 cup) melted butter

  • 3 tablespoons sugar (or 1 1/2 tablespoons for less sweet)

  • 1/4 teaspoon salt

  • 1 1/4 cups flour

Preheat oven to 350°F. In a large bowl combine butter, sugar and salt, then add flour and mix with wood spoon until just combined. 

Distribute the dough on the bottom of your tart pan(s) and press the dough evenly over bottom and sides. You can use a floured cup to press it if necessary (i just used my fingers). Cover the tart shell with plastic wrap and refrigerate for 30 minutes to 1 hour. Once chilled, with a fork prick the shell all over and bake for 10 minutes. Remove from oven to cool. Then add filling and bake as directed.

Tart dough adapted from Chowhound

Zucchini Nut Bread

zucchini_nut_bread-8.jpg

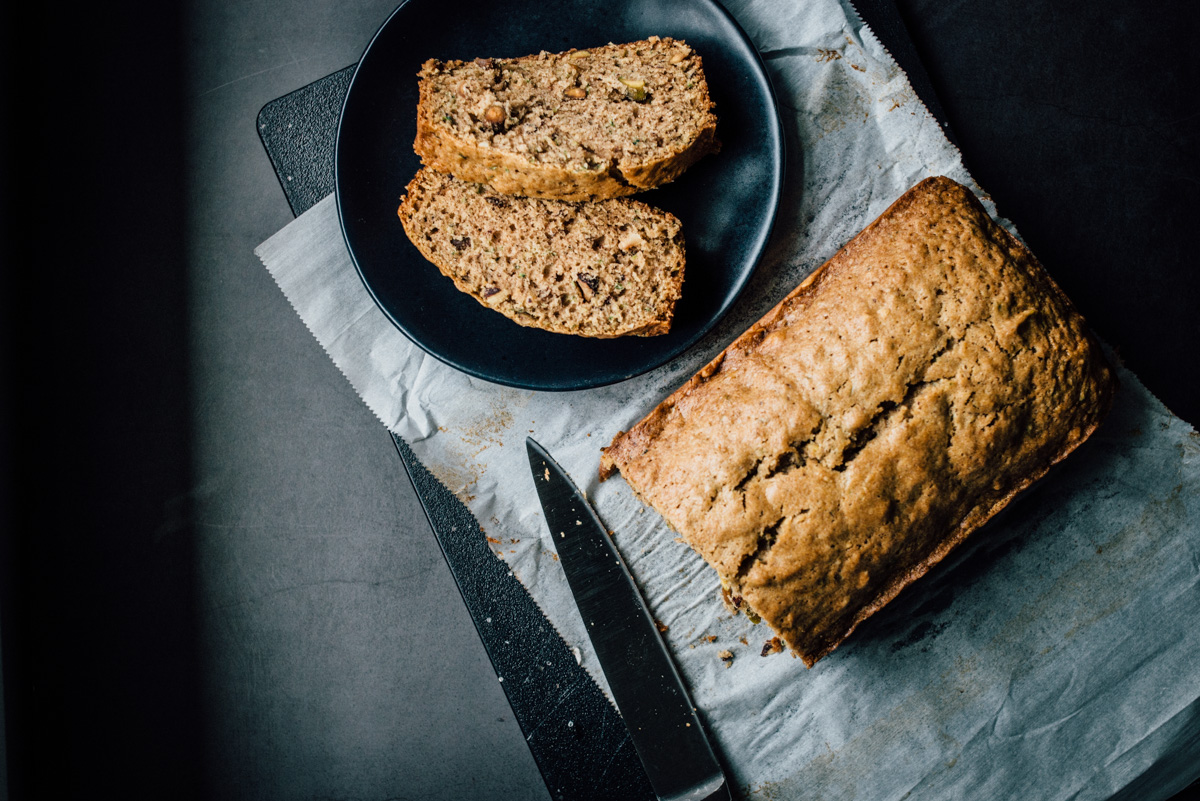
Zucchini Nut Bread. I didn’t expect to make this so soon. Our zucchini plant is growing so quickly now and producing more than we anticipated. We’ve picked 4 zucchini in the past week and more are on the way. This is the first time we’ve grown it so I didn’t know what to expect. Last year I planted a yellow squash and that didn’t work out, all male blossoms and no squash. But we did some changes to our soil this year and it’s made a big difference. I’m not sure if I posted about this but we removed all our old soil in the garden beds (which was potting soil) and replaced it with a proper soil/compost mix and everything is growing great! The weather has been unusually mild so far this July, seriously rain in Portland in July? Almost unheard of. So it’s been more like a longer spring season. Which is ok with me, and the grass, but I think those tomatoes would appreciate a bit more heat. The weather forecast for this week is in the 70s!? Yep. Weird. 

The recipe is adapted from Sally’s Baking addiction and it’s good! It has lots of cinnamon which I love. I almost wish it had more zucchini in it. I’ll add more next time because I’m certain there will be a next time with all this zucchini, and I’ll update on this post. The original recipe added chocolate chips, but I didn’t really want that for this bread (cake!) so I added what nuts I had on hand, about 1/4 cup pistachios and 1/4 cup crushed hazelnuts. This Zucchini Bread is light in texture, and I kinda wish it were a bit more dense, I’ll experiment some more and let you know how it works out. 

It’s super delicious, easy to make and I’m sure you will enjoy this recipe.

zucchini_nut_bread-1.jpg
zucchini_nut_bread-2.jpg
zucchini_nut_bread-3.jpg
zucchini_nut_bread-4.jpg
zucchini_nut_bread-5.jpg
zucchini_nut_bread-6.jpg
zucchini_nut_bread-7.jpg
zucchini_nut_bread-9.jpg
zucchini_nut_bread-10.jpg

Zucchini Nut Bread

  • 1 and 1/2 cups all-purpose flour

  • 1/2 teaspoon baking powder

  • 1/2 teaspoon baking soda

  • 1/2 teaspoon salt

  • 2 teaspoons ground cinnamon

  • 1/4 teaspoon ground nutmeg

  • 1 cup chopped nuts 

  • 1/2 cup canola or vegetable oil

  • 1/2 cup packed light or dark brown sugar

  • 1/2 cup granulated sugar

  • 1 large egg, at room temperature

  • 2 teaspoons pure vanilla extract

  • 1 cup grated zucchini (about 1 medium)

Preheat the oven to 350°F (177°C). Grease a 9×5” loaf pan lined with parchment paper with butter.

In a large bowl whisk the flour, baking powder, baking soda, salt, cinnamon and nutmeg together then stir in the nuts. Set aside. In a medium bowl, whisk the oil, brown sugar, granulated sugar, egg, vanilla, and zucchini together until combined. Pour the wet ingredients into the dry ingredients. Gently combine with a wooden spoon; do not over mix. Spread the batter into prepared loaf pan. Bake for 45 – 55 minutes. The bread is done when a toothpick inserted in the center comes out clean. Remove the bread from the oven and set on a wire rack. Allow to cool completely before slicing.

Cover and store leftover bread at room temperature for up to 5 days (I’m not sure I would leave it out this long, and I’m not sure it wouldn’t get eaten in 5 days!)

Adapted from Sally’s Baking Addiction


Ratatouille with Polenta

ratatouille_with_polenta-1.jpg

Ratatouille with Polenta. This is the first time I’ve made Ratatouille. I received a complimentary cookbook Famous Dishes from Around the World that has 30 traditional dishes from various places around the globe, countries in Europe, Asia, South America, the Middle East. I picked French Ratatouille since there is such an abundance of vegetables this time of year, it makes a great summer dish. I changed a few things from the original recipe, for example the recipe had 10 cloves of garlic and I used 3, because I can’t handle too much garlic, as much as I like the flavor. I also used 2 cans of diced tomatoes rather than using marinara sauce and tomato paste. In any case it came out really good! I’ve had good and bad Ratatouille and this was definitely good. It tastes very fresh. 

I like the cookbook, it’s fun and all the recipes are fairly easy, and it has some cooking tips as well. I love all kinds of food so I think I would be happy to make any of these recipes. I want to try the Moroccan Tagine with Chicken next! Oh and It’s bilingual, each recipe is in English and Spanish, so if you’re learning either language you might enjoy this. The Ratatouille recipe here is vegetarian, but you could easily add some meat if you like. If you do add something like sausage, simply cook the meat first in the pot, then remove and add it in later with all the vegetables. Enjoy!

ratatouille_with_polenta-2.jpg
ratatouille_with_polenta-3.jpg
ratatouille_with_polenta-4.jpg
ratatouille_with_polenta-5.jpg

Ratatouille

  • 1 large eggplant, 1” slices

  • 1/2 cup olive oil

  • 1 red onion, chopped

  • 10 cloves garlic, minced (I used 3 cloves of garlic)

  • 2 large beefsteak tomatoes, cut into 1” cubes

  • 2 medium zucchini, sliced

  • 2 medium yellow squash, sliced

  • 2 cups mushrooms, sliced

  • 3 bell peppers (red, green and yellow), cut 1” pieces

  • 2 14oz cans of diced tomatoes

  • 5 bay leaves

  • 1 1/2 cups fresh basil

  • 2 teaspoons fresh or dried oregano (or rosemary if you prefer)

  • 2 teaspoons fresh or dried thyme

  • Salt & pepper to taste

(Note: the original recipe cooks each vegetable separately in another pan, then added to the larger pot, I cooked everything in one pot and it worked out fine)

Place eggplant slices on paper towels and sprinkle slices with salt for one hour to make them sweat. Blot them dry with a paper towel. Cut into quarters.

In a large dutch oven cook the eggplant in some olive oil until about half way cooked. Add the onions, garlic and tomato to the pot, sauté a few minutes until soft. Add the zucchini, squash, mushrooms, peppers, adding more olive oil as needed. Cook for 5 more minutes or so. Stir in the cans of tomatoes and the herbs (save some basil for garnish). Cover the pot and cook for about 30 minutes on a very low heat, stirring every so often. 

While the Ratatouille is simmering prepare the Polenta.

Serves 6-8 (This completely filled my dutch oven and I could not add one more thing, so it makes quite a bit!)

Recipe adapted from Famous Dishes from Around the World: Healthy, Tasty, and Affordable

Polenta

  • 1 cup Polenta (I use Bob’s Redmill Polenta Corn Grits)

  • 1 cup water

  • 1 cup milk

  • 1 cup chicken stock

Bring water, milk and chicken stock to a boil, stir in the polenta, then reduce heat to low. Cook for 5 minutes, then let it sit for a few more minutes until ready to serve.

Kale Pistachio Pesto

kale_pistachio_pesto-1.jpg

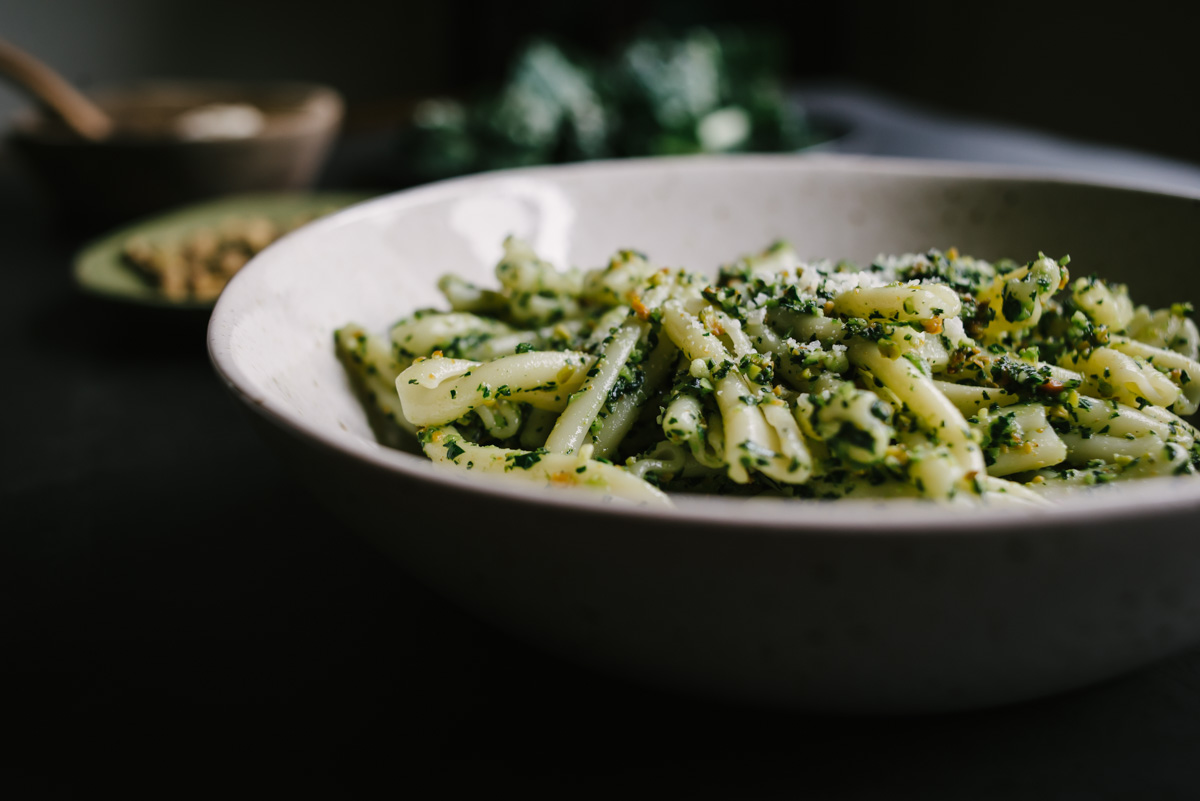
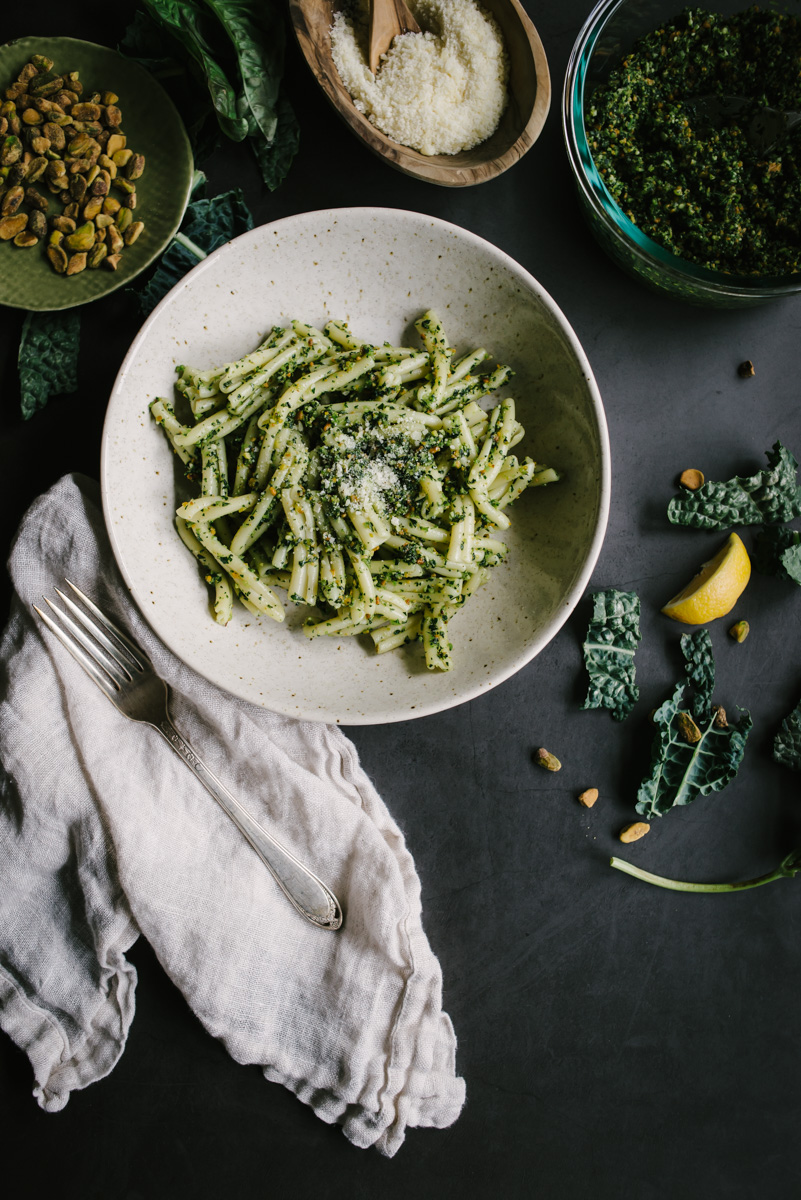
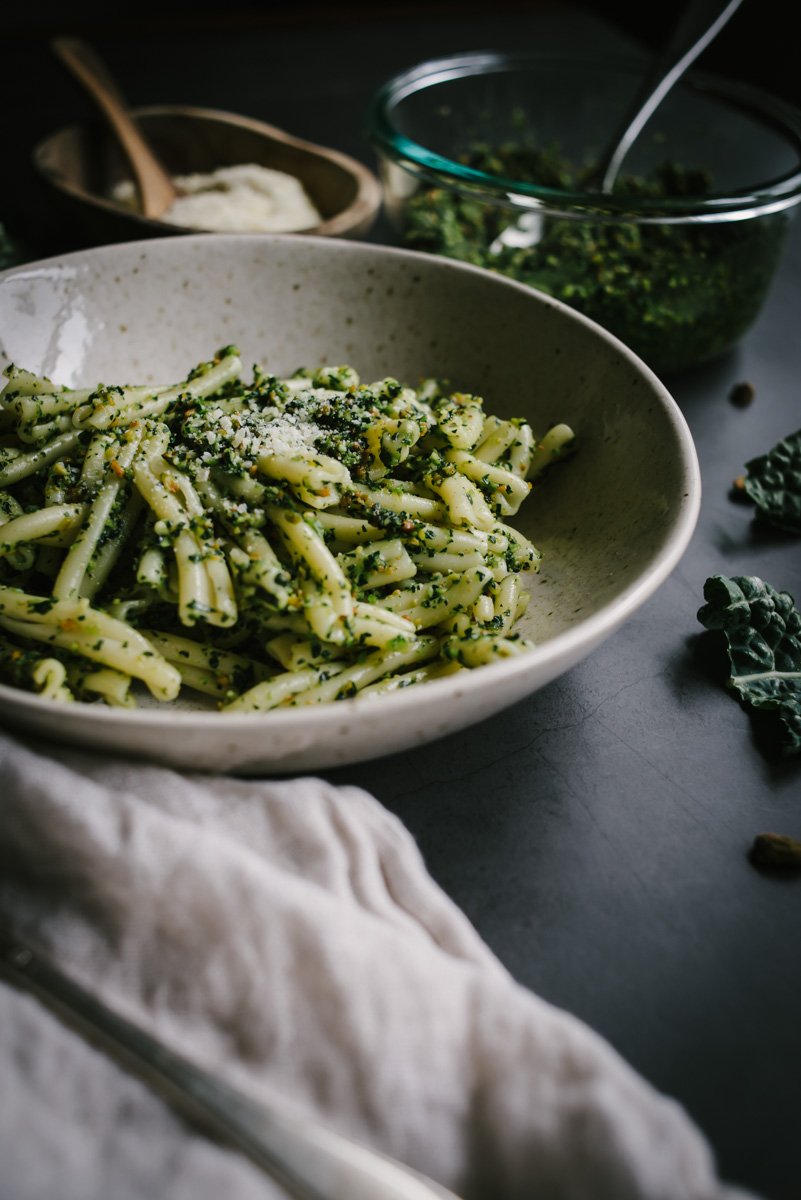
I made this pesto a few weeks ago with hazelnuts, and wow it was so good. But I’ve been seeing folks make it with pistachios and since I had some leftover from the pistachio cake I made last week I thought I’d give this a try. Honestly I love it with either nut. What’s nice about this kind of pesto is that you can change the nuts or the greens, add basil or not, add parsley or cilantro, there’s a lot of room to get creative and it just tastes so good. It’s really perfect for a vegetarian dish, or you could add bits of roast chicken if you wanted more protein. I joined Sprouted Kitchen Cooking Club a while back where Sara has made some variations on this pesto, and David Lebovitz posted a Kale Pistachio Pesto on Instagram that got me going on this. Most recipes say to pulse all the ingredients except the olive oil, then slowly add olive oil, but I just put everything in the food processor and it comes out fine, you might need to add a little olive oil after it’s finished if you want a different consistency. I just put it in a bowl, drizzle a bit of olive oil and give a stir. Lacinato Kale (or Tuscan or Dino, so many names for the same thing!) is such a great vegetable. It will store fairly long in the fridge, you can add it to soups, you can make salads, here’s a whole bunch of Kale recipes, and now pesto! I think it’s delicious, let me know what you think. Enjoy!

kale_pistachio_pesto-2.jpg
kale_pistachio_pesto-3.jpg
kale_pistachio_pesto-4.jpg
kale_pistachio_pesto-5.jpg
kale_pistachio_pesto-6.jpg
kale_pistachio_pesto-7.jpg
kale_pistachio_pesto-8.jpg

Kale Pistachio Pesto

  • Tuscan kale, about 5 ounces chopped

  • A bit of basil or fresh herbs, but not needed

  • 2 garlic cloves

  • 1/4 cup roasted unsalted pistachio nuts

  • 1/2 cup olive oil

  • 1/3 grated parmesan cheese

  • Juice of half a lemon

Place all ingredients in a food processor and pulse several times until it’s a granular textured consistency. Place in container and add a little more olive oil if needed. Toss with pasta and add a dollop on top with some grated parmesan.

CBD Infused Coconut Oil

CBD_infused_coconut_oil-11.jpg

CBD Infused Coconut Oil is surprisingly easy to make thanks to Jeff Danzer’s recipe. I’ve seen CBD Hemp infused oil for sale online and it’s very expensive. Not only is making your own more economical, you have more control over the type of oil you want to use and the strength. Why CBD Infused Coconut Oil? I’ve been meaning to cook with Cannabis for some time now. I’ve been reluctant because it’s hard to know the exact potency unless it’s been tested in a lab, or you try your recipe yourself and take the whole day off as a precautionary. That can be a bit much. But CBD is derived from Hemp and it’s a whole different experience.

I’m working with a farm in Southern Oregon, Cascadia Blooms, to develop some recipes with the Hemp they grow. If you’re not familiar with CBD, Cascadia Blooms has a great FAQ section here, basically CBD Hemp will relax your body without the psychoactive high you would experience with THC in Cannabis. Adding it to your food or drink is a great way to consume it. 

You can use the CBD Infused Coconut Oil the same way you would use any Coconut Oil. I wanted to try it without making a whole batch of cookies, so I first tried about a teaspoon in coffee (people are doing that? yes) but I didn’t like it, I drink my coffee black but if you use cream and sugar you might like it, in any case the 1 teaspoon did nothing for me, so then I smeared a heaping tablespoon on toast, and that was the right amount. (Keep in mind it takes at least an hour to feel the effects, so best to take your time and see how you feel after 1-2 hours.)

The effects? Within about an hour I felt relaxed, it definitely reduces anxiety. As a result I felt more focused on whatever I might be doing, it’s kind of incredible how many distractions there are, never mind social media and email, sometimes I have a hard time focusing because of my mile-long list of things to do. I can’t seem to walk through any room in the house or the yard without seeing something to do, fix, clean, update, really around every corner (and our house isn’t even messy!). I think that creates a kind of low level anxiety for me. But with CBD it felt different, I know those things to do are there, but I’m not anxious about it. That’s the most profound effect that I experienced. It lasts for about 4 hours and tapers off.

I’ve included the cleaning process below but it is optional as Cascadia Blooms takes care to keep their Hemp flower clean, organic and ready for food consumption. The cleaning process also produces a lighter tasting oil which helps to control flavor. The coconut oil I infused had very little smell or flavor of the Hemp, however you might want to skip that process if you want that flavor depth, it will be determined by the flower you use, but it generally has an herb-like flavor, a little peppery that would be suitable for savory dishes. The entire process is done in a French Press, which I think is rather brilliant, it worked out great for steeping and straining. This is first of a series of CBD Recipes as you will need the infused ingredients to work with (butter, coconut oil, olive oil, etc). I look forward to sharing more with you!

You can order online everywhere in the U.S. (except Idaho and South Dakota, sorry!) and the Hemp is shipped in double-lined sealed bags so that there is no odor at all in your mailbox. You can read more about their packaging and shipping info here.

This is a sponsored post on behalf of Cascadia Blooms, all thoughts and opinions are my own, the recipe below provided by Jeff Danzer.

So let’s get started!

CBD_infused_coconut_oil-1.jpg
CBD_infused_coconut_oil-2.jpg

Break the large hemp flower into popcorn size pieces

CBD_infused_coconut_oil-3.jpg
CBD_infused_coconut_oil-4.jpg

Soak the hemp flower in French Press with distilled water, submerged, for 2-3 days until water is clean, changing water twice a day

CBD_infused_coconut_oil-5.jpg
CBD_infused_coconut_oil-6.jpg

Run through salad spinner to remove excess water. Dry and decarb on baking sheet, bake 60-90 minutes until dry (foil should be loosely covering the pan, not too tight or it will steam!)

CBD_infused_coconut_oil-7.jpg

Add the oil and dried Hemp flower to French Press

CBD_infused_coconut_oil-8.jpg

Steep in boiling water for 2 hours

CBD_infused_coconut_oil-9.jpg
CBD_infused_coconut_oil-10.jpg

Strain oil through French Press into sterile jar or container

CBD_infused_coconut_oil-12.jpg
CBD_infused_coconut_oil-13.jpg

As I mentioned above, I recommend a tablespoon per serving for optimal effect, but use your own discretion as to what works for you best

Hemp CBD Infused Cooking Oil

  • 4g Hemp Flower

  • 8 ounces Olive or Coconut Oil

  • Distilled water

  • French Press

  • Pot of boiling water

Hemp CBD Infused Cooking Oil - Cleaning and Drying

Soak

Pick the buds off the stem. In a French Press Completely immerse the buds and stems in distilled water and soak for 2 to 3 days, changing the water twice a day until the water in the French press is clear.

Rinse

Remove the herb from the French Press and place in a salad spinner. Spin for about 30 seconds to remove excess water.

Dry and Decarb

Preheat oven to 240º F.

Spread the hemp evenly over a large baking sheet and place a large piece of light aluminum foil loosely over the top of it. Crimp the edges to keep in any odor (but don’t seal it too tight or it will steam.) Bake for 60 to 90 minutes until completely dry. Your Hemp is now clean and ready for infusion into your butter, oil, alcohol or vegetable glycerin.

Hemp CBD Infused Cooking Oil - Simple Steeping Method

Place Hemp flower buds in French Press along with the oil. Fill a pot halfway or so with water and bring to a boil. Your water line should not be much higher than the oil level in the French Press. 

Stand the French Press in the pot of boiling water and let steep for 2 hours. Adding more water as needed if it boils down.

Strain the oil through the French Press into a sterile jar or container. It is now ready to use. 

Endive Salad with Blue Cheese + Dijon Vinaigrette

Endive Salad with Blue Cheese + Dijon Vinaigrette

This recipe is so easy it seems hardly worth a blog post, but deserves it still. It goes way back for me. When I was in college in New York City (a million years ago!) I waited tables at a french restaurant called Les Tournebroches.

Read More

Coconut Cake

Coconut Cake

Wouldn’t you know. On Jeff’s Birthday I’m ready to make this cake and… the oven is broken. It won’t heat and it’s only three years old! Luckily I had only prepared the cake pans while attempting to preheat the oven, so it wasn’t a total loss.

Read More