Preserved Lemons
/

This Mushroom Lasagna is absolutely delicious. It’s the second time I’ve made it and even changing the types of mushrooms and cheese did not disappoint. I saw the recipe about two years ago on Adventures in Cooking and finally gave it a try. Mushroom, cheese and pasta generally are a good combination, still sometimes things sound good but are just meh. Not this time. It was wow! it’s so good! And it makes quite a bit too, even with four people we had leftover. It’s even better the second day.
I shopped at Trader Joe’s knowing they would have better prices on the cheese, but I would sacrifice mushroom selection. The last time I made this Mushroom Lasagna I had shopped at Whole Foods, and the selection for Ricotta cheese was slim, I had the choice to fork over $7 for one container (and you need two for this recipe), or get the low fat version at around $4+. They were all out of the 365 brand, and this seems to be an ongoing problem with Whole Foods lately, the shelves are bare! They started a new inventory system called order-to-shelf (OTS), which was designed and implemented a year ago (long before Amazon purchased them, so don’t blame Amazon as tempting as it is), the new system is good in that it’s cost-cutting, and will help prevent food spoilage from excess inventory going bad in the storage room, but damn, if you look at some of those photos, I haven’t seen it that bad here in Portland but I have experienced times where some fairly basic items normally in stock are just not there. Mostly in produce, like where’s the parsley? Hopefully now that it’s had some press Amazon will do something about this.
The recipe is very forgiving in that you can add whatever mushrooms or cheese you have. The original recipe used a sharp cheddar, which I did the first time, but then I opted for Trader Joe’s Quattro Formaggio on the second time. Both were delicious so you can mix up whatever kind of shredded cheese you want.
When this came out of the oven yesterday it smelled so amazing, but then I thought, no way was this going on the blog, it just looked like a big heap of stuff in my old ugly-ass pyrex dish, but a day later and a few food styling tweaks, it looked presentable. There are certain foods, dishes, that really don’t lend themselves to sexy food. For example, raw mushroom, sexy! Cooked mushroom, er, um, cover me up please. I took some photos of the sliced mushrooms cooking on the stove and it looked so unappetizing I didn’t include it here. Smelled great though.
By the way, January marks my five year anniversary with Pixels + Crumbs blog. And guess what, my very first post was a mushroom post! Mushroom Soup. I remember how I labored over it, the whole thing seemed to take forever and I wondered if I’d gotten myself into something a bit crazy. It’s like hours of cooking, hours of food styling, photos and editing and writing. Well the writing gets a bit short because I’m completely burnt out at that point, ha ha. But I’ve kept this blog alive after five years. I don’t post as much as I used to, now it’s more of a monthly post, but I can’t seem to let it go.
See you next month and thanks for stopping by.


Mushroom Layer
Cheese Layers
Lasagna Layers
For the mushroom layer, melt the butter in a large sauté pan over medium heat. Sautee onion and garlic in the butter until softened and transparent, about 5 minutes. Add the mushrooms and olive oil and sauté for about 5 minutes, then add the white wine. Cook until most of the liquid is gone for an additional 5 minutes or so. Remove the mushrooms and onion, place in a small bowl and set aside to cool.
For the cheese layer, add 1/4 cup butter to the pan and allow it to melt. Add the flour, a little bit at a time, whisking constantly until a roux forms. Place the roux in a large bowl and add the ricotta cheese, milk, thyme, sage, oregano, black pepper, and salt. Set aside.
Toss the quartered crimini mushrooms with the olive oil and salt in a medium bowl and set them aside.
Preheat the oven to 375°F. Bring a large pot of water to a boil. Place some of the lasagna noodles in the water and allow to cook until slightly bendable, about 3-4 minutes, working in batches as necessary. Remove with tongs and place three of the noodles on the bottom of a roughly 9 x 13-inch rectangular casserole dish, keeping them in a flat even layer.
Spread 1/4 of the sautéed mushroom mixture over the noodles, then sprinkle with 1/4 of the grated cheddar cheese. Spread 1/4 of the ricotta mixture over the cheddar, then place 3 to 4 noodles in an even layer on top of the ricotta. Repeat until you have used all of the sautéed mushrooms, cheddar, and ricotta, but do not place noodles over the top and final layer of ricotta. Instead, evenly distribute the quartered mushrooms over the top and sprinkle with a pinch of black pepper. Place the pan on a baking sheet and place the baking sheet in the oven. Cook until the cheese is bubbly around the edges and the mushrooms on top have turned a deep brown and wrinkled, about 45-50 minutes.
Adapted from Adventures in Cooking
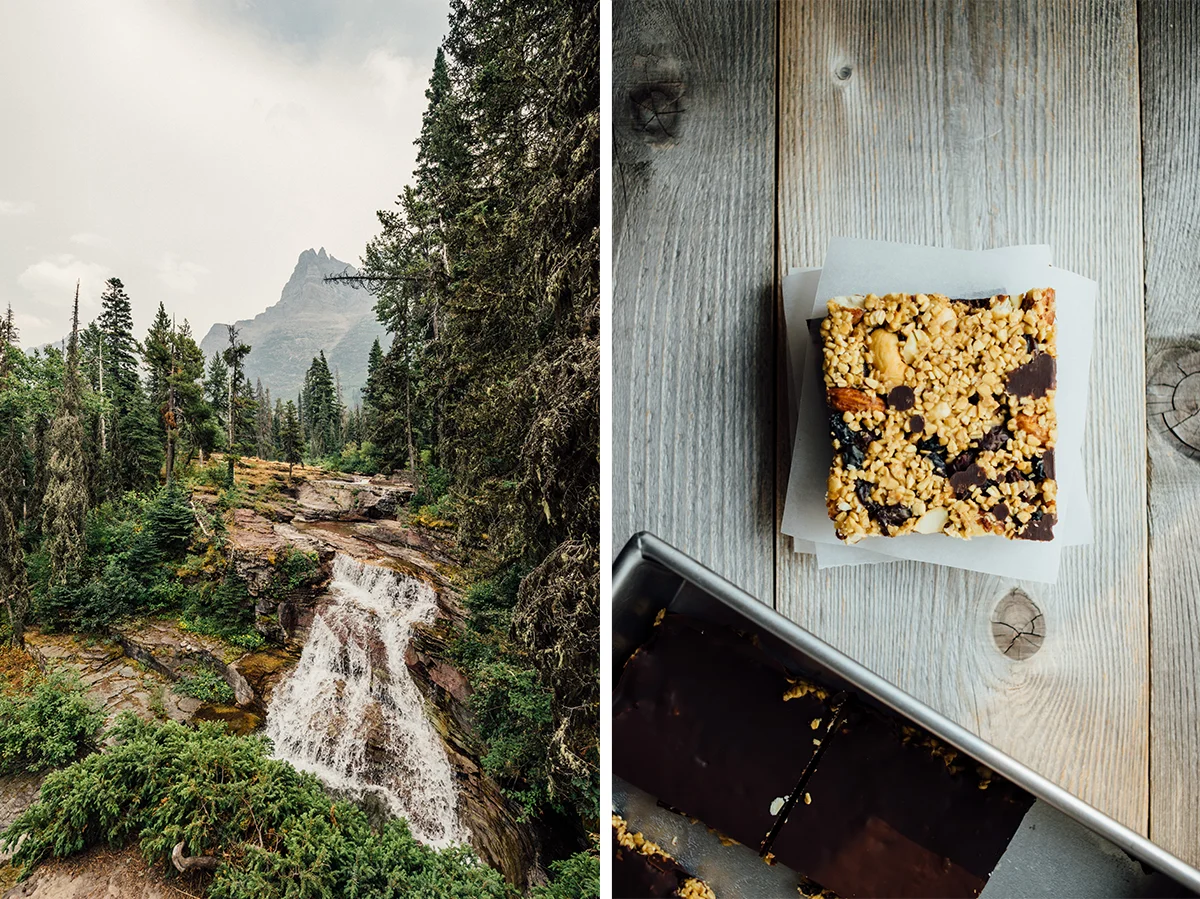
A couple of weeks ago we went to visit Glacier National Park in Montana and it was really spectacular. The day we were heading out to Many Glaciers on the east side of the park, we stopped by this bakery in East Glacier for a bite to eat. if you’re in that area it’s worth a visit. They had a hiking bar that was so good it inspired me to make my own. They also had some braided pastry with spinach and sun dried tomatoes that was absolutely delicious.
We drove along the Going-to-the-Sun Road where you will find many trail heads to stop and explore. It’s an absolutely beautiful ride. I thought it might be a little scary driving the road since it’s narrow with huge drop offs on the side of the mountain, but most of the way they have barriers, and where there isn’t (gasp) just look at the road or the scenery. I have some fear of heights but luckily it didn’t freak me out.

Going-to-the-Sun Road

Many Glacier Swiftcurrent Lake. This is definitely a destination and it's worth planning to spend some time here since it’s far away from other areas in the park, and you’re almost in Canada!
Swiftcurrent Lake at Many Glacier
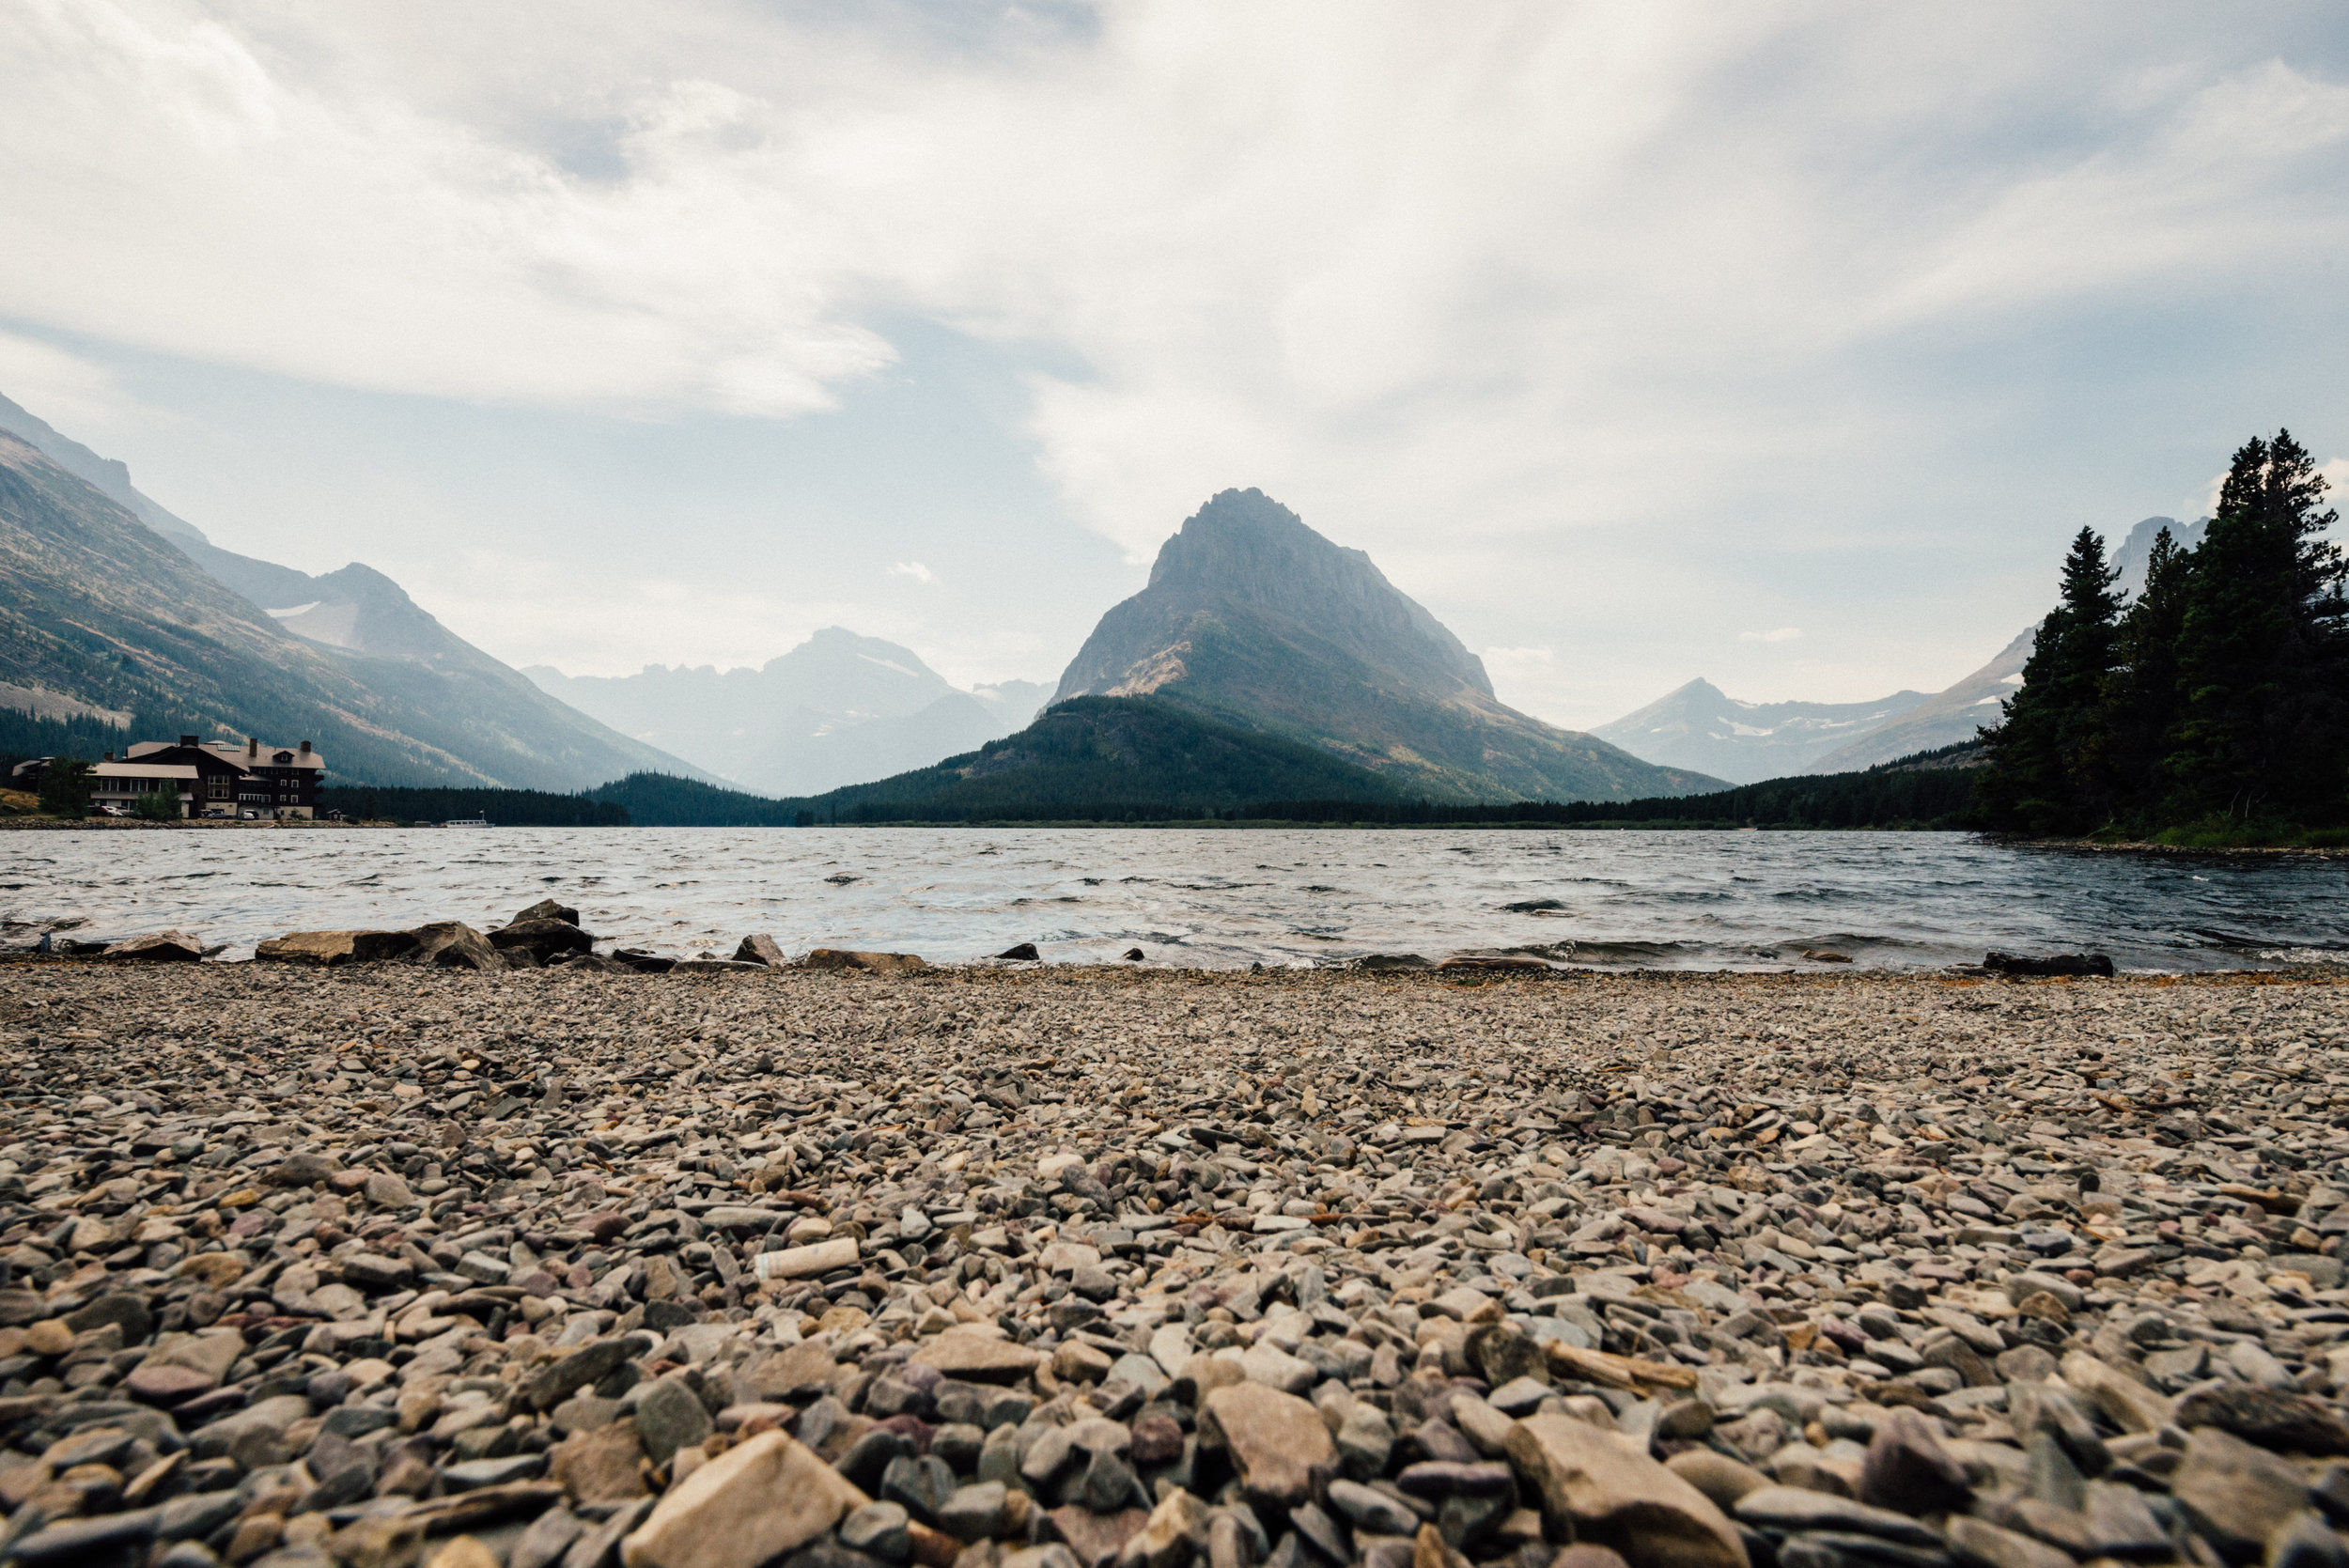
Saint Mary Lake. I didn’t know until after we were back, but this is where the opening scene of The Shining is filmed, and that scene ends with the Timberline lodge at Mount Hood here in Oregon.

Saint Mary Lake
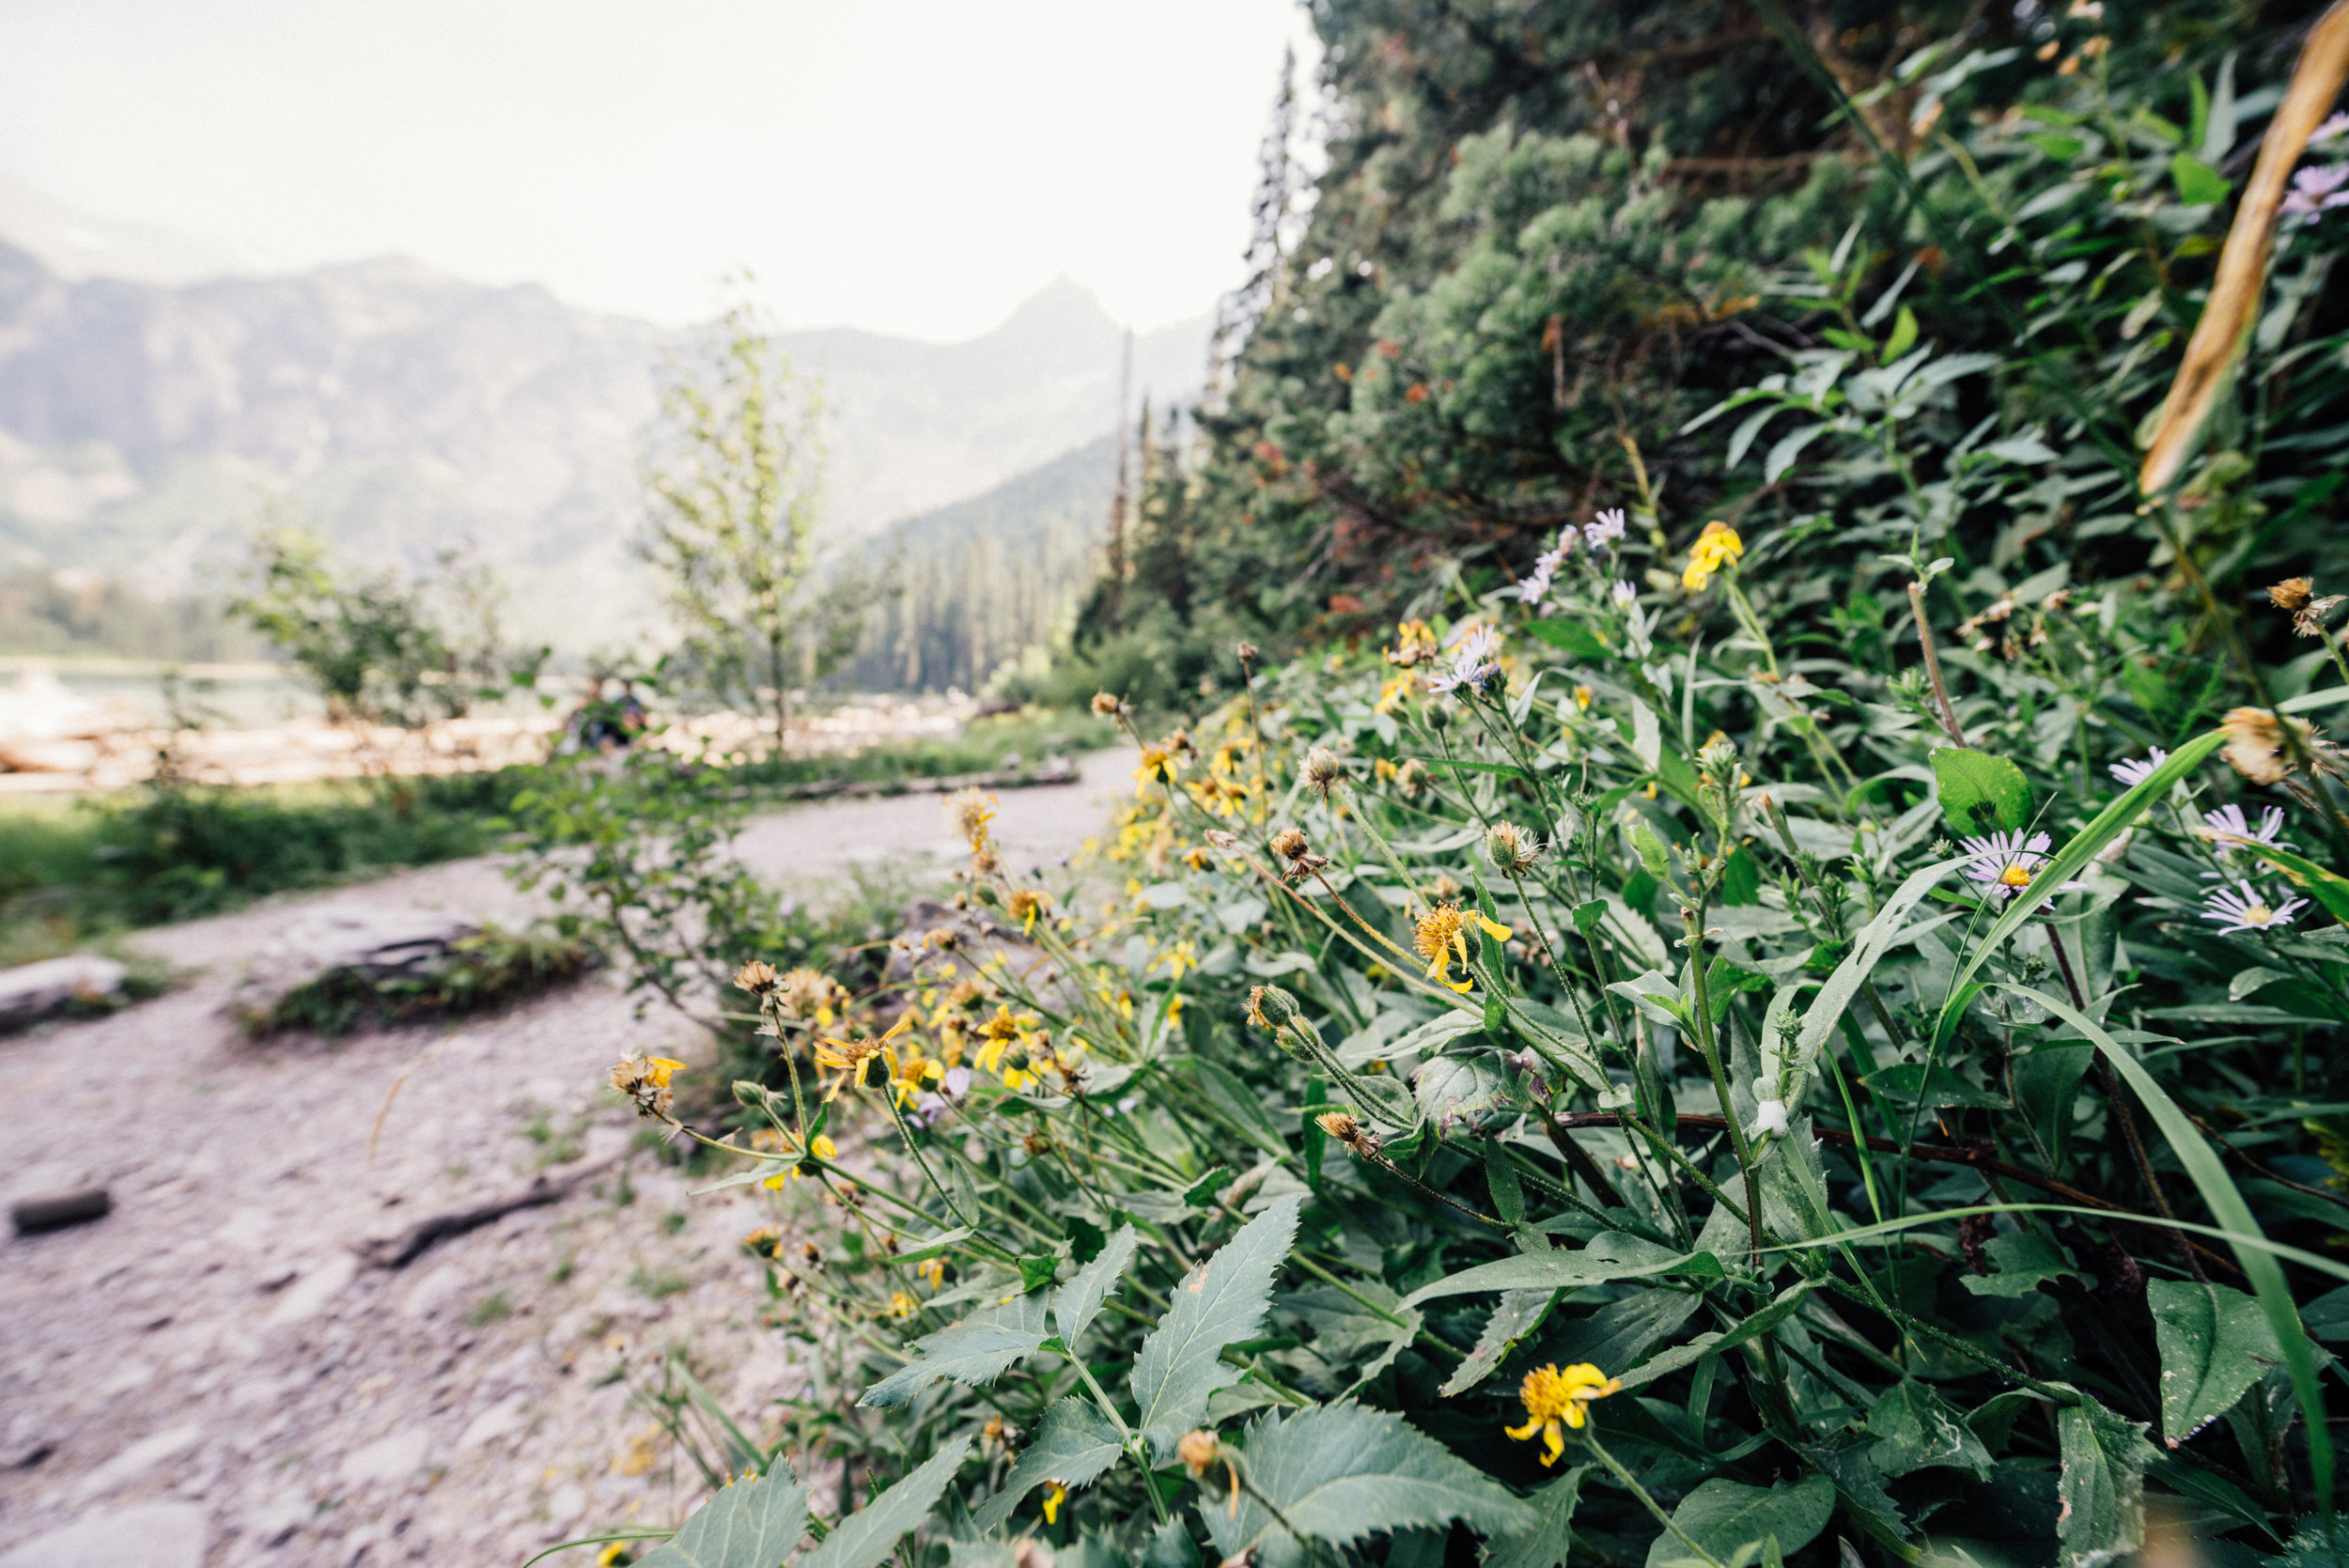
Trail to Virginia Falls and Saint Mary Falls, the forest burned due to a fire in 2015, and it wasn’t what I was expecting, the trail description was “Soon the trail enters the canopy of a dense conifer forest…” I hadn’t realized how much of the park burns every year, almost always due to lightning. But it was quite striking and beautiful with the black trees and colorful new growth.


Virginia Falls


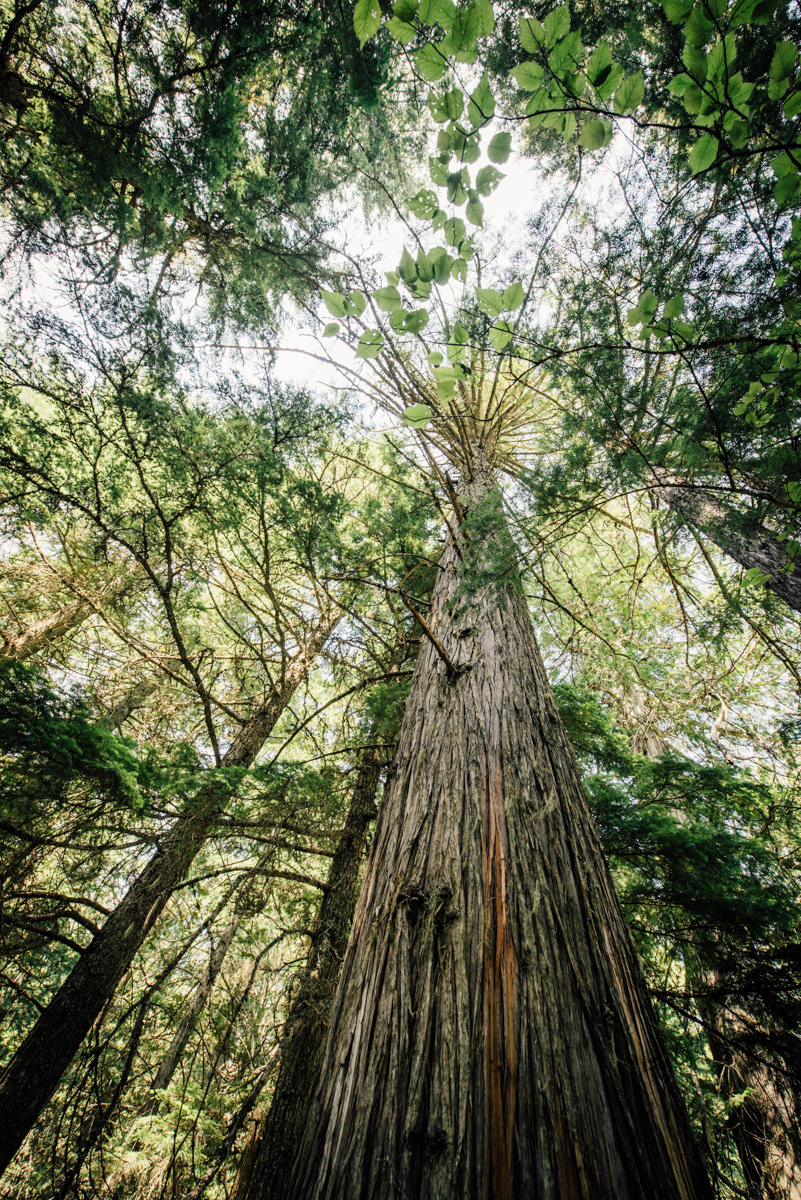
Avalanche Lake. This is a beautiful hike with creeks along the way through the forest, it starts at Trail of the Cedars and brings you to Avalanche Lake where you can take a rest and enjoy the views. The trail is considered moderate, it’s about 2 miles climbing up but it’s not too steep and fun on the way back down. There were bears spotted not too far from where we were, and while it was tempting to go further and see them, we took the advice of going in the opposite direction of where the bears are.

Avalanche Lake

Hidden Lake Nature Trail from Logan Pass. It was our last day in the park and we had to be back in Whitefish early evening to get something to eat before catching the train back to Portland. When we arrived at Logan Pass parking lot it was packed, apparently you have to get there around 8am for easy parking, otherwise, like us, you will be circling that lot forever. But Jeff chatted with a ranger and he said we could park 3 miles east down the road and catch the shuttle back. So that’s what we did. We were lucky to find a parking spot on the side of the road near the shuttle stop. And so we waited, and waited, and waited (The shuttle coming from the east side can take up to a 1 hour wait, but on the west side it’s more like 20-30 minutes.) Time was ticking and we were wondering if we would have any kind of time for this hike, because you have to factor in getting back again. A couple days prior a ranger had told us if you’re ever in need of a ride in the park just hitchhike. So we joked about doing it and a woman there said she would do it if she didn’t have her kids with her. So we stuck our thumbs out on Going-to-the-Sun Road, many cars passed, but one stopped. It was this sweet older couple from Missouri that have been traveling all over the west including Alaska. We offered them money but they wouldn’t take it, at one point she mentioned Rice Krispies treats that were in the back seat! They were very cute and very nice people. We get to the trail head and discovered it’s a boardwalk almost the entire length until you reach Hidden Lake Overlook. I would say this was our least favorite trail. It was like climbing up stairs for 2 miles. You would think it would make it easier but I much prefer a natural path. I had read that this is THE place to see mountain goats, but we didn’t see any at all, I think you have to go early in the morning or early evening to see wildlife.

Hidden Lake Nature Trail

Hidden Lake Overlook
In addition to the trails there is much to see just along side of the road, we were there for 5 days and I feel like I would have wanted at least 10 days to explore. When you go to the park I definitely recommend bringing some food and leaving it in the car, or if you carry it with you it should be sealed up so that hungry bears don’t start following you. Lake McDonald Lodge has a restaurant but it’s not always open, and when it is open it's packed. I got most info on hikes at Hiking in Glacier, and it’s always good to check in on Glacier National Park’s website for any closures or delays. You can view the parks webcams here which is pretty cool.
Below is a recipe for the hiking bars, you can make all different kinds but the basics are always the same with dried fruit, nuts, a syrup, a nut butter and oats. I didn’t want to have to buy 10 bags of different nuts and dried fruit, so I went to Trader Joe’s and bought a back of mixed nuts and a bag of dried fruit (dried cherry, strawberry and blueberry is good!) They have a great selection there.

Spread the oats on a cookie sheet and toast the oats for 15 minutes in 350°F oven, then allow to cool.
Place oats, dried fruit and nuts in a large mixing bowl and set aside.
Warm honey and peanut butter in a small saucepan over low heat. Stir and pour over oat mixture and stir until combined.
Line a 8”x8” baking pan with parchment paper, then spread the mixture in the pan, pressing down firmly until flattened. Melt the chocolate in a double boiler or microwave, then pour it evenly over the mixture, shake the pan to even out the chocolate.
Cover the pan and refrigerate 20-30 minutes until firm. Remove bars from pan and cut into 9 squares. Store in an airtight container for up to a few days. Store in freezer for longer duration.
Focus. Focus. That’s what I keep telling myself lately. This past week has been rough. I guess I’m settling in to this new world of chaos and alternative facts.
Read MoreButternut Squash with Brown Butter Sage. This is a good one. And very easy to make.
Read MoreFall officially begins tomorrow and as much as I want to hang on to summer, it’s best to embrace the new season.
Read MoreI had some amazing corn fritters the other day at Pok Pok’s Whiskey Soda Lounge.
Read MoreThe best thing about this type of salad, or slaw, is that it keeps so well refrigerated.
Read MoreFood and Photography Blog.
All Rights Reserved. Copyright © 2021 Pixels + Crumbs LLC | Privacy Policy


