Pumpkin Cake with Salted Caramel Buttercream

pumpkin_cake_salted_caramel_buttercream-1.jpg

Last week at New Seasons Market I picked up some pumpkin cupcakes with a salted caramel frosting which were good but way way too much frosting, tons on the top and more inside. But the flavor was great. With that I wanted to make my own Pumpkin Cake with Salted Caramel Buttercream. So here we are.

Both the recipes below are half-recipes of the original versions. You can easily double the ingredients and make a layered cake if you like. As much as I like (love!) a big layered cake, it’s just so much cake for Jeff and I. Usually I’ll freeze leftover cake but even then it can be a bit much, we still have coconut cake in the freezer from July! So figured this smaller cake might work, it’s not as sexy as the layered cakes but it tastes just as good and is more manageable for the two of us.

Originally I wanted to maybe do a buttercream frosting with caramel drizzled over that, or just drizzle caramel sauce over the cake, so I set out to make my own caramel sauce, which I’ve made before. The only thing different than the last time I made it was that I used a different pot. It was a bit bigger but has a heavier base that seemed suitable. Well, when the sugar started to brown it was only browning on one side of the pan, I moved it slightly off the burner so that it would cook more evenly, but that just wasn’t happening and I ended up with burnt caramel sauce. Not having time to run out to the store to buy more cream, I decided to just make the buttercream frosting and add some store-bought caramel sauce I had in the fridge (which I’m not crazy about because it’s kind of gritty in texture). Even though the cake didn’t come out exactly how I planned it, I have no complaints with the finished product and I think you will love it too.

One more thing, the texture of the cake is somewhat light, so if you want to double up this recipe and do a layer cake, I’d recommend baking in 2-3 cake pans and layering those cakes, I don’t think this cake would hold up well to a horizontal cut across. Recipes below, enjoy!

pumpkin_cake_salted_caramel_buttercream-2.jpg
pumpkin_cake_salted_caramel_buttercream-3.jpg
pumpkin_cake_salted_caramel_buttercream-4.jpg
pumpkin_cake_salted_caramel_buttercream-5.jpg

Pumpkin Cake with Salted Caramel Buttercream

  • 1 1/3 cups all-purpose flour

  • 1 teaspoons baking soda

  • 1/4 teaspoon salt

  • 1 tsp cinnamon

  • 1 tsp pumpkin pie spice

  • 1/2 tsp cardamom

  • 1/2 cup Olive oil

  • 2 large eggs

  • 1/2 cup packed brown sugar

  • 1/3 cup granulated sugar

  • 1 cup pumpkin puree, about 1/2 can pumpkin puree

  • 1/2 teaspoon pure vanilla extract

  • Salted Caramel Buttercream Frosting (recipe below)

  • Crushed toasted hazelnuts (or nuts of choice)

Preheat the oven to 350°F, grease a 9” round springform cake pan with butter, add a parchment round to the bottom and butter that as well.

Whisk the flour, baking soda, salt, cinnamon, pumpkin pie spice and cardamom together in a large bowl. Set aside. Whisk the eggs in medium sized bowls, then whisk in the oil, brown sugar, granulated sugar, pumpkin puree, and vanilla extract until combined. Pour the wet ingredients into the dry ingredients and whisk until completely combined.

Pour the batter into the cake pan and tap it on the counter until evenly distributed, it will be somewhat thick.

Bake for 45-50 minutes or until a toothpick inserted into the cake comes out clean.

Once done, remove from the oven and allow to cool on rack. Remove springform (if using) and slide onto serving dish. Once completely cool top with icing (recipe below) and crushed nuts.

Cover leftover cake tightly and store at room temperature for a couple days or in the refrigerator for up to 5 days.

Adapted from Sally’s Baking Addiction

Salted Caramel Buttercream

  • 1/2 cup salted butter (1 stick)

  • 2 cups powdered sugar

  • 1 tsp vanilla extract

  • 1/4 cup salted caramel

  • 1/8 tsp kosher salt

In a stand mixer fitted with the paddle attachment, whip the butter on high until it’s fluffy and light, about 5-6 minutes, scraping down the bowl and paddle a few times in between. Turn the mixer to low and add the powdered sugar a little bit at a time, scraping down the bowl and paddle after each interval. With the mixer still on low, add the salted caramel, the vanilla and salt, set the speed to medium and mix for 2 full minutes, scraping down the sides as needed.

Honey Peanut Butter Rice Crispy Treats

honey_peanut_butter_rice_crispy_treats-1.jpg

Last week I stopped by a small vegan cafe in my neighborhood Tiny Moreso, in the case they had Peanut Butter Rice Crispy Treats which I bought along with some type of Apricot Balls full of flax and other healthy stuff, both were delicious. I looked online for a recipe, which there are many and all pretty simple. This recipe had more peanut butter so I went with it, and wow it’s so good! And it’s vegan if that matters to you. It comes together very quick, 10 or 15 minutes and then you just have to refrigerate the treats for about an hour and they’re done. It doesn’t get any easier. Tiny Moreso treats were tall and big, probably 3” tall, and most of the recipes online put the mixture in a more shallow dish, but I wanted that height so I put the mixture in a loaf pan and it worked out really well, this recipe works out to 8 servings, I only have six in the photos because Jeff and I couldn’t wait to try them! I haven’t had a Rice Crispy treat in so long but I do remember the version with Marshmallow was super sweet, I think using honey is so much better because it’s sweet but not toothache sweet. If you want you can pour the warmed chocolate over the entire mixture but I like the chocolate drizzle (Jackson Pollock) style. 

honey_peanut_butter_rice_crispy_treats-2.jpg
honey_peanut_butter_rice_crispy_treats-3.jpg
honey_peanut_butter_rice_crispy_treats-4.jpg
honey_peanut_butter_rice_crispy_treats-5.jpg
honey_peanut_butter_rice_crispy_treats-6.jpg

Honey Peanut Butter Rice Crispy Treats

  • 3/4 cup creamy peanut butter

  • 1/3 cup honey

  • 1/4 tsp kosher salt

  • 1/2 tsp pure vanilla extract

  • 3 cups rice crispy cereal

  • 2 oz Chopped chocolate (I like 72% cacao)

In a small pot add the peanut butter and honey, warm over a medium heat, stirring until well combined. Stir in the salt and vanilla. In a large bowl add the rice crispy cereal, pour the peanut butter mixture over the cereal and mix until all the cereal is covered. Place the mixture into a parchment lined loaf pan. Press down to fill any gaps and smooth over for an even top. Heat the chocolate in the microwave or over a double boiler on the stove top. When melted drizzle the chocolate over the rice crispy mixture. Cover with foil and refrigerate for at least 1 hour. Slice into 8 servings and enjoy! Store refrigerated in covered container.

Adapted from Joy Food Sunshine


Summer Cheese Board

summer_cheese_board-1.jpg

I know, I know, it’s September, but it is technically still summer. I’ve been wanting to do a summer cheese board for some time and also show the grapes we grew! We were so excited to see them grow this year since we only planted them two years ago. It’s a pretty productive vine and I have no idea what to do with so many green grapes other than cheese boards and snacks. They were a challenge to photograph, mostly hiding behind the leaves, and being on the northern fence, it was almost always bad lighting. When light did reach the grapes, it was like a giant spotlight, and when it didn’t, it was all so dark. And green. But hey, here they are. After 6+ years creating on this blog, this is the first blog post without a recipe! I’ll post a list of what I have here for fruit and cheese because the Humbolt Fog with peach on a slice of baguette is amazing! I had fun arranging the cheese board with the end of summer fruits. I know strawberries don’t produce much into the summer in some areas, but in my backyard they just keep going and going, it’s one of those every-bearing varieties. The plums and peaches are truly reaching the end of the season here, when I was buying them the clerk said get them while you can because this is it. So this is it. End of summer folks, Autumn begins September 23rd. Soups are on the horizon!

summer_cheese_board-1-2.jpg
summer_cheese_board-2-2.jpg
summer_cheese_board-4.jpg
summer_cheese_board-2.jpg
summer_cheese_board-3.jpg
summer_cheese_board-5.jpg
summer_cheese_board-6.jpg

Summer Cheese Board

Pickled Kirby Cucumbers

kirby_cucumber_dill_pickles-1-2.jpg

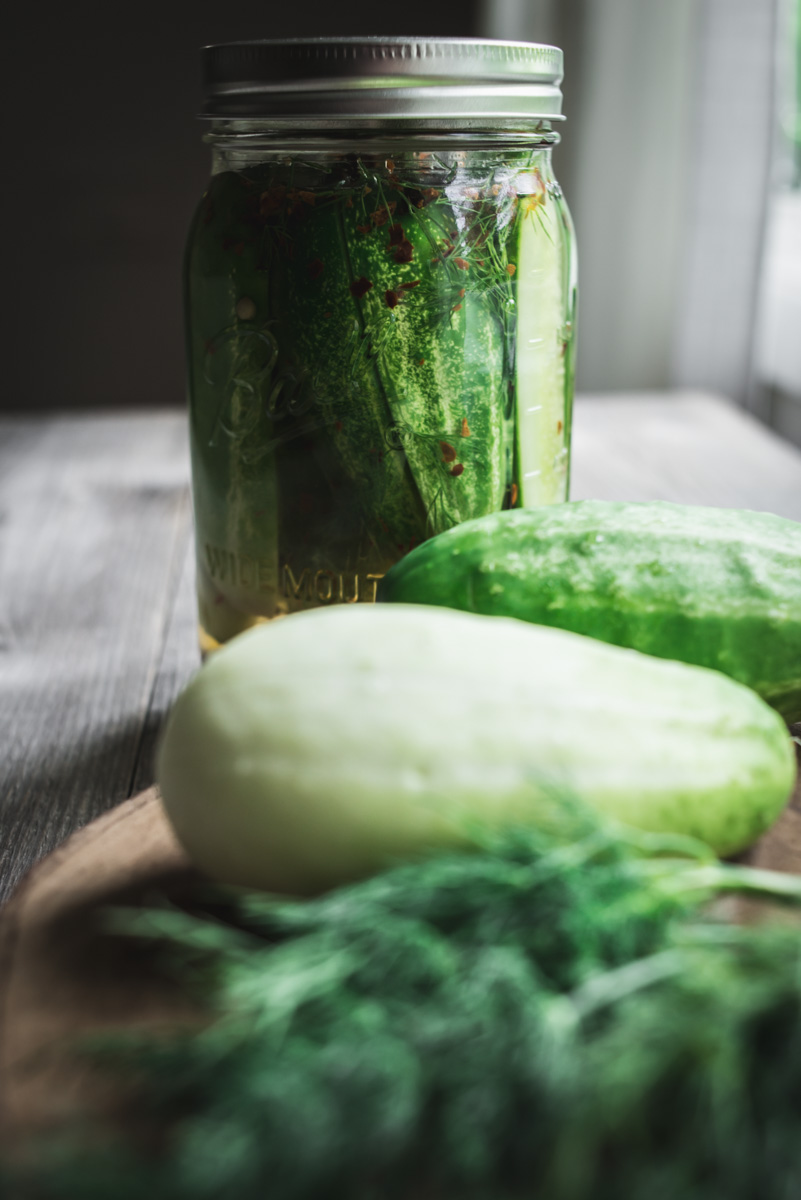
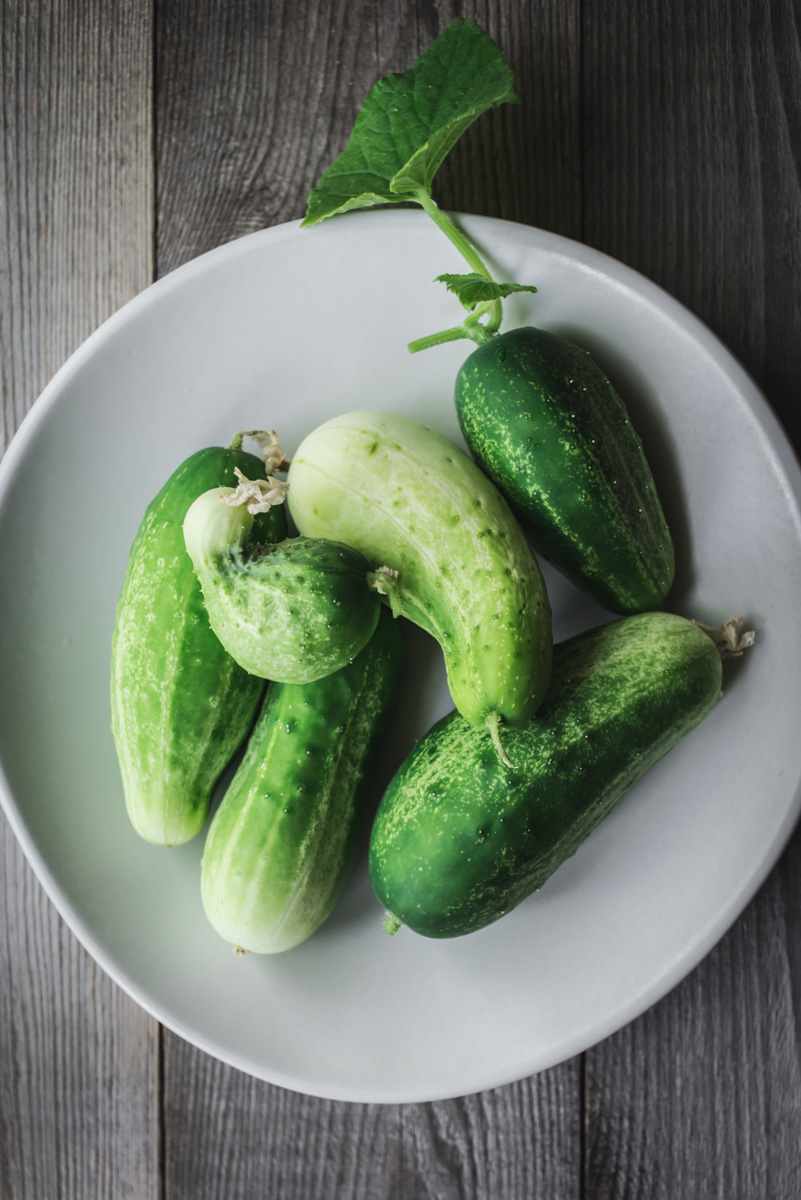
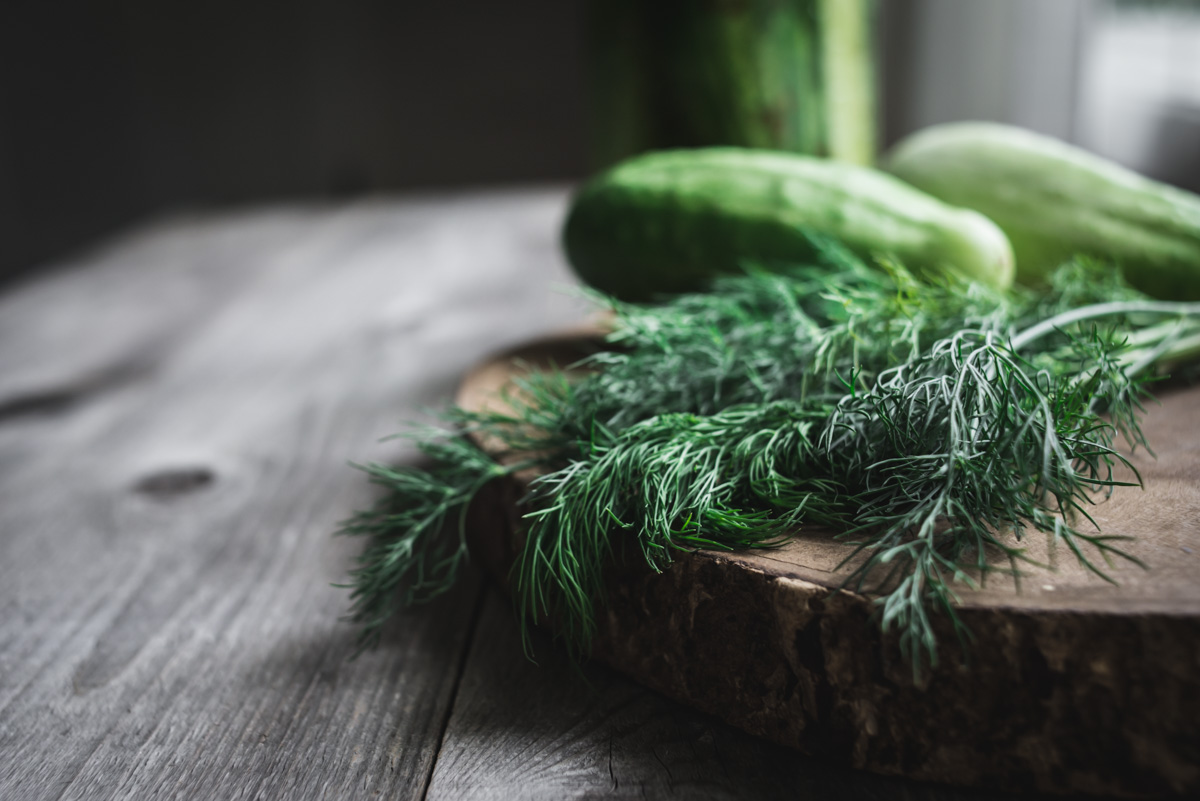
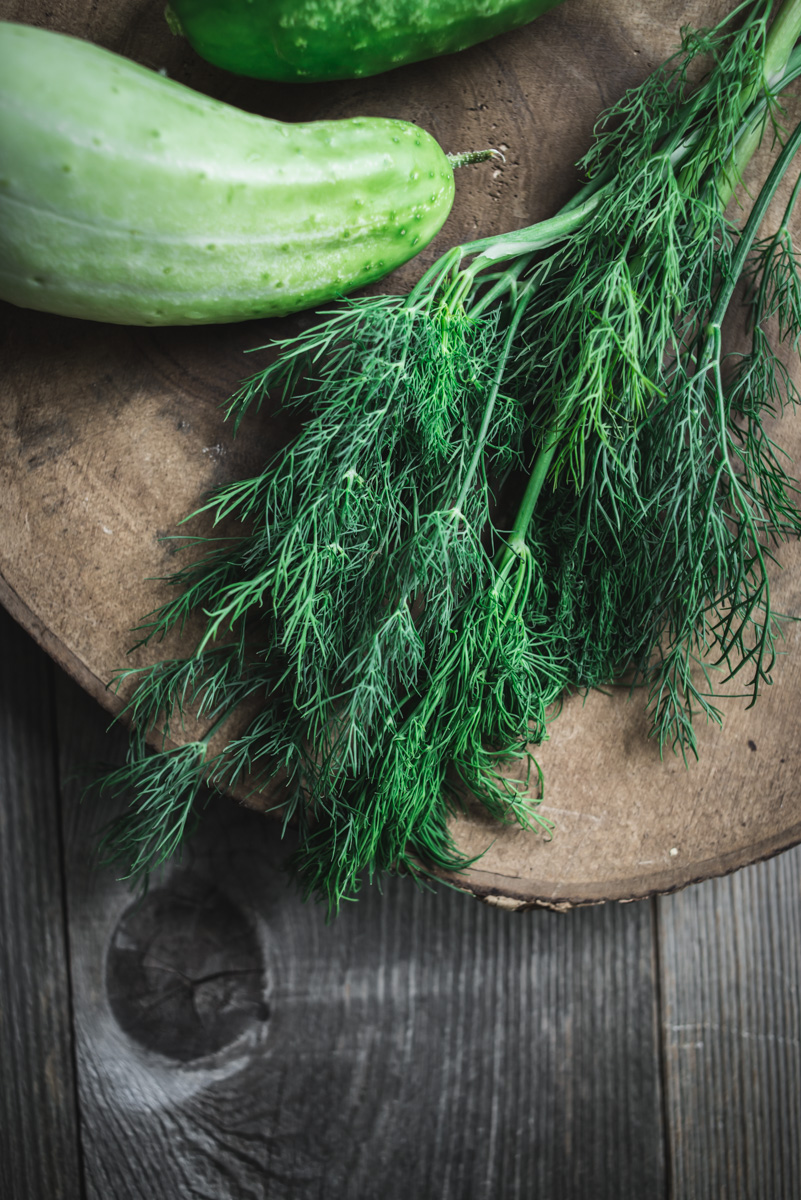
This is my favorite time of the year, the garden is in full swing and in addition to tomatoes ripening this week, I have a bunch of these cute Kirby cucumbers. I wanted to pickle them whole but they’re so fat I couldn’t even fit two of them in the mason jar, so I quartered them for this recipe. This version of pickling is the quick refrigerator pickle. There is no cooking involved and you simply let it sit in the refrigerator for a few days until it’s ready to eat. What I like most about this style is that the pickles stay crisp. I pickled some zucchini a couple weeks ago, which involved cooking the zucchini a bit, and while it tasted really good I think they were too soft. But hey, it’s all good.

The best pickle I ever had was Guss’ Pickles on the Lower East Side in NYC. It’s no longer there but it looks like they kept the business going in Brooklyn. And they sell them at Whole Foods? I’ll have to keep my eye out for them, but until then I have a good supply of pickles in the fridge. Hope you’re having a great summer, I’ll be back with some tomato recipes soon!

kirby_cucumber_dill_pickles-6.jpg
kirby_cucumber_dill_pickles-1.jpg
kirby_cucumber_dill_pickles-3.jpg
kirby_cucumber_dill_pickles-4.jpg
kirby_cucumber_dill_pickles-5.jpg

Pickled Kirby Cucumbers

  • 2-3 Kirby Cucumbers, quartered

  • 1 cups white vinegar

  • 1 cups water

  • 1 tablespoon mustard seeds

  • 1 tablespoon kosher salt

  • 1 tablespoon sugar

  • 1 teaspoon crushed red pepper

  • 1 tablespoon peppercorns

  • 1 garlic clove

  • Fresh dill, a few sprigs

Place the quartered pickles in a quart mason jar. Add all the spices, garlic and dill to the jar. Pour in the water and vinegar, top off with more if needed. Place the cap on and give it a good shake. Pickles will be ready in a week or so. Store in the refrigerator. They should last a couple months. But you will have eaten them by then  ;)


Zucchini Nut Bread

zucchini_nut_bread-8.jpg

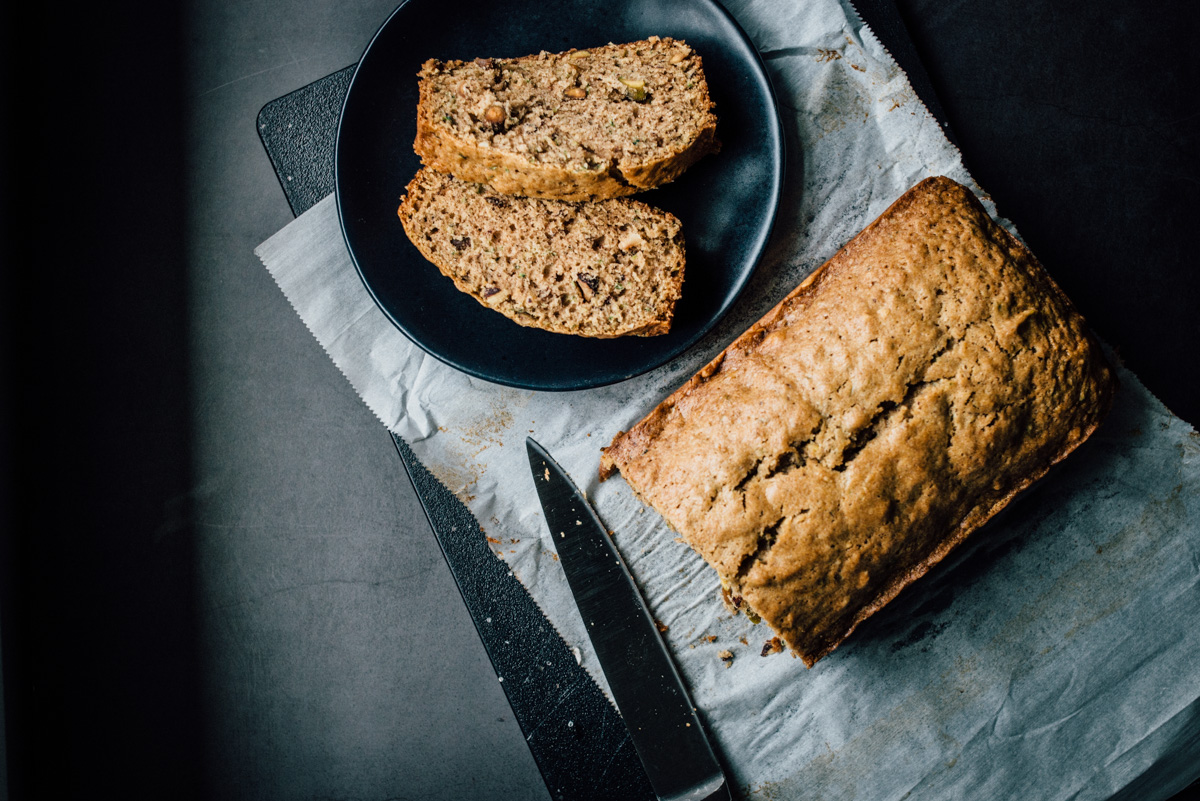
Zucchini Nut Bread. I didn’t expect to make this so soon. Our zucchini plant is growing so quickly now and producing more than we anticipated. We’ve picked 4 zucchini in the past week and more are on the way. This is the first time we’ve grown it so I didn’t know what to expect. Last year I planted a yellow squash and that didn’t work out, all male blossoms and no squash. But we did some changes to our soil this year and it’s made a big difference. I’m not sure if I posted about this but we removed all our old soil in the garden beds (which was potting soil) and replaced it with a proper soil/compost mix and everything is growing great! The weather has been unusually mild so far this July, seriously rain in Portland in July? Almost unheard of. So it’s been more like a longer spring season. Which is ok with me, and the grass, but I think those tomatoes would appreciate a bit more heat. The weather forecast for this week is in the 70s!? Yep. Weird. 

The recipe is adapted from Sally’s Baking addiction and it’s good! It has lots of cinnamon which I love. I almost wish it had more zucchini in it. I’ll add more next time because I’m certain there will be a next time with all this zucchini, and I’ll update on this post. The original recipe added chocolate chips, but I didn’t really want that for this bread (cake!) so I added what nuts I had on hand, about 1/4 cup pistachios and 1/4 cup crushed hazelnuts. This Zucchini Bread is light in texture, and I kinda wish it were a bit more dense, I’ll experiment some more and let you know how it works out. 

It’s super delicious, easy to make and I’m sure you will enjoy this recipe.

zucchini_nut_bread-1.jpg
zucchini_nut_bread-2.jpg
zucchini_nut_bread-3.jpg
zucchini_nut_bread-4.jpg
zucchini_nut_bread-5.jpg
zucchini_nut_bread-6.jpg
zucchini_nut_bread-7.jpg
zucchini_nut_bread-9.jpg
zucchini_nut_bread-10.jpg

Zucchini Nut Bread

  • 1 and 1/2 cups all-purpose flour

  • 1/2 teaspoon baking powder

  • 1/2 teaspoon baking soda

  • 1/2 teaspoon salt

  • 2 teaspoons ground cinnamon

  • 1/4 teaspoon ground nutmeg

  • 1 cup chopped nuts 

  • 1/2 cup canola or vegetable oil

  • 1/2 cup packed light or dark brown sugar

  • 1/2 cup granulated sugar

  • 1 large egg, at room temperature

  • 2 teaspoons pure vanilla extract

  • 1 cup grated zucchini (about 1 medium)

Preheat the oven to 350°F (177°C). Grease a 9×5” loaf pan lined with parchment paper with butter.

In a large bowl whisk the flour, baking powder, baking soda, salt, cinnamon and nutmeg together then stir in the nuts. Set aside. In a medium bowl, whisk the oil, brown sugar, granulated sugar, egg, vanilla, and zucchini together until combined. Pour the wet ingredients into the dry ingredients. Gently combine with a wooden spoon; do not over mix. Spread the batter into prepared loaf pan. Bake for 45 – 55 minutes. The bread is done when a toothpick inserted in the center comes out clean. Remove the bread from the oven and set on a wire rack. Allow to cool completely before slicing.

Cover and store leftover bread at room temperature for up to 5 days (I’m not sure I would leave it out this long, and I’m not sure it wouldn’t get eaten in 5 days!)

Adapted from Sally’s Baking Addiction


Strawberry Rhubarb Galette

strawberry_rhubarb_galette-1.jpg

Strawberries! I love this time of year, not only is it warm and sunny, but my little strawberry patch in the back yard starts producing berries. I didn’t have enough for a whole galette so what could be better than to add rhubarb? I haven’t had rhubarb in so long I forgot how much I like it. When we were kids my sister and I used to eat it raw with sugar. But I think it’s better in this Strawberry Rhubarb Galette. Oh, and when I was making the pie dough I ran out of flour, I had some cake flour on hand and used about one cup hoping it would turn out ok, I’ve never heard of cake flour in a pie dough, in any case not only did it turn out ok I think I like it better! The crust is very flaky and a bit softer than I’ve made before, a little closer to a pastry dough. So there’s that little magic to add if you like. Until next time, enjoy!

strawberry_rhubarb_galette-2.jpg
strawberry_rhubarb_galette-3.jpg
strawberry_rhubarb_galette-4.jpg
strawberry_rhubarb_galette-5.jpg
strawberry_rhubarb_galette-6.jpg
strawberry_rhubarb_galette-7.jpg
strawberry_rhubarb_galette-8.jpg
strawberry_rhubarb_galette-9.jpg
strawberry_rhubarb_galette-10.jpg

Strawberry Rhubarb Galette

  • 2 cups of Strawberries (cut in half or whole if they’re small)

  • 2 cups peeled and chopped rhubarb, about 1/2” pieces

  • Lemon juice, about a half a lemon

  • 1/4 cup sugar

  • 3 tablespoons flour

  • 13” pie dough, recipe below

Preheat an oven to 425°F. Line a baking sheet with parchment paper. 

Place the dough on a lightly floured surface and roll out into a 13-inch round. Transfer to the baking sheet lined with parchment paper. 

In a bowl, mix together the fruit, lemon juice, sugar and flour. Spoon the filling onto the dough, leaving a 2-inch border uncovered around the edge. Fold the edge up and over the filling, forming loose pleats. Bake until the filling is bubbling and the pastry is golden brown, about 25-30 minutes. 

Remove from oven and let cool slightly. Cut into wedges and serve. Makes one 9-inch galette

Pie Dough

  • 2-1/2 cups all-purpose flour (you can swap out 1 cup of flour for cake flour for a softer crust)

  • 2 tablespoons sugar

  • 1/2 teaspoon salt

  • 2 sticks of butter (1 cup), cut into 1/2-inch pieces and chilled

  • 7-8 tablespoons ice water

In a large bowl, mix together the flour, sugar, and salt. Cut in the chilled butter using a stand mixer, a food processor, or a pastry blender until the butter is evenly distributed but still in large, visible pieces. Add the ice water to the flour and butter and mix by hand or with a wooden spoon so you don’t overwork the dough. The dough will be shaggy, place on floured workspace and work it together quickly until if forms a ball. Divide into two disks, wrap each with plastic wrap and refrigerate for at least 1 hour or overnight. Remove the dough from the refrigerator about 30 minutes before you want to use it. 


Pear Galette with Blue Cheese, Hazelnut and Thyme

Pear_bluecheese_hazelnut_galette-2.jpg

This Pear Galette with Blue Cheese, Hazelnut and Thyme came out incredible, I created the recipe on the fly and it worked perfectly. So I kept notes on what I did so that I could share it with you here. I think you will enjoy it. As you know (or may not know) I’ve been doing some videos lately, I wanted to do a stop motion video and thought it might be fun to make a galette since there’s a lot of assembly involved. Well mostly assembly as there is very little to do other than chop and slice a few things, and if you already have pie dough on hand it’s even easier. Which I recommend, pie dough freezes great, this is what I had leftover from the holidays. 

The stop motion video was fun to make, although it does take quite a while to create. The video below contains 56 photos, by the time I got to arranging the pears, Jeff helped out by hitting the shutter so that I didn’t have to clean my hands each time, which is what I did while rolling out the dough and I was getting flour all over my laptop (I worked with my camera tethered to my computer), so that was really helpful (thank you Jeff!), I would recommend getting some assistance if you plan on doing a stop motion video like this, where there’s mess involved. I’m curious to know if you enjoy the videos and if there are any recipes that you would like to see in video format in addition to photos? You can leave comments here or Instagram or wherever you like. Recipe below! Enjoy!

Pear_bluecheese_hazelnut_galette-1.jpg
Pear_bluecheese_hazelnut_galette-4.jpg
Pear_bluecheese_hazelnut_galette-3.jpg

Pear Galette with Blue Cheese, Hazelnut and Thyme

  • 1 pear, halved and sliced 1/4” thick

  • 1/4 cup blue cheese, crumbled

  • 1 teaspoon fresh thyme leaves

  • 1/4 cup roasted hazelnuts, roughly chopped

  • 1 teaspoon brown sugar

  • 1 pie dough (recipe below)

  • 1 egg beaten (for egg wash)

Heat oven 400°

Roll out your pie dough to roughly a 10-inch round. Sprinkle the brown sugar on the dough leaving a 1-2 inch border. Add cheese, nuts and thyme (leaving a few ingredients aside for the top), then add sliced pears in a circular pattern, fold the edges in a circular pattern, top the center with the remaining cheese, nuts and thyme for color and texture.  Brush the egg wash on the dough. Place on parchment lined baking sheet and Bake at 400° for 25-30 minutes until golden. Remove from oven and serve warm or room temp. 

Pie dough (this makes 2 pie crusts, you will have extra for next time, yay!)

  • 2 1/2 cups all-purpose flour

  • 2 tablespoons sugar

  • 1 teaspoon salt

  • 2 sticks (16 tablespoons) cold unsalted butter, cut into 1/2-inch cubes

  • 6 to 8 tablespoons ice water

To make the dough in a food processor, pulse together the flour, sugar and salt until combined, about 5 pulses. Add the butter and process until the mixture resembles coarse meal, about 5-10 pulses. Remove from processor and place dough in large bowl, add 6 tablespoons of the ice water, combine with wood spoon. The dough should hold together when squeezed with your fingers but should not be sticky. If it is crumbly, add more water 1 teaspoon at a time. Turn the dough out onto a work surface, divide in half and shape each into a disk. Wrap separately with plastic wrap and refrigerate for at least 2 hours or up to overnight. You can freeze the extra pie dough for MONTHS, it holds up very well.


The 7-Minute Egg

7_minute_egg-3.jpg

When it comes to boiling eggs, minutes really matter. I only recently discovered this. My whole life I’ve been starting them in cold water, bring to a boil, cook for an unknown amount of time, which resulted in a hard-boiled egg that was sometimes ok. But then I was watching Salt Fat Acid Heat recently and Samin mentioned the 7-minute egg, and it looked really good, not as runny as soft boiled but not hard boiled either. You start the eggs in boiling water. This makes an enormous difference. Not only the quality of the yolk, but the texture of the white, it’s fully cooked and kinda velvety, not rubbery which I thought all boiled eggs were just like that. And after 7 minutes you put them in an ice bath for a few minutes. Since I’ve been using this method the shell comes off the egg perfectly, no more moon craters of the past. The cooking times range from 6-12 minutes, with 12 minutes being hard boiled, everyone finds their favorite somewhere in-between, but I’m sold on 7-minutes. And, I made another video! If you like you can follow my Youtube channel here and Vimeo here

7_minute_egg-1.jpg
7_minute_egg-2.jpg

Currant Almond Rosemary Crackers

Currant Almond Rosemary Crackers

I’ve been wanting to make these gourmet type crackers for a long time now, and I’m glad I did! They came out really good. I used currants and almonds since that’s what I had on hand, but you can add any kind of fruit or nut to this recipe.

Read More

Pumpkin Bread

Pumpkin Bread

It’s that time of year again. All things Pumpkin! And dark. Well actually this October has been unusually sunny for Portland, but this past week the rain finally kicked in, raining every. single. day. oh no! But this time of year is also an opportunity for walks on misty mornings.

Read More