Pickled Kirby Cucumbers

kirby_cucumber_dill_pickles-1-2.jpg

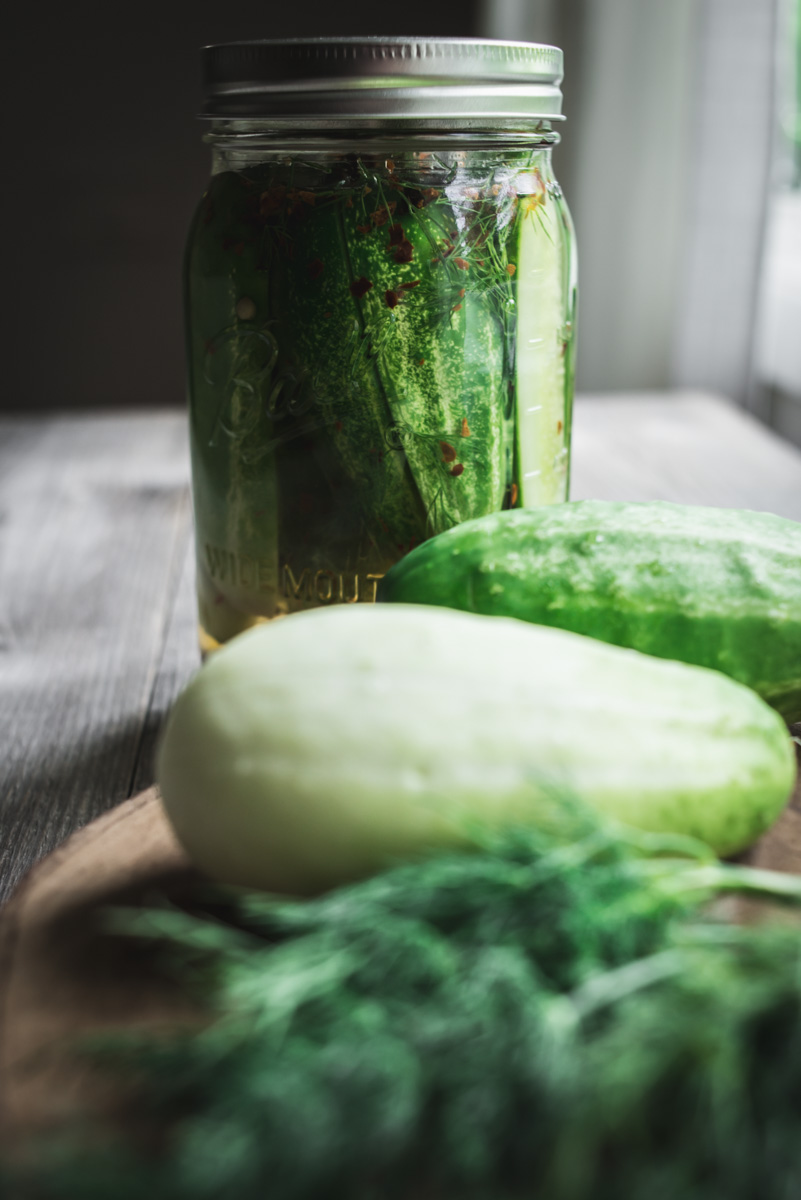
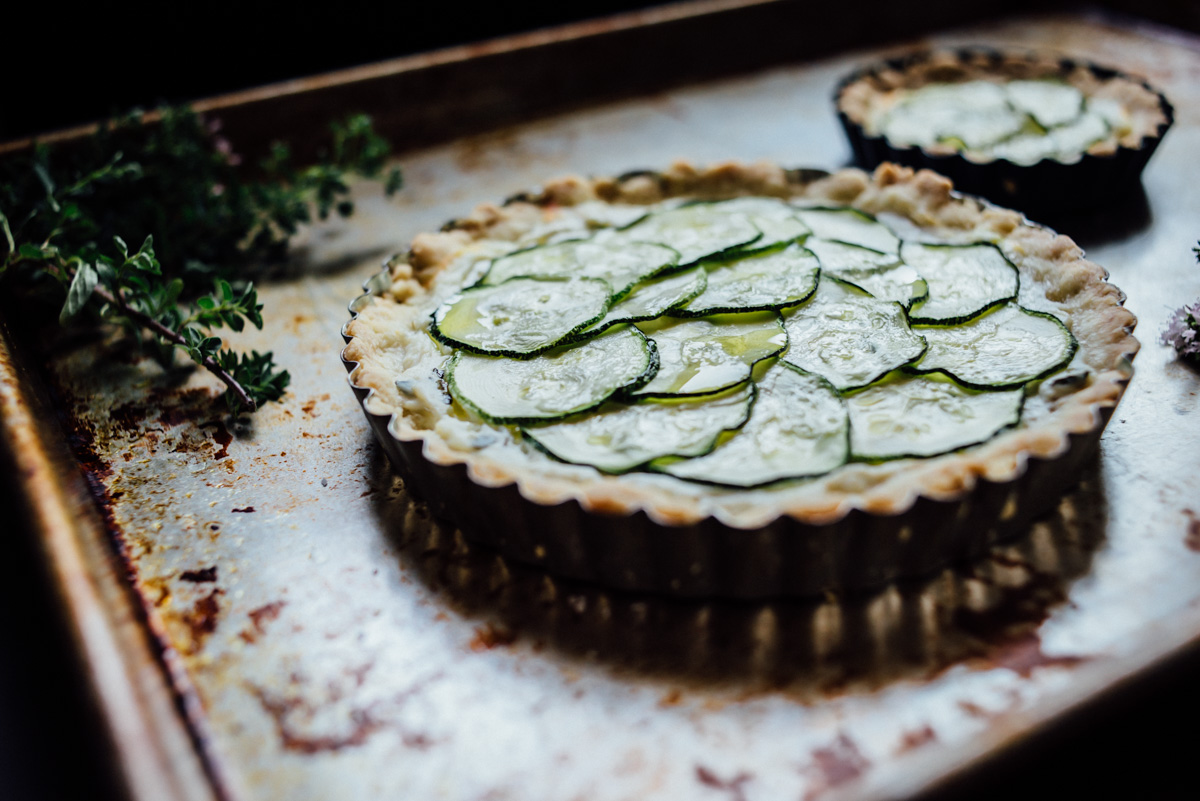
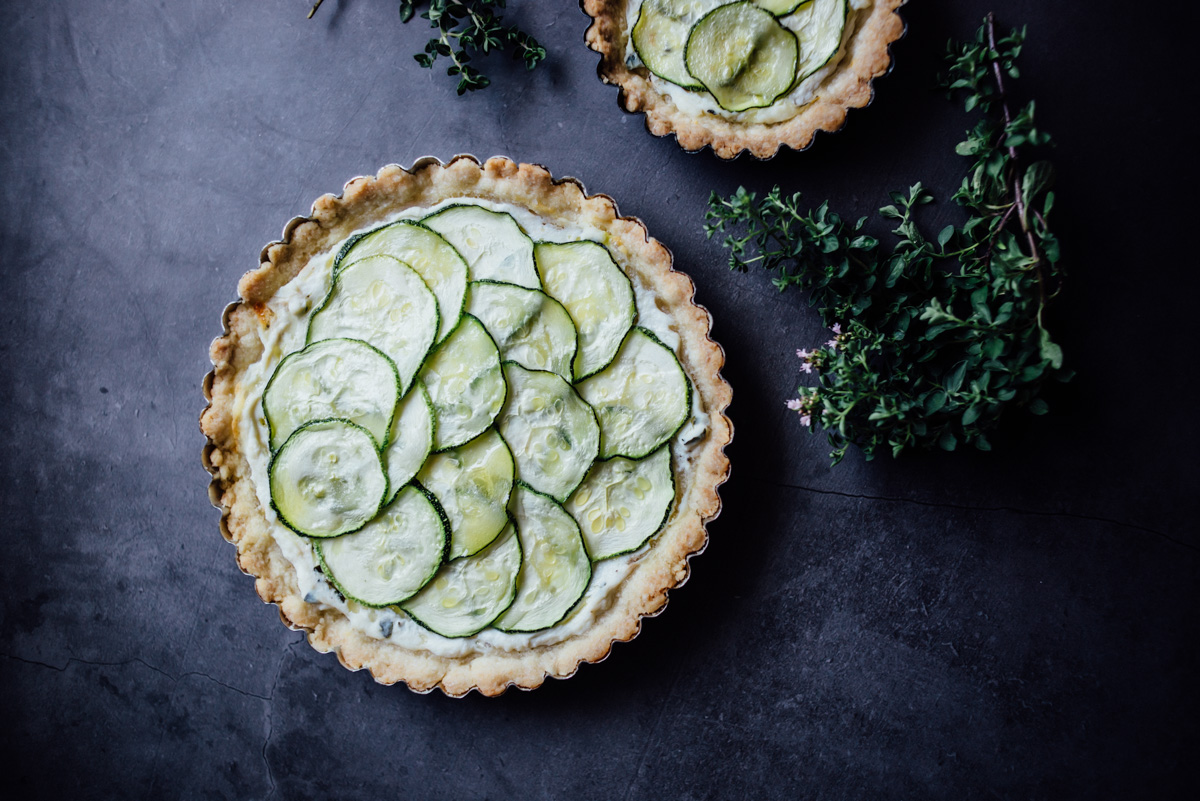
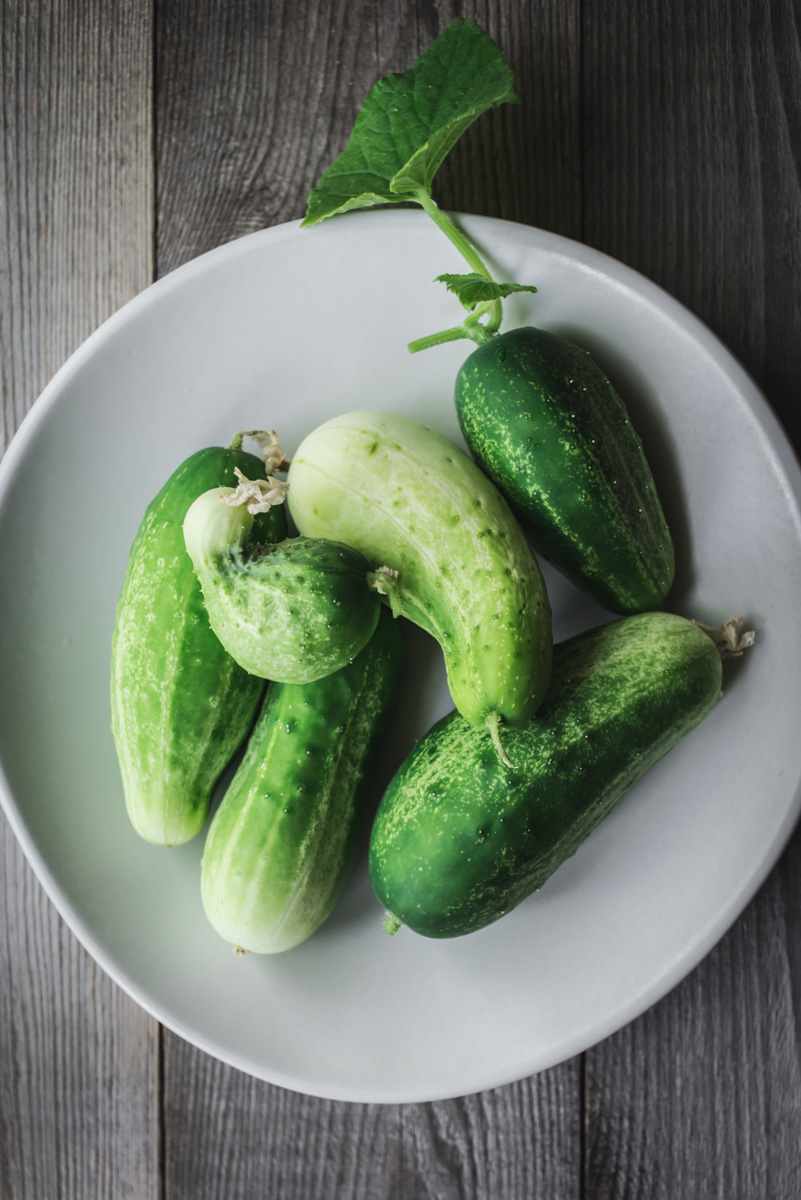
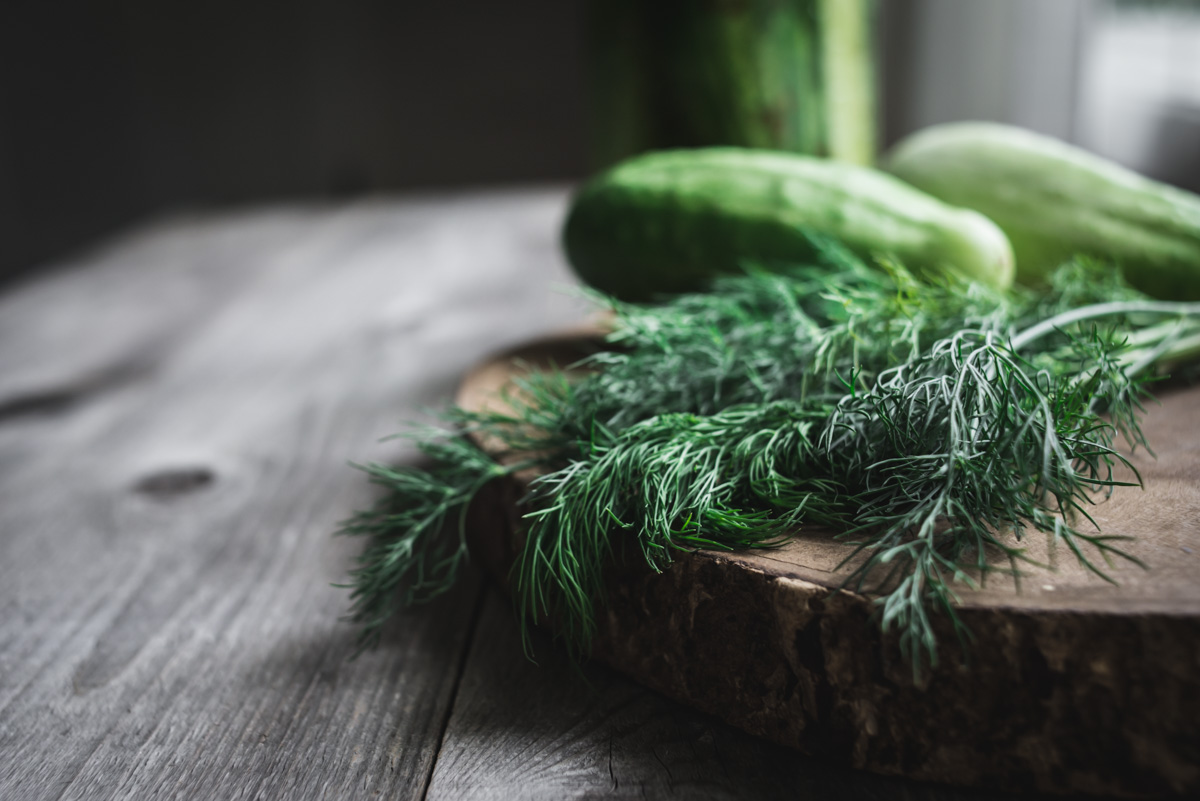
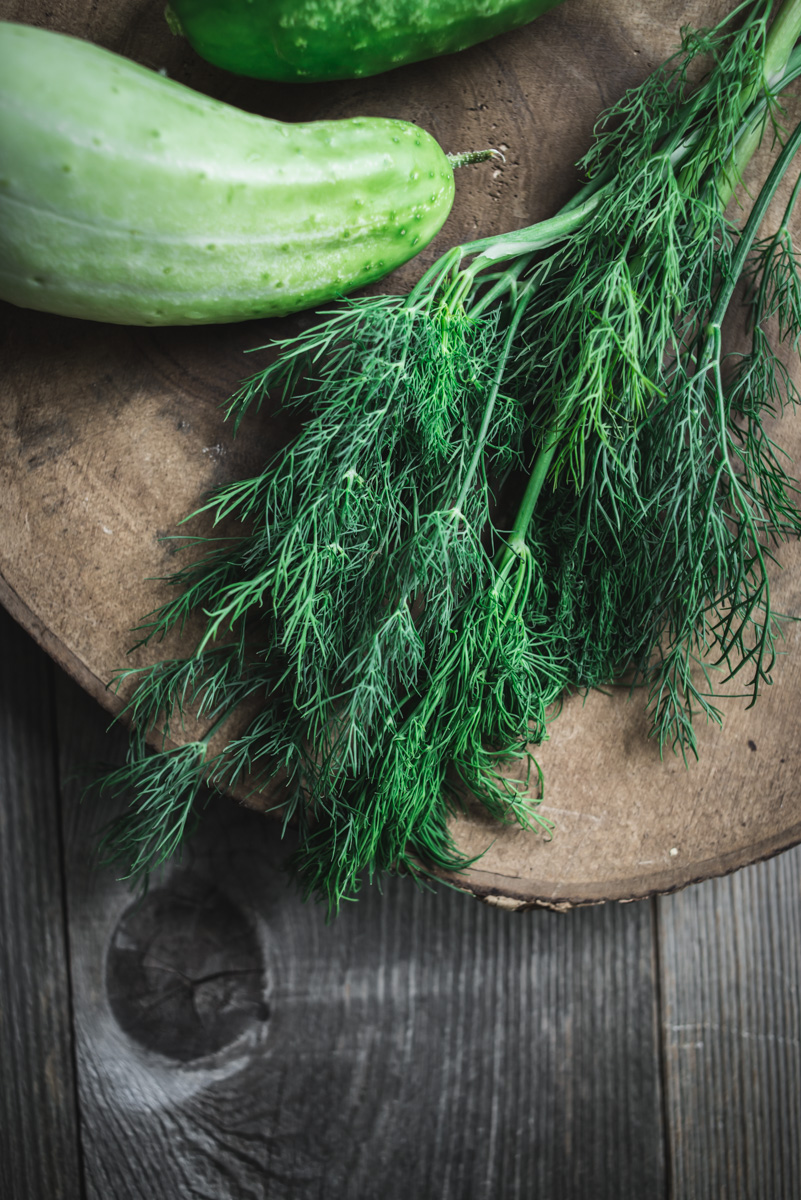
This is my favorite time of the year, the garden is in full swing and in addition to tomatoes ripening this week, I have a bunch of these cute Kirby cucumbers. I wanted to pickle them whole but they’re so fat I couldn’t even fit two of them in the mason jar, so I quartered them for this recipe. This version of pickling is the quick refrigerator pickle. There is no cooking involved and you simply let it sit in the refrigerator for a few days until it’s ready to eat. What I like most about this style is that the pickles stay crisp. I pickled some zucchini a couple weeks ago, which involved cooking the zucchini a bit, and while it tasted really good I think they were too soft. But hey, it’s all good.

The best pickle I ever had was Guss’ Pickles on the Lower East Side in NYC. It’s no longer there but it looks like they kept the business going in Brooklyn. And they sell them at Whole Foods? I’ll have to keep my eye out for them, but until then I have a good supply of pickles in the fridge. Hope you’re having a great summer, I’ll be back with some tomato recipes soon!

kirby_cucumber_dill_pickles-6.jpg
kirby_cucumber_dill_pickles-1.jpg
kirby_cucumber_dill_pickles-3.jpg
kirby_cucumber_dill_pickles-4.jpg
kirby_cucumber_dill_pickles-5.jpg

Pickled Kirby Cucumbers

  • 2-3 Kirby Cucumbers, quartered

  • 1 cups white vinegar

  • 1 cups water

  • 1 tablespoon mustard seeds

  • 1 tablespoon kosher salt

  • 1 tablespoon sugar

  • 1 teaspoon crushed red pepper

  • 1 tablespoon peppercorns

  • 1 garlic clove

  • Fresh dill, a few sprigs

Place the quartered pickles in a quart mason jar. Add all the spices, garlic and dill to the jar. Pour in the water and vinegar, top off with more if needed. Place the cap on and give it a good shake. Pickles will be ready in a week or so. Store in the refrigerator. They should last a couple months. But you will have eaten them by then  ;)


Zucchini + Herb Ricotta Tarts

zucchini_ricotta_tart-1.jpg

Zucchini and Herb Ricotta Tarts. I’m looking for all ways to eat zucchini lately. This is the first time we’ve grown zucchini and wow! it grows quickly, seems every 3 days or so there are a couple more to pick. It’s easy enough just to grill but I want to try some new ways to prepare it. I pickled some last week and they came out great. I’d like to get that recipe in a post soon, but you might start calling me The Zucchini Lady, ha ha. This tart dough is different than other doughs I’ve made, you make it with melted butter which is the opposite of 99% pie doughs out there as they use cold butter, but I thought I’d give it a try because with this dough you don’t have to roll it out, you simply press it in the pan. It was much easier and faster to make. You just mix it in a bowl by hand in one minute. Done. I was surprised by how much I liked it! Really nice texture, almost like a cookie type texture. I would make this again no doubt, but for savory tarts I would cut back on the sugar and add more salt, other than that it’s a winner. This Zucchini + Herb Ricotta Tart is super delicious, we had it with a side of Radicchio salad, it’s good for a lunch or light dinner. Oh and pan size, you can make one 9” tart or make a few smaller ones, I used a 6” tart pan and two 4” tart pans, the math doesn’t quite work out on that but it worked for me! ¯\_(ツ)_/¯ Enjoy :)

zucchini_ricotta_tart-2.jpg
zucchini_ricotta_tart-3.jpg
zucchini_ricotta_tart-4.jpg
zucchini_ricotta_tart-5.jpg
zucchini_ricotta_tart-6.jpg

Zucchini + Herb Ricotta Tarts

  • 1/2-1 whole zucchini sliced 1/8” thick

  • 1 cup ricotta

  • 1/4 cup shredded mozzarella

  • 1 teaspoon fresh thyme

  • 1 teaspoon fresh oregano 

  • Olive oil

  • Salt & Pepper

  • Tart dough (recipe below)

In a bowl combine the cheeses and fresh herbs with some salt and pepper. Spread a layer of the cheese mixture into the prepared tart pans, then arrange the zucchini slices on top. Drizzle with some olive oil to cover all the vegetable. Lightly salt. Bake at 400°F for 25-35 minutes until just browned.

Tart Dough

  • 1 stick (1/2 cup) melted butter

  • 3 tablespoons sugar (or 1 1/2 tablespoons for less sweet)

  • 1/4 teaspoon salt

  • 1 1/4 cups flour

Preheat oven to 350°F. In a large bowl combine butter, sugar and salt, then add flour and mix with wood spoon until just combined. 

Distribute the dough on the bottom of your tart pan(s) and press the dough evenly over bottom and sides. You can use a floured cup to press it if necessary (i just used my fingers). Cover the tart shell with plastic wrap and refrigerate for 30 minutes to 1 hour. Once chilled, with a fork prick the shell all over and bake for 10 minutes. Remove from oven to cool. Then add filling and bake as directed.

Tart dough adapted from Chowhound

Pear Galette with Blue Cheese, Hazelnut and Thyme

Pear_bluecheese_hazelnut_galette-2.jpg

This Pear Galette with Blue Cheese, Hazelnut and Thyme came out incredible, I created the recipe on the fly and it worked perfectly. So I kept notes on what I did so that I could share it with you here. I think you will enjoy it. As you know (or may not know) I’ve been doing some videos lately, I wanted to do a stop motion video and thought it might be fun to make a galette since there’s a lot of assembly involved. Well mostly assembly as there is very little to do other than chop and slice a few things, and if you already have pie dough on hand it’s even easier. Which I recommend, pie dough freezes great, this is what I had leftover from the holidays. 

The stop motion video was fun to make, although it does take quite a while to create. The video below contains 56 photos, by the time I got to arranging the pears, Jeff helped out by hitting the shutter so that I didn’t have to clean my hands each time, which is what I did while rolling out the dough and I was getting flour all over my laptop (I worked with my camera tethered to my computer), so that was really helpful (thank you Jeff!), I would recommend getting some assistance if you plan on doing a stop motion video like this, where there’s mess involved. I’m curious to know if you enjoy the videos and if there are any recipes that you would like to see in video format in addition to photos? You can leave comments here or Instagram or wherever you like. Recipe below! Enjoy!

Pear_bluecheese_hazelnut_galette-1.jpg
Pear_bluecheese_hazelnut_galette-4.jpg
Pear_bluecheese_hazelnut_galette-3.jpg

Pear Galette with Blue Cheese, Hazelnut and Thyme

  • 1 pear, halved and sliced 1/4” thick

  • 1/4 cup blue cheese, crumbled

  • 1 teaspoon fresh thyme leaves

  • 1/4 cup roasted hazelnuts, roughly chopped

  • 1 teaspoon brown sugar

  • 1 pie dough (recipe below)

  • 1 egg beaten (for egg wash)

Heat oven 400°

Roll out your pie dough to roughly a 10-inch round. Sprinkle the brown sugar on the dough leaving a 1-2 inch border. Add cheese, nuts and thyme (leaving a few ingredients aside for the top), then add sliced pears in a circular pattern, fold the edges in a circular pattern, top the center with the remaining cheese, nuts and thyme for color and texture.  Brush the egg wash on the dough. Place on parchment lined baking sheet and Bake at 400° for 25-30 minutes until golden. Remove from oven and serve warm or room temp. 

Pie dough (this makes 2 pie crusts, you will have extra for next time, yay!)

  • 2 1/2 cups all-purpose flour

  • 2 tablespoons sugar

  • 1 teaspoon salt

  • 2 sticks (16 tablespoons) cold unsalted butter, cut into 1/2-inch cubes

  • 6 to 8 tablespoons ice water

To make the dough in a food processor, pulse together the flour, sugar and salt until combined, about 5 pulses. Add the butter and process until the mixture resembles coarse meal, about 5-10 pulses. Remove from processor and place dough in large bowl, add 6 tablespoons of the ice water, combine with wood spoon. The dough should hold together when squeezed with your fingers but should not be sticky. If it is crumbly, add more water 1 teaspoon at a time. Turn the dough out onto a work surface, divide in half and shape each into a disk. Wrap separately with plastic wrap and refrigerate for at least 2 hours or up to overnight. You can freeze the extra pie dough for MONTHS, it holds up very well.


The 7-Minute Egg

7_minute_egg-3.jpg

When it comes to boiling eggs, minutes really matter. I only recently discovered this. My whole life I’ve been starting them in cold water, bring to a boil, cook for an unknown amount of time, which resulted in a hard-boiled egg that was sometimes ok. But then I was watching Salt Fat Acid Heat recently and Samin mentioned the 7-minute egg, and it looked really good, not as runny as soft boiled but not hard boiled either. You start the eggs in boiling water. This makes an enormous difference. Not only the quality of the yolk, but the texture of the white, it’s fully cooked and kinda velvety, not rubbery which I thought all boiled eggs were just like that. And after 7 minutes you put them in an ice bath for a few minutes. Since I’ve been using this method the shell comes off the egg perfectly, no more moon craters of the past. The cooking times range from 6-12 minutes, with 12 minutes being hard boiled, everyone finds their favorite somewhere in-between, but I’m sold on 7-minutes. And, I made another video! If you like you can follow my Youtube channel here and Vimeo here

7_minute_egg-1.jpg
7_minute_egg-2.jpg

Currant Almond Rosemary Crackers

Currant Almond Rosemary Crackers

I’ve been wanting to make these gourmet type crackers for a long time now, and I’m glad I did! They came out really good. I used currants and almonds since that’s what I had on hand, but you can add any kind of fruit or nut to this recipe.

Read More